
Blogger Website Builder
New bloggers need a practical way to turn articles, photographs, and personal ideas into a working website. A blogger website builder gives you visual tools to assemble content blocks, adjust layouts, and prepare the finished site for publication.
More Website & HTML Templates for Blogger
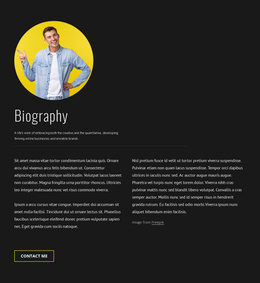



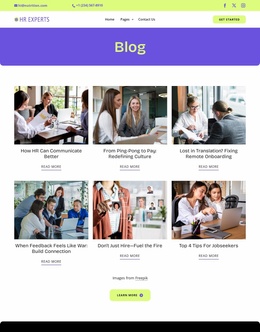


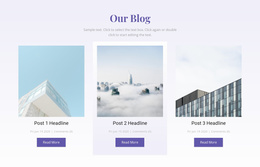
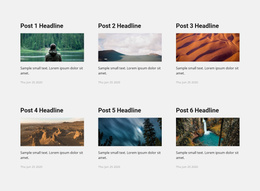
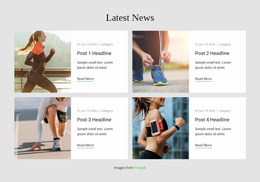

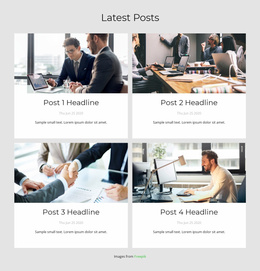
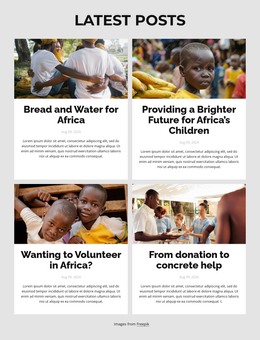
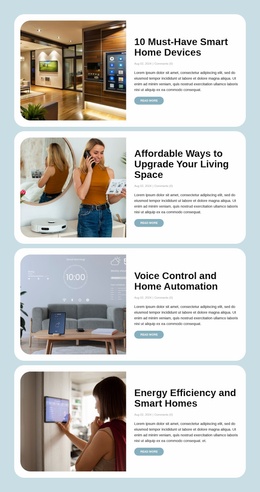




More Website Builder from Blog Posts Category
Other Blog Posts Website Builder
No-Code Blogger Website Builder for Independent Creators
A blogger website builder gives aspiring writers and digital creators a practical way to launch a personal publication without programming experience. A hobby blogger may already have photographs and stories but no established website, while a freelance writer may want a dedicated place for original commentary and personal updates. A visual creation workflow turns these materials into actual web pages through editable blocks, content elements, and straightforward publishing controls.
Assemble Your Blog With a Visual Website Builder
Begin by defining the blog’s subject and creating a Nicepage project from a blank site or an existing design. Consider whether you need a prominent article listing, a simple author homepage, or both, then use the Add Panel to arrange the necessary blocks and elements in the visual editor. This is the initial site-building stage, before ongoing post maintenance.
Next, build the homepage and necessary supporting pages using the Add Panel, then set up navigation between them. Replace sample content with the publication name, author details, and real images. Add the first posts and check how their previews appear in the blog listing; Nicepage provides dedicated blog and post-related elements for this.
Only after the pages and initial articles are in place should you review the responsive views and choose the appropriate publishing or export option. Later corrections to individual articles belong in the post-maintenance workflow rather than the initial site build.
The Install and Build First Site workflow takes a new blogger from the dashboard into the Page Editor, where blocks can be arranged and checked in responsive views before choosing a publishing action.
This workflow helps beginners concentrate on assembling useful content rather than learning technical implementation details before their first website is ready.
Preview and Publish Your Blogger Website
Before publication, inspect the assembled website as a reader would. Check that headlines are readable, images display correctly, navigation links lead to their intended destinations, and important content remains accessible on mobile devices.
A practical launch checklist includes:
- Content review: Replace placeholder text and images with original editorial material.
- Navigation check: Confirm that menus and buttons point to the correct pages.
- Mobile preview: Inspect headings, photographs, and block spacing on smaller screens.
- Publication settings: Review the available publishing or export options.
- Final verification: Open the published website and test its main visitor paths.
These checks connect the launch steps to a usable result. For Nicepage Blog Posts published to Nicepage Hosting, the Desktop Application provides an Include Blog Posts option in the publication dialog. After launch, use the post-editing workflow for new articles and corrections instead of rebuilding the website.
A blogger website builder is most useful when the creation process stays clear. Begin with a small set of meaningful sections, add your real content, inspect the responsive layout, and publish only after the key reader interactions work as intended.