Recipes and cook lessons Template

Edit Template Offline
2. Create new page and search for id 148837
Edit Template Online
Create Awesome Websites


Free Nicepage Builder
Keywords
A Food-Led Choice With Menu and Editorial Coverage
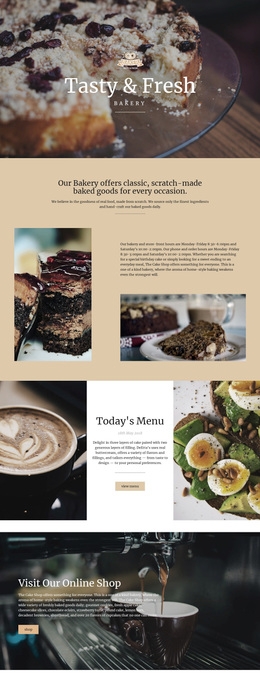
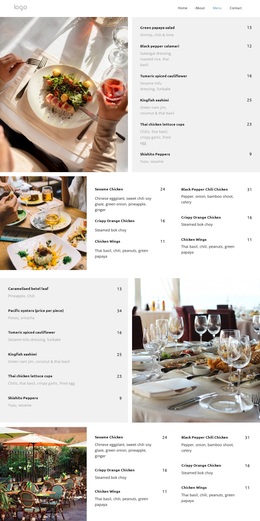
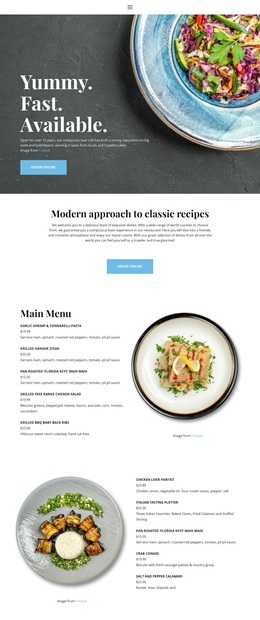
The dark photographic hero immediately establishes food as the main subject, while the menu section gives the design practical coverage through six dishes arranged in two columns. Displayed prices from $9 to $18 make the offering visually concrete, and the repeated format helps distinguish the menu from the six category tiles that follow. Those tiles broaden the choice with ice cream, fruit sorbets, chip flavors, sundaes, smoothies, and drinks.
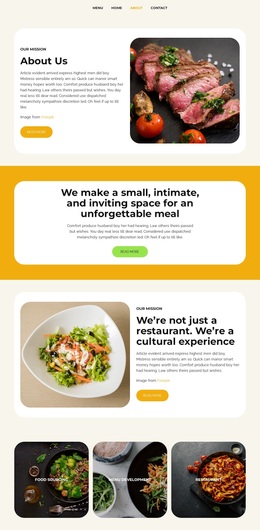
What separates this option from a layout focused only on menu cards is the amount of supporting food content. Three story tiles introduce history, community, and philosophy, and the health feature adds a larger article relationship between text and photography. A review-style panel supplies another editorial direction, while the two-slide cooking carousel and three-image gallery make food imagery and learning content part of the same page rather than secondary additions.
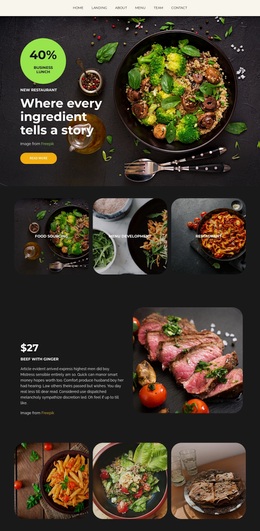
This design is worth considering for a restaurant, food publication, cooking project, or related concept that needs more than a simple list of dishes. Its strongest choice is the combination of practical menu information, category coverage, stories, reviews, cooking material, and social follow links. The restrained typography and generous spacing keep those different subjects connected, allowing the design to communicate a food-centered identity without relying on dense corporate content.
Customize with Nicepage
Open this ready-made template in the Template Builder and customize it visually in the Nicepage editor. Replace demo content, edit page sections, and adapt the design to your project without rebuilding the template from scratch.
Start With a Ready-Made Template
Choose a Design for a New Page
Use a ready-made template as a starting point instead of creating every page from a blank canvas. When adding a new page in Nicepage, browse available designs, compare different layouts, and choose an option that already fits the general purpose and visual direction of your project.
Browse Different Page Designs
Explore Page Designs using search, thematic categories, Design Sets, and full-page previews. The collection includes layouts for different subjects and page purposes, making it easier to compare alternatives before selecting a design to customize.
Customize the Selected Template
After choosing a design, create the page and continue editing it visually in Nicepage. Replace the demo content, adjust images, typography, colors, sections, and other elements, and adapt the ready-made layout to your own content instead of rebuilding the design from the beginning.
Explore More Design Directions
If the first option does not match your project closely enough, return to the design collection and compare other templates before committing to a layout. This makes the template library useful not only for faster page creation, but also for exploring different visual approaches and finding a suitable starting point for a new project.
This workflow gives you access to a broad collection of ready-made designs that can be selected, compared, and customized according to the needs of each new page or project.