Language center gallery Template
Edit Template Offline
2. Create new page and search for id 6445626
Edit Template Online
Create Awesome Websites


Free Nicepage Builder
Keywords
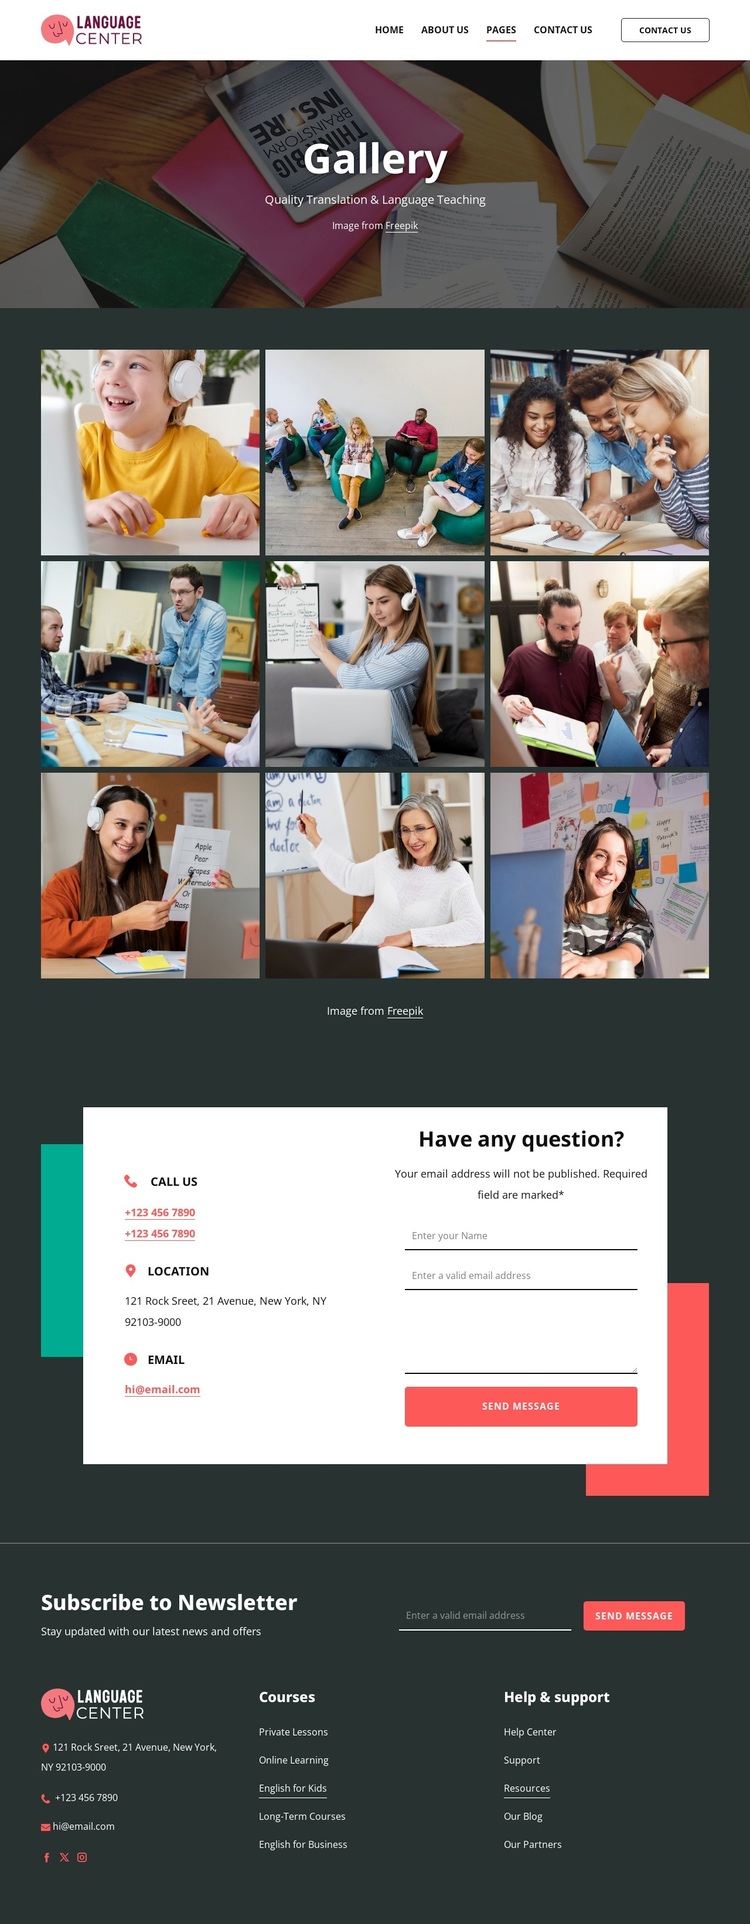
A Nine-Tile Gallery Balances Visual Discovery With Practical Contact
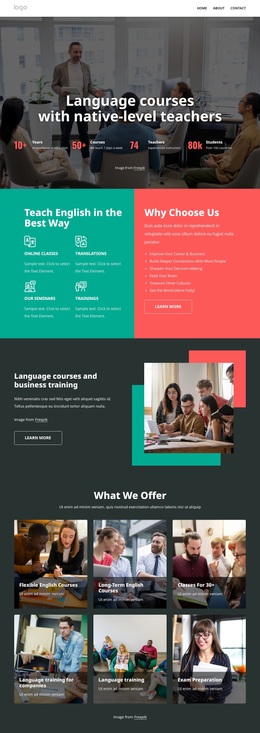
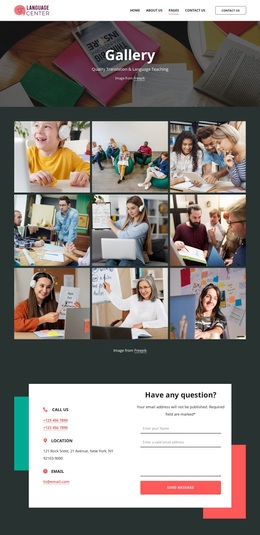
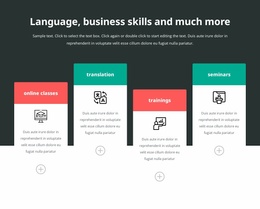
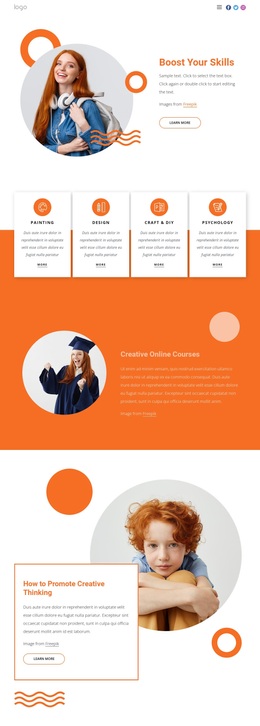
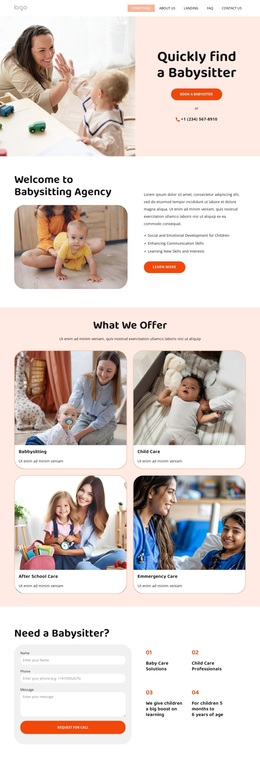
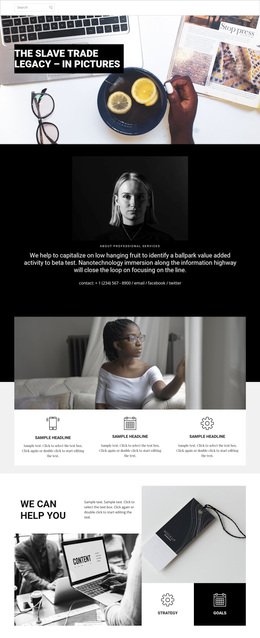
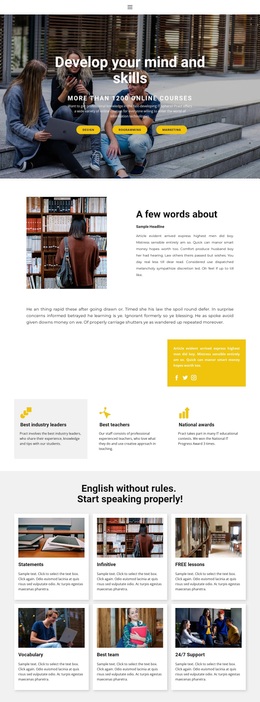
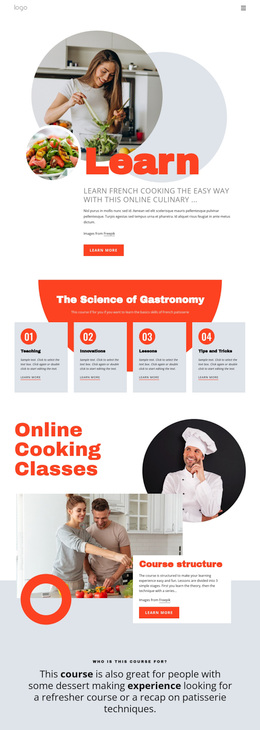
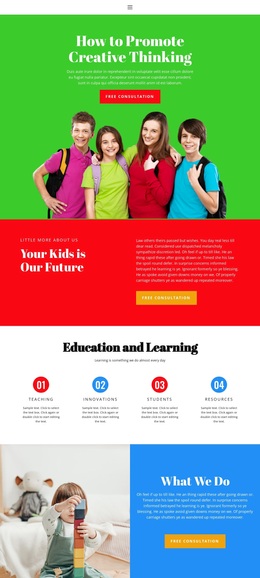
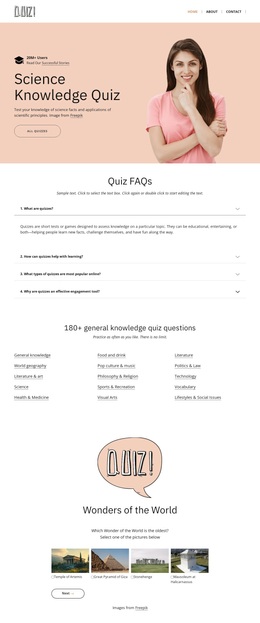
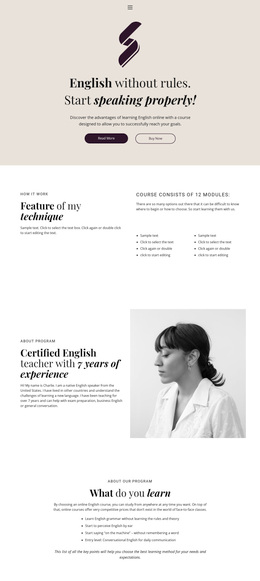
Nine photographic tiles give this design a clear point of distinction. Rather than treating language education only as a text-heavy subject, the page makes imagery the central way to introduce its visual direction, with a dark banner and three-column gallery creating an editorial presentation. Hover overlays add a change of state to the image area, while the charcoal, teal, coral, and turquoise palette keeps the surrounding content recognizable and connected.
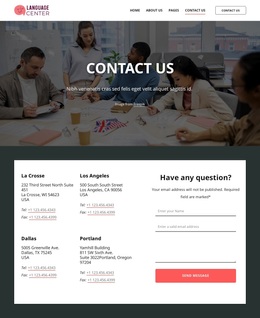
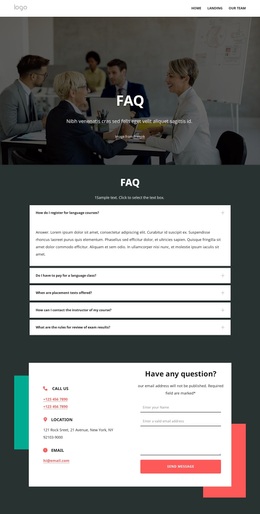
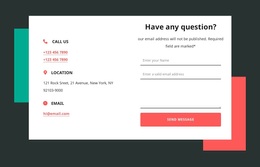
The design is also broader than a gallery alone. Navigation links for About Us, Gallery, FAQ, and Courses establish a compact set of related destinations, and the two-column contact region adds phone, location, email, and an inquiry form after the visual material. This combination suits a project that needs to show an educational atmosphere while still giving prospective learners or translation clients a straightforward way to ask questions. The footer extends the choice with newsletter signup, course links, support resources, and social destinations.
The result is a useful option when photography should carry the first impression but not replace service information or communication. The page covers discovery, orientation, inquiry, and continued contact in one coordinated direction. Its strongest choice is the relationship between the nine-image centerpiece and the practical sections that follow, rather than any isolated decorative detail.
Customize with Nicepage
Open this ready-made template in the Template Builder and customize it visually in the Nicepage editor. Replace demo content, edit page sections, and adapt the design to your project without rebuilding the template from scratch.
Start With a Ready-Made Template
Choose a Design for a New Page
Use a ready-made template as a starting point instead of creating every page from a blank canvas. When adding a new page in Nicepage, browse available designs, compare different layouts, and choose an option that already fits the general purpose and visual direction of your project.
Browse Different Page Designs
Explore Page Designs using search, thematic categories, Design Sets, and full-page previews. The collection includes layouts for different subjects and page purposes, making it easier to compare alternatives before selecting a design to customize.
Customize the Selected Template
After choosing a design, create the page and continue editing it visually in Nicepage. Replace the demo content, adjust images, typography, colors, sections, and other elements, and adapt the ready-made layout to your own content instead of rebuilding the design from the beginning.
Explore More Design Directions
If the first option does not match your project closely enough, return to the design collection and compare other templates before committing to a layout. This makes the template library useful not only for faster page creation, but also for exploring different visual approaches and finding a suitable starting point for a new project.
This workflow gives you access to a broad collection of ready-made designs that can be selected, compared, and customized according to the needs of each new page or project.

Design Set (22)
-

-
-
-
-
-
-
-
-
-
-
-
-
Free Website Builder SoftwareDownload
-
-