Best quality music Template


Edit Template Offline
2. Create new page and search for id 14662
Edit Template Online
Create Awesome Websites


Free Nicepage Builder
Keywords
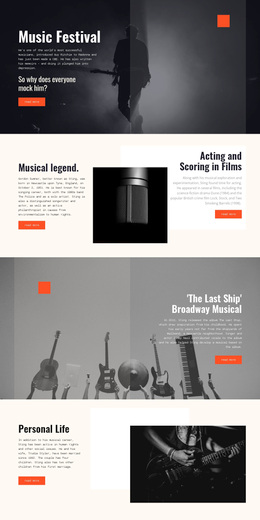
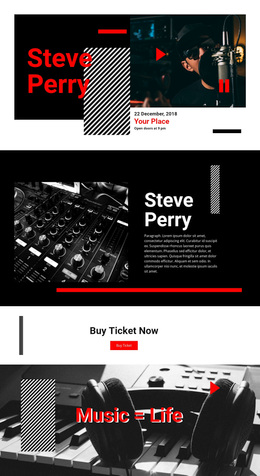
Concert Imagery and Ticket Content Give This Design Its Direction
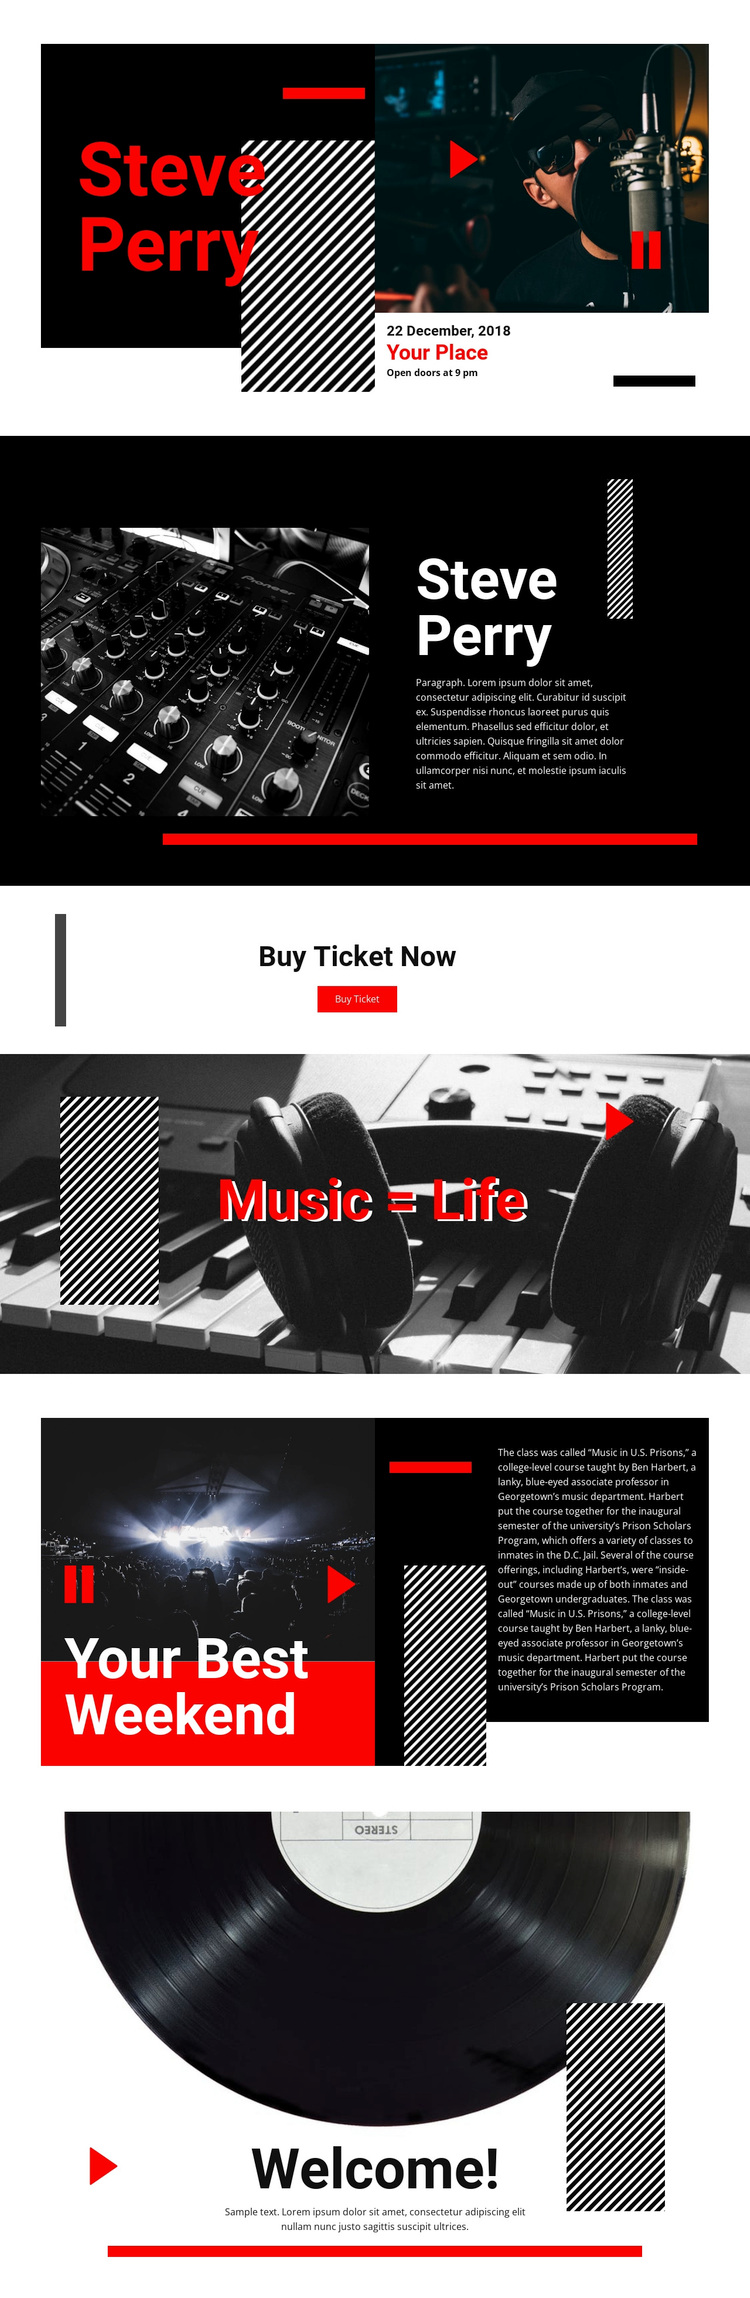
Concert photography carries the first impression of this design, but the page is not limited to a single promotional image. The Steve Perry hero combines an artist name, displayed event details, and a concert scene, immediately establishing a performer-centered direction. The biography section then adds music equipment imagery and an artist image beside descriptive copy, giving the design enough context for visitors who need more than a headline before considering the event.
The standalone Buy Ticket Now section is a particularly useful distinguishing feature because it turns the visual theme into a specific response opportunity. Around it, Music = Life uses keyboard and headphone imagery to create an atmospheric statement, while Your Best Weekend adds a concert photograph and longer editorial text. A record image and Welcome! message provide a memorable closing image rather than ending abruptly after the button. The result is a ready-made option for music promotions that need a balance of visual energy, artist context, event information, and action. Its black, white, and red treatment also separates it from designs centered only on service cards or long-form corporate explanation. The date, venue wording, and sample copy should be replaced or verified for the final event, but the relationships between imagery, story, and ticket action are already clearly established.
Customize with Nicepage
Open this ready-made template in the Template Builder and customize it visually in the Nicepage editor. Replace demo content, edit page sections, and adapt the design to your project without rebuilding the template from scratch.
Start With a Ready-Made Template
Choose a Design for a New Page
Use a ready-made template as a starting point instead of creating every page from a blank canvas. When adding a new page in Nicepage, browse available designs, compare different layouts, and choose an option that already fits the general purpose and visual direction of your project.
Browse Different Page Designs
Explore Page Designs using search, thematic categories, Design Sets, and full-page previews. The collection includes layouts for different subjects and page purposes, making it easier to compare alternatives before selecting a design to customize.
Customize the Selected Template
After choosing a design, create the page and continue editing it visually in Nicepage. Replace the demo content, adjust images, typography, colors, sections, and other elements, and adapt the ready-made layout to your own content instead of rebuilding the design from the beginning.
Explore More Design Directions
If the first option does not match your project closely enough, return to the design collection and compare other templates before committing to a layout. This makes the template library useful not only for faster page creation, but also for exploring different visual approaches and finding a suitable starting point for a new project.
This workflow gives you access to a broad collection of ready-made designs that can be selected, compared, and customized according to the needs of each new page or project.