With Nicepage, you can create E-Commerce Websites, publish them to Nicepage Hosting, and export them to HTML, WordPress, and Joomla.
Manage Products
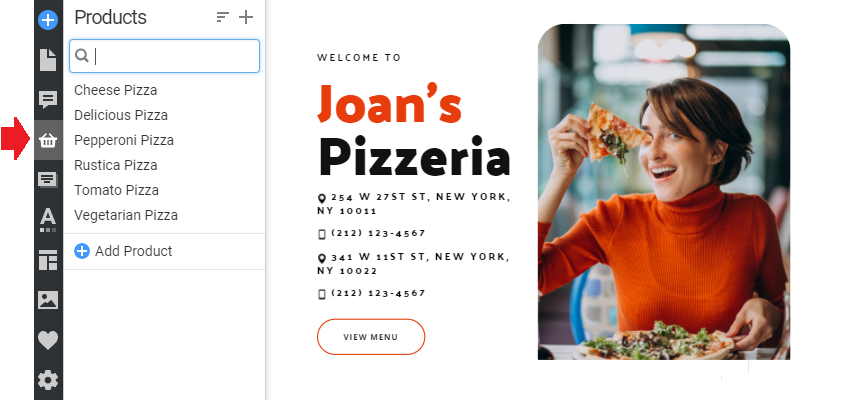
You can edit the Products in the Products panel.
- Click the Products icon in the Quick Access Pane.
- Add, edit, and delete Products.
Edit Product Images
In the Product dialog, you can add, order, and delete the Product Images. The first Image is set as the featured or default image.

Product Elements
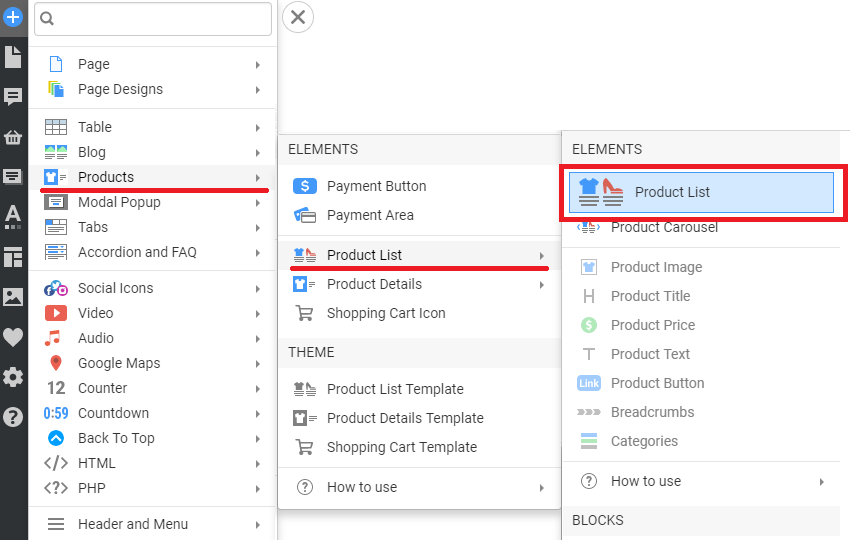
You can add the Product List and Product Details Elements to a Block on a Page to output Products.
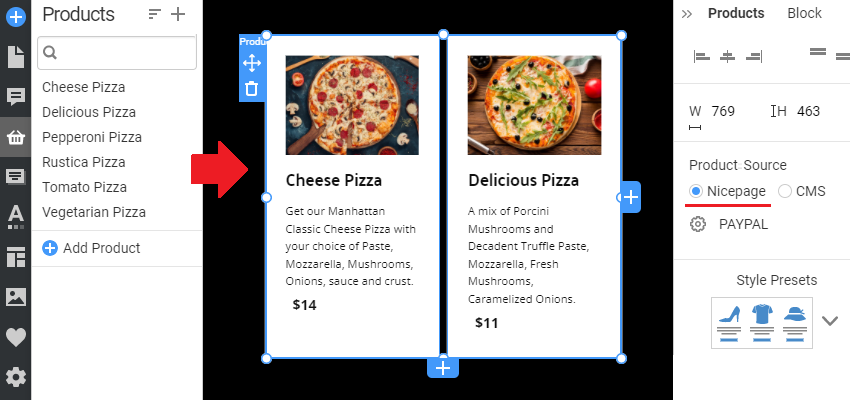
Product List Element
Add the Product List Element to see your Products.
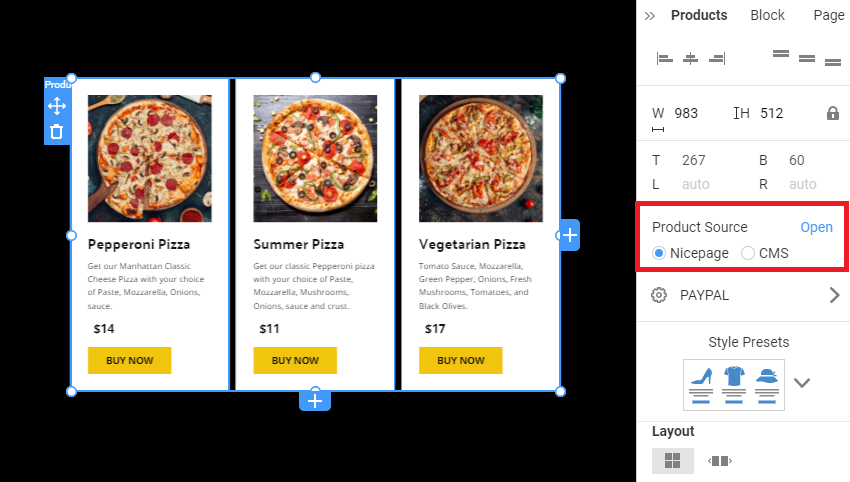
Select Nicepage as the Product Source in the Property Panel to see the added Products.
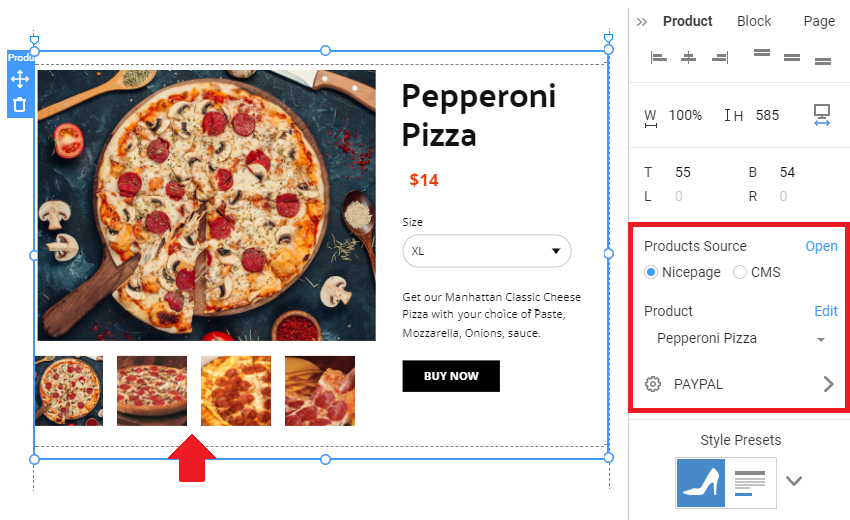
Product Details Element
Add the Product Details Element to see a Product with all its Images.
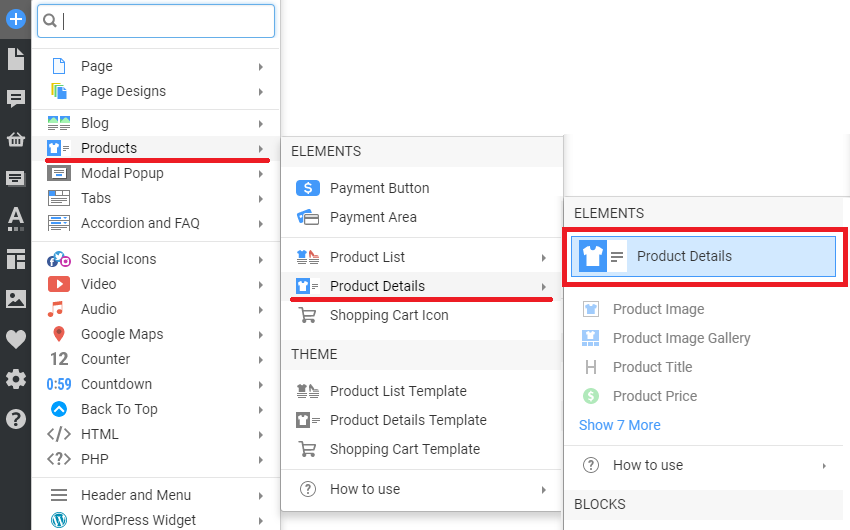
To see the Product Images, select the Nicepage Option for the Product Source and select the Product.
Product Source
Choose the Nicepage Source for the Product List and Product Details Elements.
Choose one of the options.
- Nicepage - display the Products from the Products Panel.
- CMS - display the default data in the Editor, and the actual Products will be output to the Product Templates in CMS.
Product Button On-Click Property
In the On-Click Property for the Product Button, you can choose to:
- Go To Product Page - opens the Product Details page corresponding to the selected Product.
- Buy Product - opens the Payment Popup, such as PayPal.
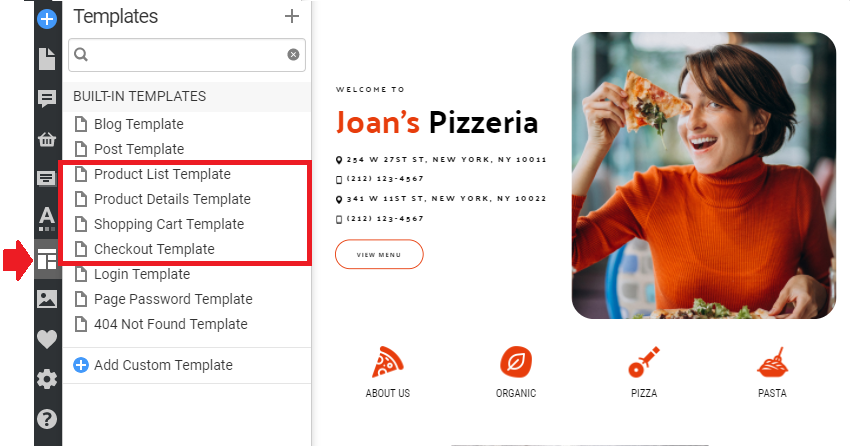
Product Page Templates
The Product Page Templates are used to output the E-Commerce pages. You can use those pages to display Products on your website.
Product List Template
- Open your Project in the Application.
- Open the Templates Panel on the Quick Access Pane.
- Select the Product List Template
- Customize it if needed.
Please read about the Product List Template and Product Elements for more information.
Product Details Template
Similarly, you can select and edit the Product Details Template.
- Open your Project in the Application.
- Open the Templates Panel.
- Select the Product Details Template
- Customize it if needed.
For more information, read about the Product Details Template and Product Elements.
Connect Product Pages
Connect your Product Page Templates in the Menu, Button, or Hyperlink Settings. You can choose and customize the Product Page Templates in the Templates Panel.
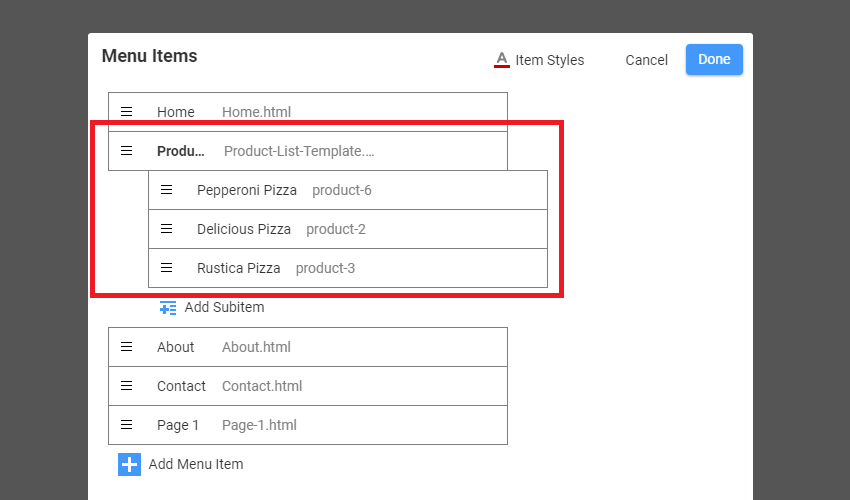
Add Products To Menu
You can add Products to the Menu by linking the Product List Page Template to an Item.
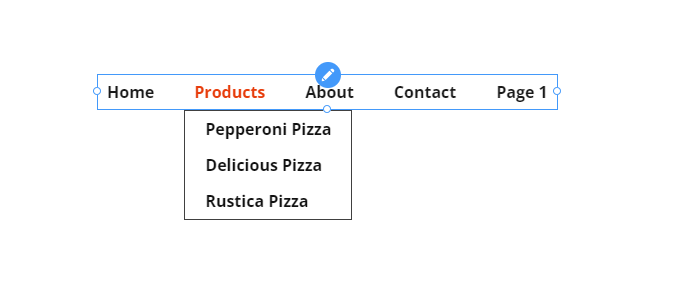
For example, you can build the following Menu.
Link Product Pages
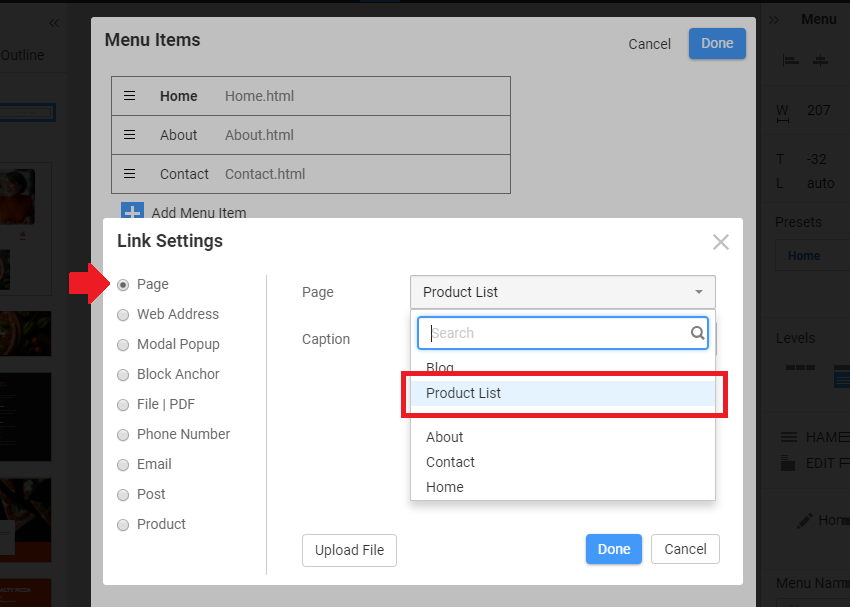
You can link the Menu item to the Product List.
- In the Link Settings dialog.
- Select the Page Option.
- In the Page option, select the Product List to open a page with Products.
Please read about the Product List Template for more information.
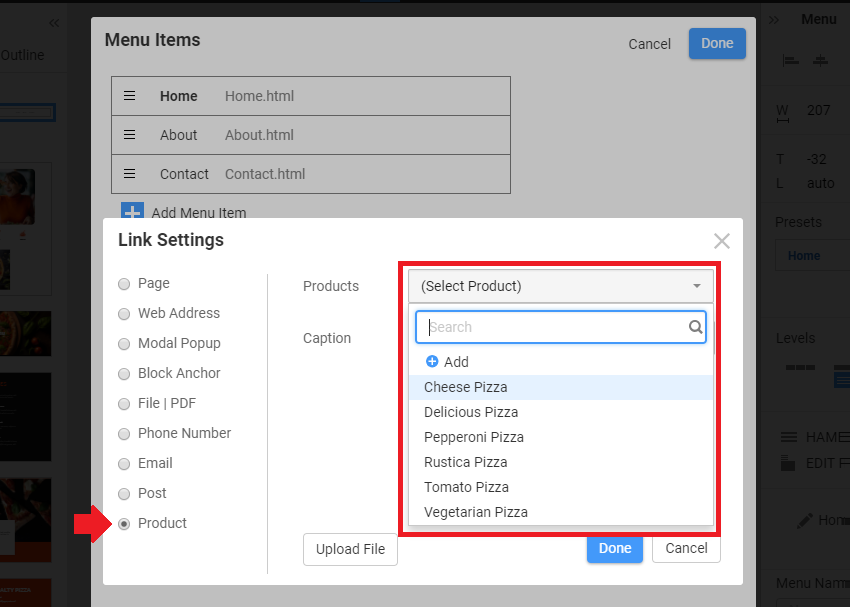
Link to Product Details Page Template
You can also link to a specific product. In the Link Settings dialog, select the Product option and then the Product in the Products field.
Please read about the Product Details Template for more information.
Add Shopping Cart
Add the Shopping Cart Icon to the Header to enable the Shopping Cart feature on your E-Commerce websites. Previously, it worked only for WordPress WooCommerce and Joomla VirtueMart.
Read more about the Shopping Cart.
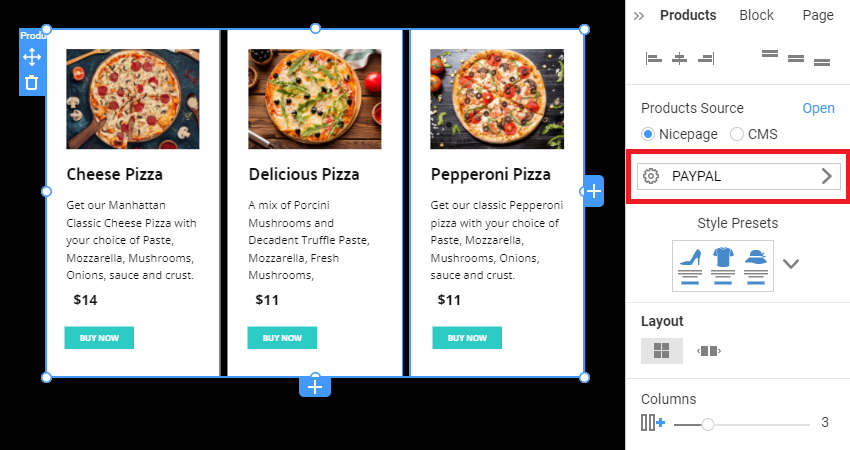
PayPal Payments
Configure PayPal Settings for the product list, product details elements, and Templates.
NOTE: You will see the PayPal Popup when you click the Button on the live website.
Stripe Payments
You can accept payments via Stripe on your websites created with Nicepage. You should connect your Nicepage website to Stripe to get payments.

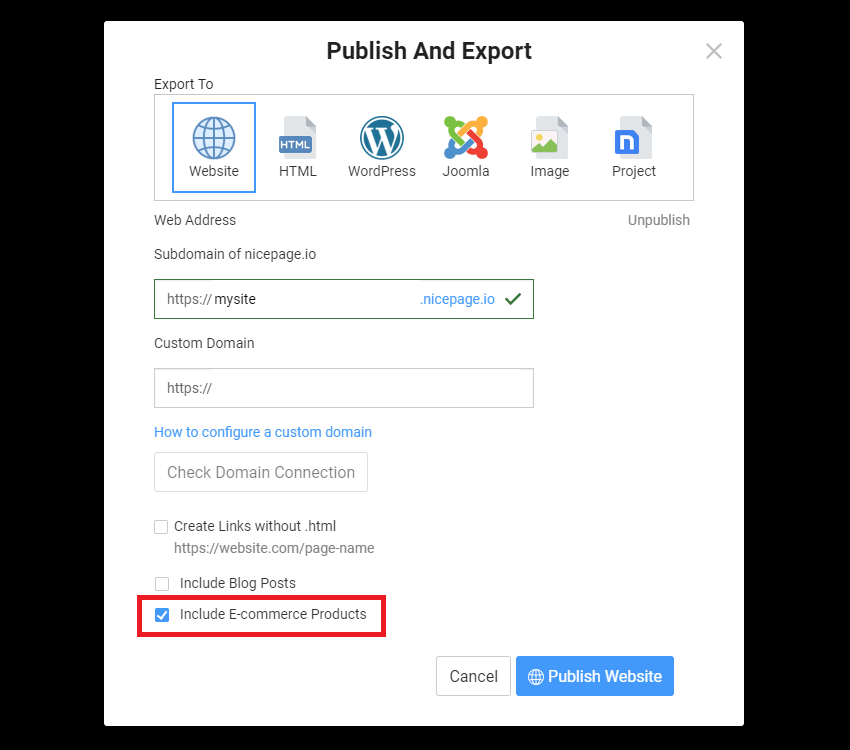
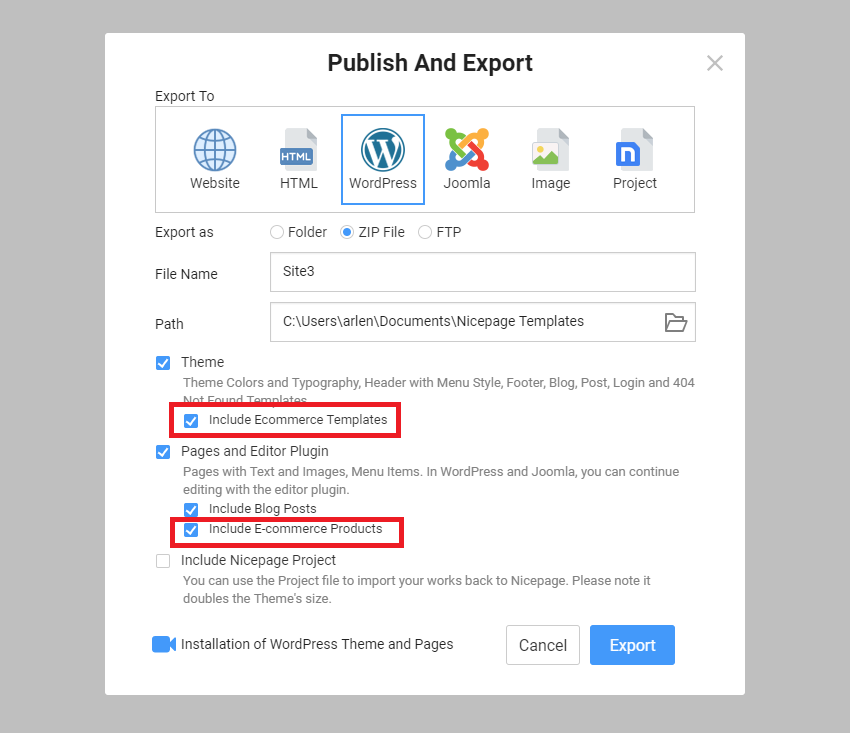
Publish And Export
IMPORTANT!
In the Export dialog, check the "Include E-Commerce Products" checkbox to publish or export the Products.
Publish Or Export HTML
You will export or publish the following HTML pages for Nicepage Hosting.
- The Product List and Product Details templates
- The Products from the Products Panel
The files are created for the Product List and individual pages, for example, /products/products.html and /products/pepperoni-pizza.html, as follows.
Export For WordPress Or Joomla
The Products from the Products Panel will be imported with the Content import to WordPress or Joomla websites, on which you should have WooCommerce or VirtueMart installed correspondingly.
NOTE: You should have the "Include E-Commerce Templates" and "Include E-Commerce Products" checkboxes checked in the Publish and Export dialog.
Related Articles
General
Product Elements
Product Page Templates
- Product List Template
- Product Details Template
- Shopping Cart Template
- Pagination Element
- Breadcrumbs Element
Payments