The Payment Button Element enables payments on your website. You can add to websites built with your Nicepage Desktop Applications, WordPress Plugin, Joomla Extension, and Online Builder.
Add Payment Button
You can add the Payment Button from the Buttons section of the Add Panel.

You can also find it in the Products section of the Add Panel.

You can stylize this Button, like any other Button Element on Nicepage.
Payment Properties
Unlike other Buttons, the Payment has its Properties, which you can find in the Property Panel.
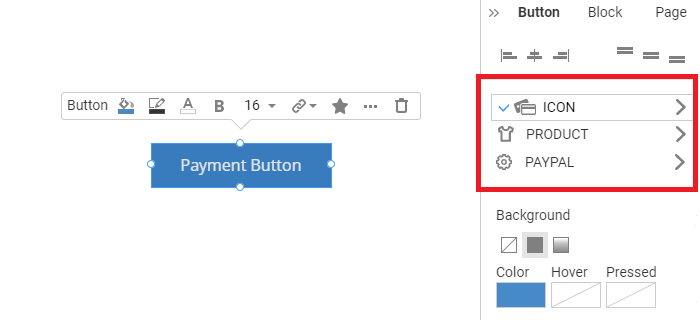
Payment Icon Tab
Choose the Icon for the Payment Button from the Context Toolbar.
Select the Payment Button and specify the properties in the Icon Tab. After you add the Icon, you will see the Checkmark in the Property Panel.
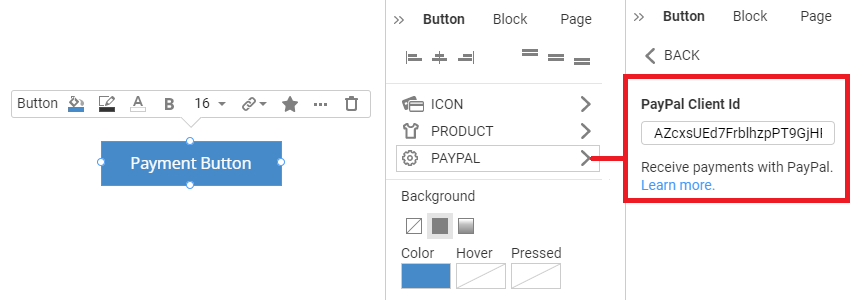
Payment PayPal Properties
You can specify the PayPal Client ID in the PayPal Properties. Please read about how to get your website's PayPal Client ID.
Payment Stripe Properties
You can also connect to your Stripe account. Please read about how to get Payments with Stripe on your website.
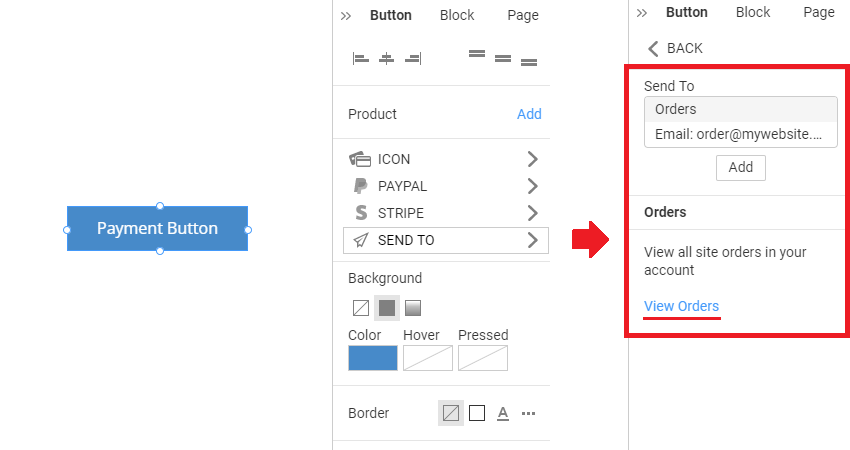
Order Notifications
You can receive Order Notifications after your customers purchase on your website. In the Sent To Properties for the Payment Button, you can add emails or connect to Google Sheets.
This is an example of an Order Notification for the specified Email Address.

The following is an example of an Order Submission to Google Sheets.
