You can create an E-commerce website in Nicepage, export it as HTML, and upload it to your hosting.
Manage Products
You can edit the Products in the Product panel.
- Click the Products icon in the Quick Access Pane.
- Add, edit, and delete Products.

Product Elements
You can add the Product List and Product Details Elements to output Products.
IMPORTANT!
Please verify that Nicepage is set in the Product Source property in the Property Panel for the Product List and Product Details Elements.

Product List Element
Add the Product List Element to see your Products.

Select Nicepage as the Product Source in the Property Panel to see the added Products.

Product Details Element
Add the Product Details Element to see a Product with all its Images.

To see the Product Images, select the Nicepage Option for the Product Source and select the Product.

Product Button Options
The Button in the list has two options, which you can switch in the Property Panel. You can open the Product Details or the Payment Popup, for example, PayPal.
Product Page Templates
The Product Page Templates are used to output the E-Commerce pages. You can use those pages to display Products on your website.
Product List Template
- Open your Project in the Application.
- Open the Templates Panel on the Quick Access Pane.
- Select the Product List Template
- Customize it if needed.

Please read about the Product List Template and Product Elements for more information.
Product Details Template
Similarly, you can select and edit the Product Details Template.
- Open your Project in the Application.
- Open the Templates Panel.
- Select the Product Details Template
- Customize it if needed.
For more information, read about the Product Details Template and Product Elements.
Edit Menu
Click the Menu in the Header to edit it by adding the link to Products.
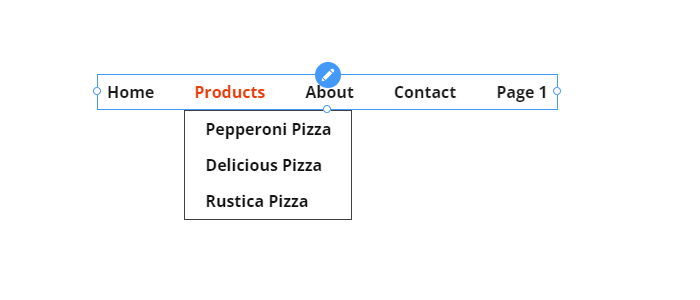
You can build a menu and Submenu items from product pages, such as the following.

Link to Product List Page Template
You can link the Menu Item, Button, or Hyperlink to the Product List or the Product Details page.
- Open the Edit Menu dialog.
- Click the Item to edit.
- Select Page in the Link Settings.
- In the Page option, select the Product List to open a page with Products.
Please read about the Product List Template for more information.

Link to Product Details Page Template
You can also link a Menu Item to an individual Product.
- Open the Edit Menu dialog
- Click the Item to edit
- In the Link Settings, select the Product.
- Then choose a Product from the Products list.
Please read about the Product Details Template for more information.

Preview Store
Click on the Quick Preview to see your site before exporting or publishing.
Export HTML Website
Once you have finished editing, you can export your E-commerce HTML website.
IMPORTANT! Check the "Include E-Commerce Products" checkbox in the Publish and Export dialog.
