Come utilizzare l'elemento Tabella durante la creazione di una pagina Web


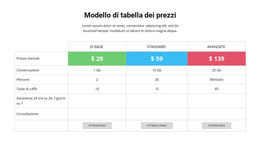
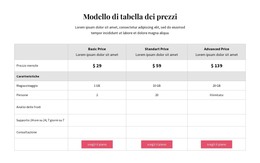
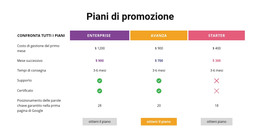
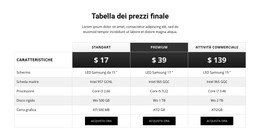
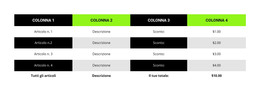
Disegni di blocchi da tavolo
Puoi anche iniziare facilmente con l'elemento Tabella. E puoi usare i blocchi di design che contengono l'elemento Table. Fai clic sull'icona Aggiungi nella barra di accesso rapido, scendi alla sezione Tabella, seleziona la tabella e qualsiasi design della tabella nel pannello aperto.
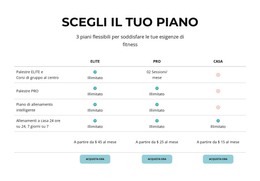
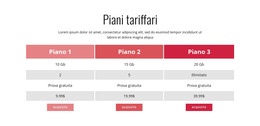
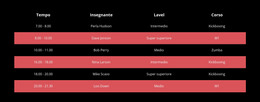
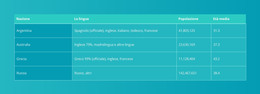
Colonne e righe della tabella
Analogamente a qualsiasi altro elemento con colonne e righe, puoi modificare il numero di colonne e righe della tabella trascinando i cursori corrispondenti nel pannello delle proprietà per l'elemento della tabella selezionato.

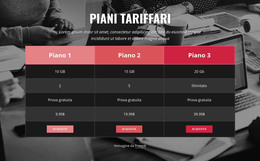
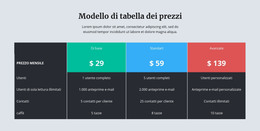
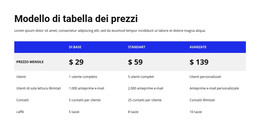
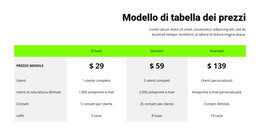
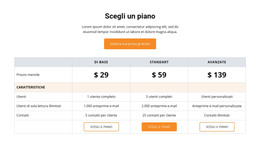
Stile della tavola
Come tutti gli elementi composti in Nicepage popolari nel web design, puoi stilizzare la tabella in base al tuo layout. Fare clic sull'elemento Tabella in un blocco. Vai al pannello delle proprietà a destra e fai clic sui collegamenti della sezione per accedere ai pannelli per modificare le proprietà della tabella corrispondenti.
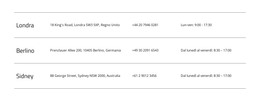
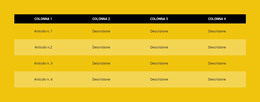
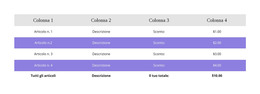
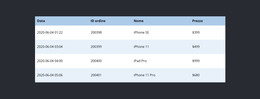
La tabella sposta colonne e righe
Puoi gestire Colonne e Righe nell'elemento Tabella selezionato. Quindi fare clic sulla tabella nel blocco per selezionare. Fare clic sull'opzione Sposta nel menu di scelta rapida del mouse o sull'icona Altre opzioni del pannello contestuale per spostare le colonne a sinistra e a destra e le righe in alto e in basso.
Modelli gratuiti con Elemento da tavolo
Inizia con i nostri migliori modelli, ideali per qualsiasi attività commerciale. Creali e personalizzali con il nostro generatore di siti Web potente e gratuito senza codice. Tutti i modelli sono ottimizzati per i dispositivi mobili e hanno un aspetto eccellente su qualsiasi dispositivo.


How To Create Tables For Your Nicepage Website?
During the building of your site, you may require to create tables for various purposes. If you want to create a new table similar to the HTML Table Element, you must first decide how many columns & rows you will be using and what information you will present in them. Create new tables with blog post hyperlinks, modify table rows and columns with social media tools, or integrate as many columns and rows as you need using our program. So how the columns and rows are arranged and the number of columns & rows changed using the simple toolkit of our program?
Log in to your account using your email address or accounts in google or Facebook. Open the Add Elements, and select on the Table Element. The new table will appear on your page layout, and on the right side of it, you will see the panel, where all customization of your current and future new tables will occur. At any moment, you can add the required number of columns and rows in the table by dragging the slider table element below the columns and rows back and forth or manually by clicking on the responsive tables themselves to add new cells. Pick the different background colors for rows and columns using simple background color shading or the complex one combined with two colors to stress certain table data.
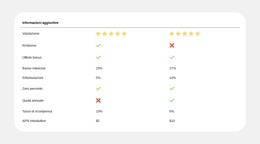
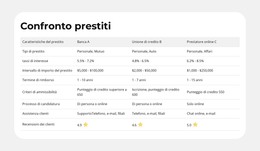
How to create a table with new drag and drop elements, and how do elements in your table element make it unique? Create responsive tables and quickly add the image element you want to the table header by clicking the star icon above the cell you want to customize. Like the HTML table and image elements, you can add a hyperlink to your blog post, email address, terms of service, or the contact form to the footer. If the table is too big, add the skip to content button to concentrate the visitor on the important content. Add a star rating element if you create new table data or modify an existing table for an online store or table data about various products or services quality with a blog post as proof. As an example of how you can create tables with a star rating, create a new table element, select a flashy background table header with the title name and decide how many stores or products you will review. Every store is placed on a separate table row, all information about the store, including a phone number, is provided in the first column, its blog post on a certain topic the second or third, and the rating is placed in the last column.