School of artistic education Template


Edit Template Offline
2. Create new page and search for id 34007
Edit Template Online
Create Awesome Websites


Free Nicepage Builder
Keywords
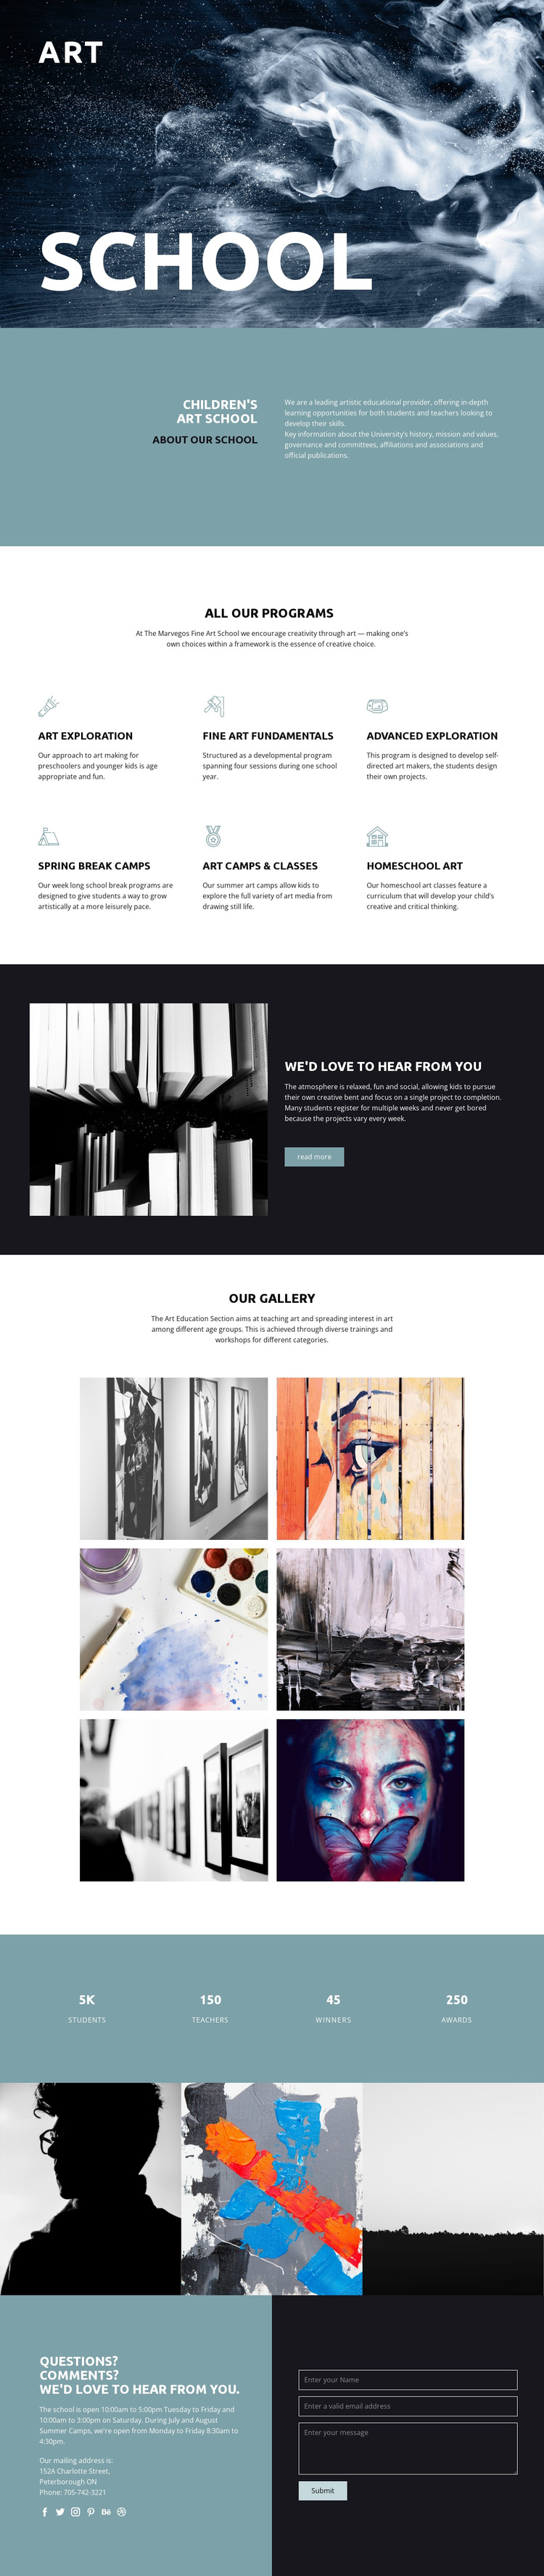
Six Program Choices Make the Art-Led Layout Easy to Recognize
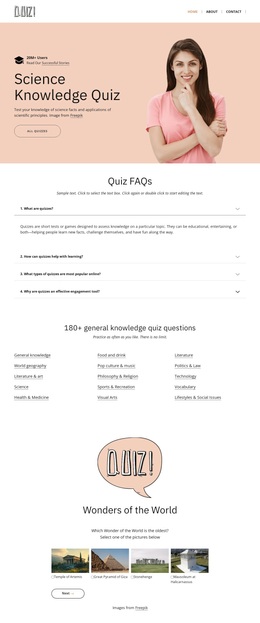
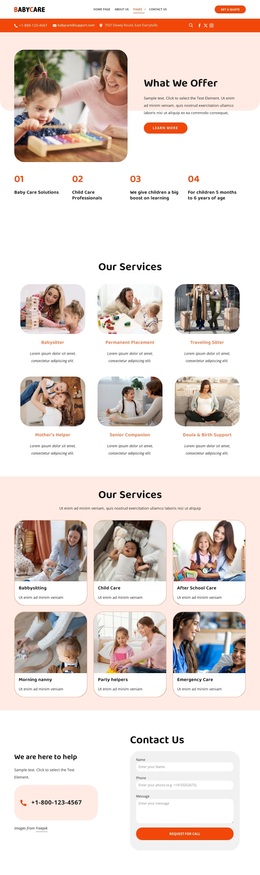
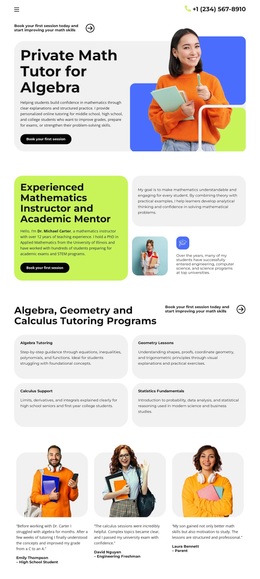
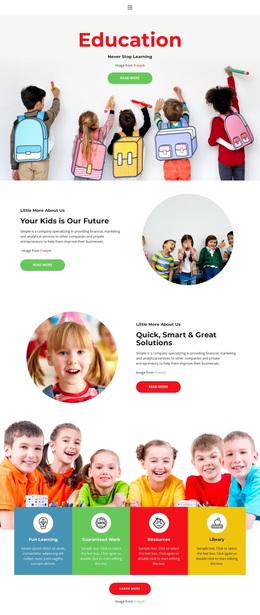
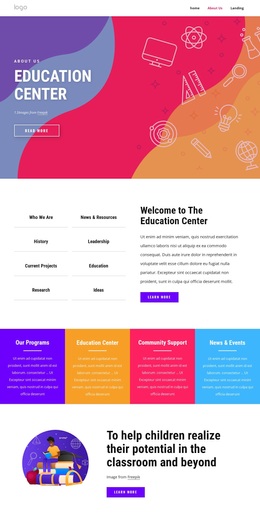
The design’s strongest point of distinction is the way educational content and artwork share the same page. The hero announces Art School through a large image-led treatment, while the About section provides enough explanatory space to establish the children’s educational focus. The central program grid then gives the design practical coverage: Art Exploration, Fine Art Fundamentals, Advanced Exploration, Spring Break Camps, Art Camps & Classes, and Homeschool Art represent several recognizable kinds of art education within one visual system.
The imagery keeps that coverage from becoming a dense text-only presentation. A dark split section pairs artwork with supporting copy and a Read more button, followed by a six-image gallery and a three-image artwork strip. The blue counter band adds four compact highlights between those visual areas and the closing contact section. This combination suits projects where creative work should carry as much attention as the written program descriptions. The contact block also makes the option more useful than a purely inspirational art portfolio because it includes school details, social links, and a message form. Taken together, the layout is a distinctive choice for presenting children’s classes, camps, workshops, and related education without relying on a generic corporate service-card structure.
Customize with Nicepage
Open this ready-made template in the Template Builder and customize it visually in the Nicepage editor. Replace demo content, edit page sections, and adapt the design to your project without rebuilding the template from scratch.
Start With a Ready-Made Template
Choose a Design for a New Page
Use a ready-made template as a starting point instead of creating every page from a blank canvas. When adding a new page in Nicepage, browse available designs, compare different layouts, and choose an option that already fits the general purpose and visual direction of your project.
Browse Different Page Designs
Explore Page Designs using search, thematic categories, Design Sets, and full-page previews. The collection includes layouts for different subjects and page purposes, making it easier to compare alternatives before selecting a design to customize.
Customize the Selected Template
After choosing a design, create the page and continue editing it visually in Nicepage. Replace the demo content, adjust images, typography, colors, sections, and other elements, and adapt the ready-made layout to your own content instead of rebuilding the design from the beginning.
Explore More Design Directions
If the first option does not match your project closely enough, return to the design collection and compare other templates before committing to a layout. This makes the template library useful not only for faster page creation, but also for exploring different visual approaches and finding a suitable starting point for a new project.
This workflow gives you access to a broad collection of ready-made designs that can be selected, compared, and customized according to the needs of each new page or project.