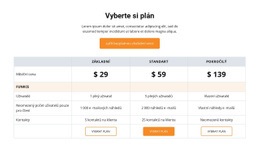
Jak přesunout sloupce a řádky v prvku Tabulka
Everything You Need To Create Your Free Website
Pomocí našeho nástroje Website Builder můžete navrhovat a vytvářet webové stránky bez kódování. Přetáhněte vše, co chcete, na jakékoli místo, kde to chcete. Tvůrce webových stránek automaticky přizpůsobí váš web pro mobilní zařízení tak, aby reagoval. Vybírejte z více než 9 000 přizpůsobitelných šablon webových stránek.
Related Features
Šablony zdarma s Tabulka Element
Začněte s našimi nejlepšími šablonami, které jsou skvělé pro jakékoli podnikání. Vytvářejte a přizpůsobujte je pomocí našeho výkonného a bezplatného tvůrce webových stránek bez kódu. Všechny šablony jsou vhodné pro mobilní zařízení a vypadají skvěle na jakémkoli zařízení.
-
Vytvořte si vlastní webovou stránkuStažení
How To Move Table Rows And Columns
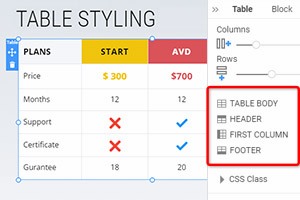
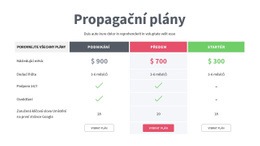
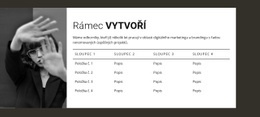
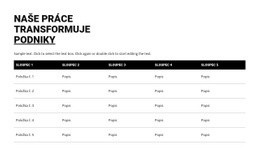
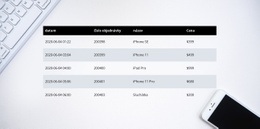
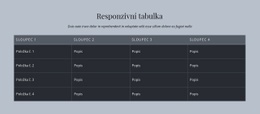
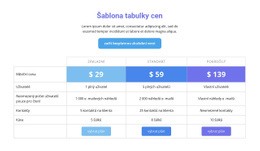
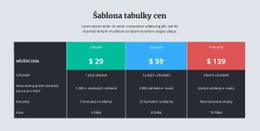
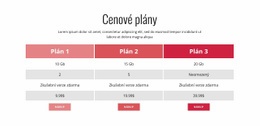
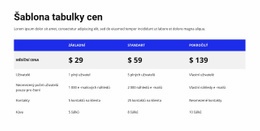
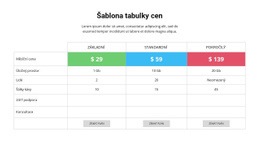
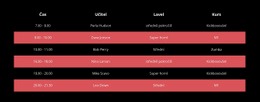
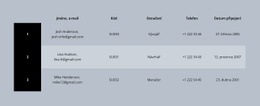
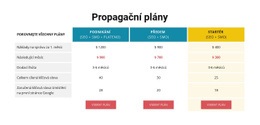
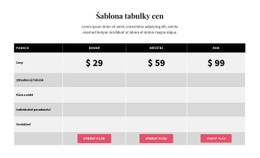
Tables may be important elements of web pages, giving your customers a lot of information and options. So you must be able to manage the layout of the table rows and columns to provide the customer with the right information. On the Nicepage page-builder, you can manage Columns and Rows in the selected Table element. For that, click on the Table in your Block to select. Click on the Move option in the mouse right-click menu or the Context Panel more options icon to move Columns to the left and right and Rows to the top and bottom.
You can drag and drop every element of a column and row to rearrange it. You can move the table column left or right. Using dragging column headers highlighted at the board's top, you can drag columns around. The column is locked except for the first column, which is in the scrollable area of the Table. Most important is to create the first and last row. You can represent an item within the list using a group of tables how your user can add a new group to the new Table from the property panel.
By getting started with the user version, you can change a column or move a row around the Table. How to Skip to Content without violating Terms of Privacy. If a user moves the column outside the list, it will change the whole content of the tables. How To change or add the first column, for that select group of tables, then go Tables property, then column property. Click to check the new features class is applied. Now you can add rows in the cell. Here is how the user can move tables using header cells. Click left, then right. This will open a new user group.
