Regular haircut Template


An Asymmetrical Image Arrangement Gives the Section Presence
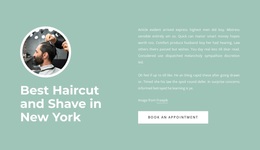
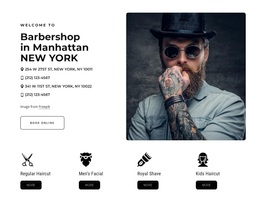
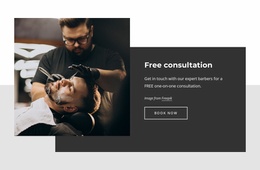
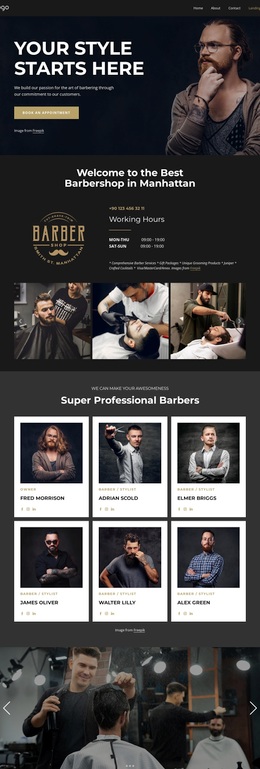
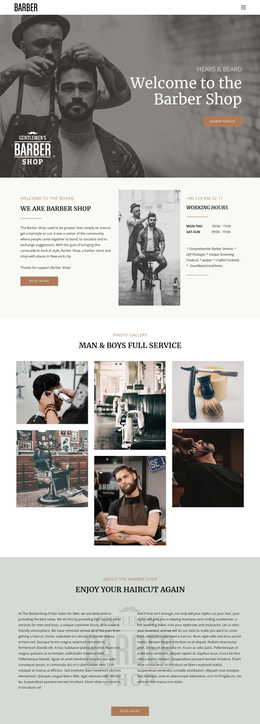
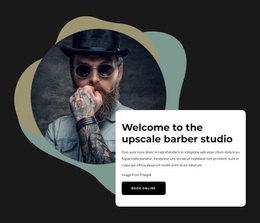
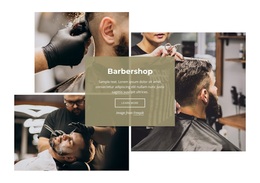
The defining choice is the combination of three barbering photographs with a centered olive-toned translucent card. Rather than presenting one image beside a conventional text column, the block uses overlapping rectangular images to create a layered field and places the Barbershop heading, supporting paragraph, and Learn More button at its center. That arrangement gives the section a strong focal point while keeping the communication compact. The Freepik attribution is integrated into the card, so source information remains visible without becoming a separate visual panel.
This design can be a useful choice when a page needs a barbershop introduction that feels image-led but still has a clear message and action. The white background and generous spacing prevent the photographs from reading as a crowded collage, while the translucent overlay preserves enough of their presence to connect the subject with the text. The outlined button adds a directional cue without competing with the heading’s role.
The choice is therefore about the relationship of several traits: layered photography for visual emphasis, centered overlay content for clarity, and one Learn More action for progression. It is not a claim that the section replaces services, booking, or contact content. Those functions can be supplied by neighboring blocks while this design handles the first visual statement.
Customize with Nicepage
Open this ready-made template in the Template Builder and customize it visually in the Nicepage editor. Replace demo content, edit page sections, and adapt the design to your project without rebuilding the template from scratch.
Edit Template Offline
2. Create a new page or select existing
3. Click Add new block, search for id 2440085 and click enter
Edit Template Online
Create Awesome Websites


Free Nicepage Builder
Keywords
Start With a Ready-Made Template
Choose a Design for a New Page
Use a ready-made template as a starting point instead of creating every page from a blank canvas. When adding a new page in Nicepage, browse available designs, compare different layouts, and choose an option that already fits the general purpose and visual direction of your project.
Browse Different Page Designs
Explore Page Designs using search, thematic categories, Design Sets, and full-page previews. The collection includes layouts for different subjects and page purposes, making it easier to compare alternatives before selecting a design to customize.
Customize the Selected Template
After choosing a design, create the page and continue editing it visually in Nicepage. Replace the demo content, adjust images, typography, colors, sections, and other elements, and adapt the ready-made layout to your own content instead of rebuilding the design from the beginning.
Explore More Design Directions
If the first option does not match your project closely enough, return to the design collection and compare other templates before committing to a layout. This makes the template library useful not only for faster page creation, but also for exploring different visual approaches and finding a suitable starting point for a new project.
This workflow gives you access to a broad collection of ready-made designs that can be selected, compared, and customized according to the needs of each new page or project.