Comment utiliser l'élément Table lors de la création d'une page Web

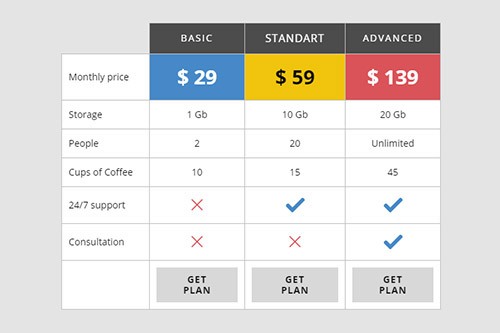

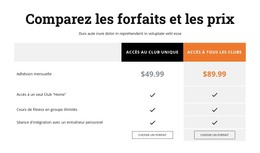
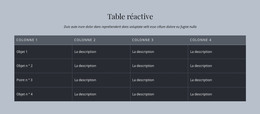
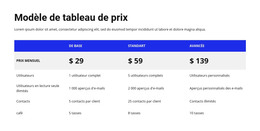
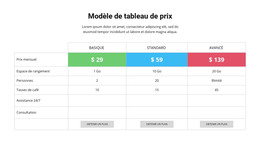
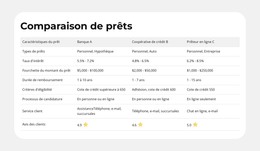
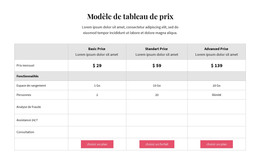
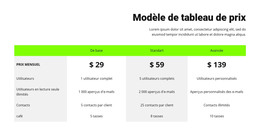
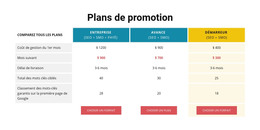
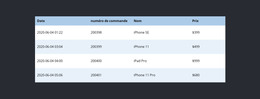
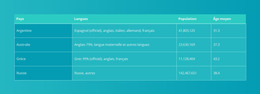
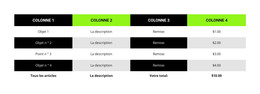
Conceptions de bloc de table
Vous pouvez également commencer facilement avec l'élément Table. Et vous pouvez utiliser les blocs créés par des concepteurs contenant l'élément Table. Cliquez sur l'icône Ajouter dans la barre d'accès rapide, descendez dans la section Table, sélectionnez la table et n'importe quelle conception de table dans le panneau ouvert.
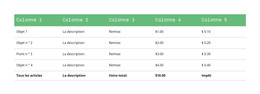
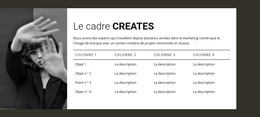
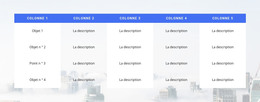
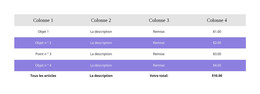
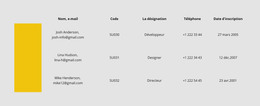
Colonnes et lignes du tableau
Comme pour tout autre élément comportant des colonnes et des lignes, vous pouvez modifier le nombre de colonnes et de lignes du tableau en faisant glisser les curseurs correspondants dans le panneau de propriétés pour l'élément de tableau sélectionné.

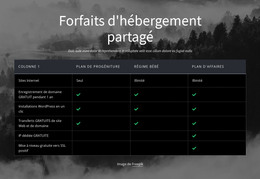
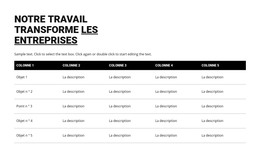
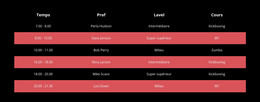
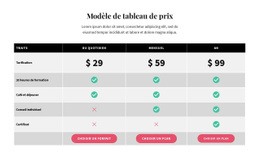
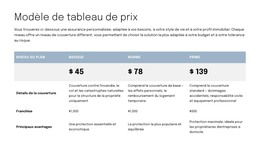
Style de tableau
Comme tous les éléments composés de Nicepage populaires dans la conception Web, vous pouvez styliser le tableau selon votre mise en page. Cliquez sur l'élément Table dans un bloc. Accédez au panneau de propriétés à droite et cliquez sur les liens de section pour accéder aux panneaux afin de modifier les propriétés de table correspondantes.
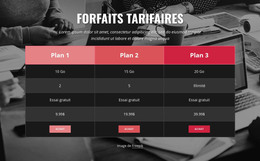
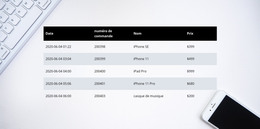
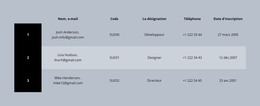
Tableau Déplacer les colonnes et les lignes
Vous pouvez gérer les colonnes et les lignes dans l'élément Tableau sélectionné. Cliquez ensuite sur le tableau dans votre bloc pour le sélectionner. Cliquez sur l'option Déplacer dans le menu contextuel de la souris ou sur l'icône Plus d'options du panneau contextuel pour déplacer les colonnes vers la gauche et la droite et les lignes vers le haut et le bas.
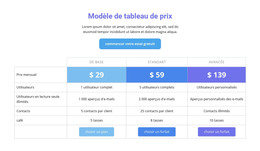
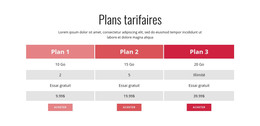
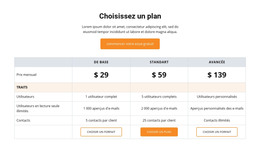
Modèles gratuits avec Élément de tableau
Commencez avec nos meilleurs modèles, parfaits pour toute entreprise. Créez et personnalisez-les avec notre créateur de site Web puissant et gratuit sans code. Tous les modèles sont adaptés aux mobiles et ont fière allure sur n'importe quel appareil.
-

-

-
-
-
-
-
-
-
-
-
-
-
-
-
-
-
-
-
-
-
-
-
-
-
-
-
-
-
-
-
Créer un site Web sans codageTélécharger
-
-
-
-
-
-
-
-
-
-
-


How To Create Tables For Your Nicepage Website?
During the building of your site, you may require to create tables for various purposes. If you want to create a new table similar to the HTML Table Element, you must first decide how many columns & rows you will be using and what information you will present in them. Create new tables with blog post hyperlinks, modify table rows and columns with social media tools, or integrate as many columns and rows as you need using our program. So how the columns and rows are arranged and the number of columns & rows changed using the simple toolkit of our program?
Log in to your account using your email address or accounts in google or Facebook. Open the Add Elements, and select on the Table Element. The new table will appear on your page layout, and on the right side of it, you will see the panel, where all customization of your current and future new tables will occur. At any moment, you can add the required number of columns and rows in the table by dragging the slider table element below the columns and rows back and forth or manually by clicking on the responsive tables themselves to add new cells. Pick the different background colors for rows and columns using simple background color shading or the complex one combined with two colors to stress certain table data.
How to create a table with new drag and drop elements, and how do elements in your table element make it unique? Create responsive tables and quickly add the image element you want to the table header by clicking the star icon above the cell you want to customize. Like the HTML table and image elements, you can add a hyperlink to your blog post, email address, terms of service, or the contact form to the footer. If the table is too big, add the skip to content button to concentrate the visitor on the important content. Add a star rating element if you create new table data or modify an existing table for an online store or table data about various products or services quality with a blog post as proof. As an example of how you can create tables with a star rating, create a new table element, select a flashy background table header with the title name and decide how many stores or products you will review. Every store is placed on a separate table row, all information about the store, including a phone number, is provided in the first column, its blog post on a certain topic the second or third, and the rating is placed in the last column.