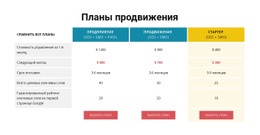
Как использовать элемент Table при создании веб-страницы


Конструкции табличных блоков
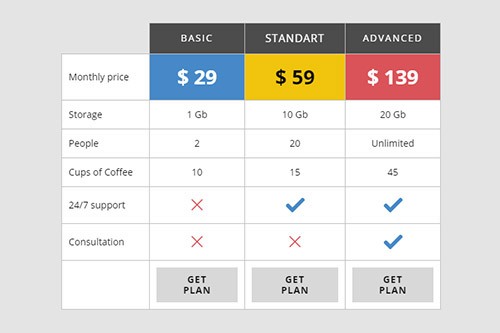
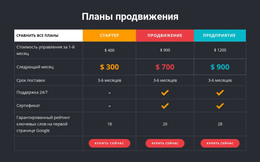
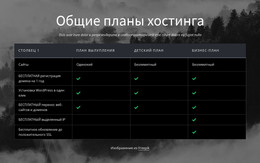
Вы также можете легко начать с элемента Table. И вы можете использовать дизайнерские блоки, содержащие элемент Table. Нажмите на значок «Добавить» на панели быстрого доступа, перейдите в раздел «Таблица», выберите «Таблица» и любой дизайн «Таблица» в открывшейся панели.
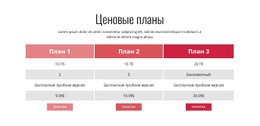
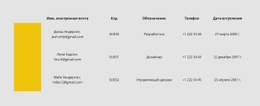
Столбцы и строки таблицы
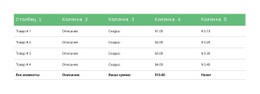
Подобно любому другому элементу, имеющему столбцы и строки, вы можете изменить количество столбцов и строк таблицы, перетащив соответствующие ползунки на панели свойств для выбранного элемента таблицы.

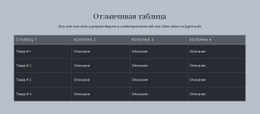
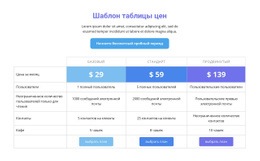
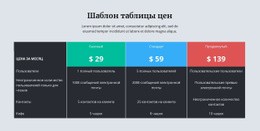
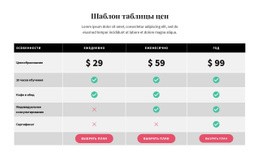
Оформление таблицы
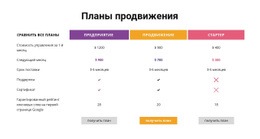
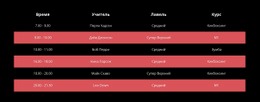
Как и все составные элементы в Nicepage, популярные в веб-дизайне, вы можете стилизовать таблицу в соответствии с вашим макетом. Щелкните элемент Таблица в блоке. Перейдите на панель свойств справа и щелкните ссылки раздела, чтобы перейти к панелям для изменения соответствующих свойств таблицы.
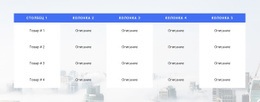
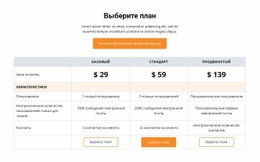
Столбцы и строки перемещения таблицы
Вы можете управлять столбцами и строками в выбранном элементе таблицы. Затем нажмите на таблицу в своем блоке, чтобы выбрать. Щелкните параметр «Переместить» в контекстном меню мыши или значок дополнительных параметров контекстной панели, чтобы переместить столбцы влево и вправо, а строки — вверх и вниз.
Бесплатные шаблоны с Элемент таблицы
Начните работу с нашими лучшими шаблонами, которые отлично подходят для любого бизнеса. Создавайте и настраивайте их с помощью нашего мощного и бесплатного конструктора веб-сайтов без кода. Все шаблоны оптимизированы для мобильных устройств и отлично смотрятся на любом устройстве.


How To Create Tables For Your Nicepage Website?
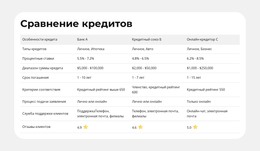
During the building of your site, you may require to create tables for various purposes. If you want to create a new table similar to the HTML Table Element, you must first decide how many columns & rows you will be using and what information you will present in them. Create new tables with blog post hyperlinks, modify table rows and columns with social media tools, or integrate as many columns and rows as you need using our program. So how the columns and rows are arranged and the number of columns & rows changed using the simple toolkit of our program?
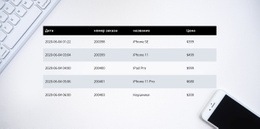
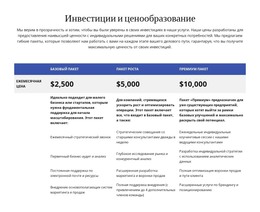
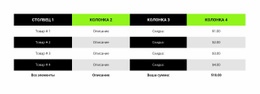
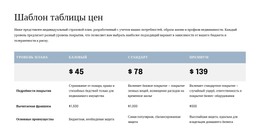
Log in to your account using your email address or accounts in google or Facebook. Open the Add Elements, and select on the Table Element. The new table will appear on your page layout, and on the right side of it, you will see the panel, where all customization of your current and future new tables will occur. At any moment, you can add the required number of columns and rows in the table by dragging the slider table element below the columns and rows back and forth or manually by clicking on the responsive tables themselves to add new cells. Pick the different background colors for rows and columns using simple background color shading or the complex one combined with two colors to stress certain table data.
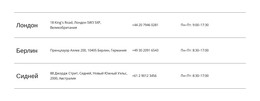
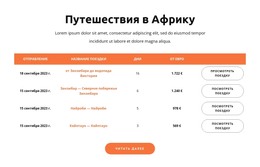
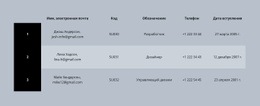
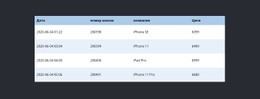
How to create a table with new drag and drop elements, and how do elements in your table element make it unique? Create responsive tables and quickly add the image element you want to the table header by clicking the star icon above the cell you want to customize. Like the HTML table and image elements, you can add a hyperlink to your blog post, email address, terms of service, or the contact form to the footer. If the table is too big, add the skip to content button to concentrate the visitor on the important content. Add a star rating element if you create new table data or modify an existing table for an online store or table data about various products or services quality with a blog post as proof. As an example of how you can create tables with a star rating, create a new table element, select a flashy background table header with the title name and decide how many stores or products you will review. Every store is placed on a separate table row, all information about the store, including a phone number, is provided in the first column, its blog post on a certain topic the second or third, and the rating is placed in the last column.