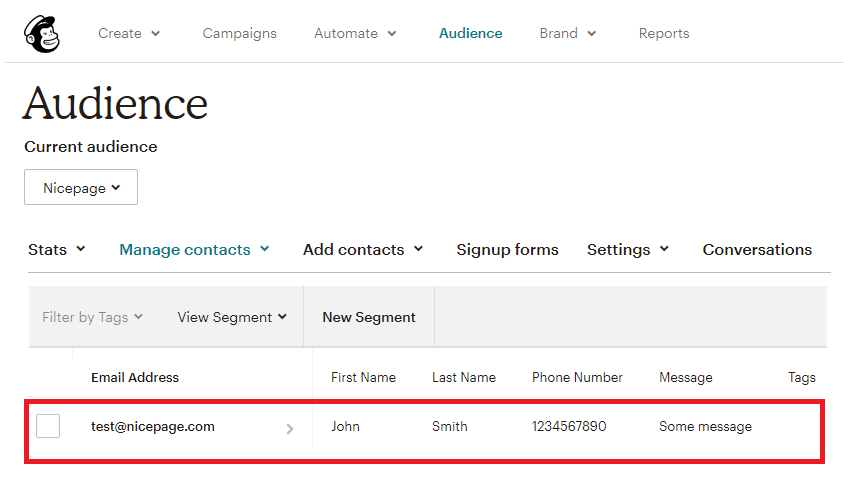
This article describes how to populate MailChimp's list with data captured by the Nicepage Form. For example, you need a Form containing the Email, First Name, Last Name, Phone, and Message fields. The Form should send this data to Mailchimp.
Nicepage Form supports basic fields such as Email, Message, and Phone, as well as custom fields such as Text, Textarea, and Checkbox. You can use the custom First Name and Last Name fields.
Add Contact Form
You can add the Contact Form Element from the Add Menu.
Modify Contact Form
Remove the unnecessary fields and add custom fields of Input type for First Name and Last Name:
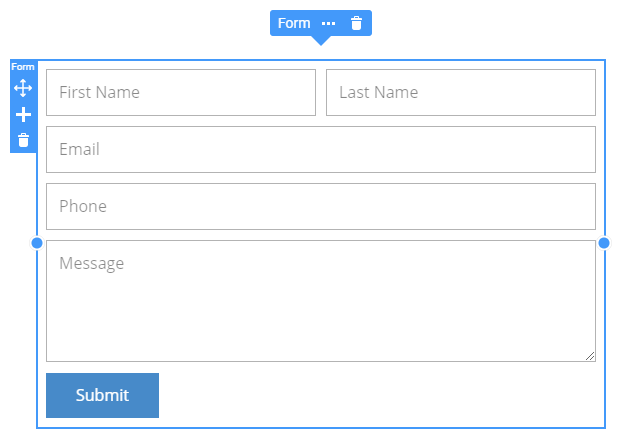
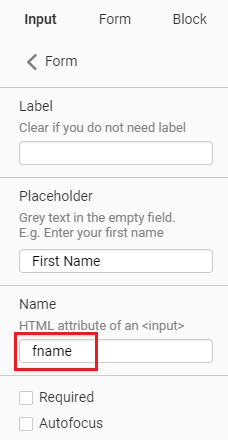
Add unique name attributes for the custom fields.
Create Audience
For the new Mailchimp account, the Audience is created automatically, and Mailchimp fills it in with the details you provide.
Read more about adding a new Audience
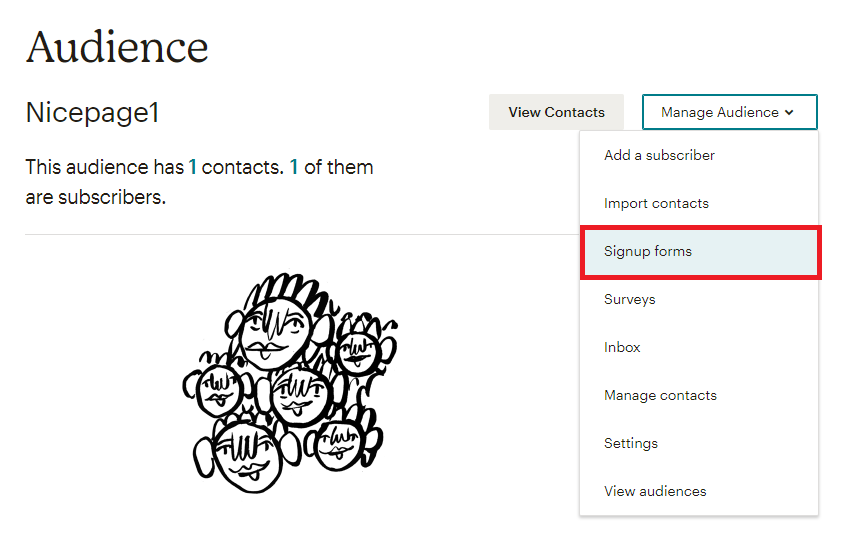
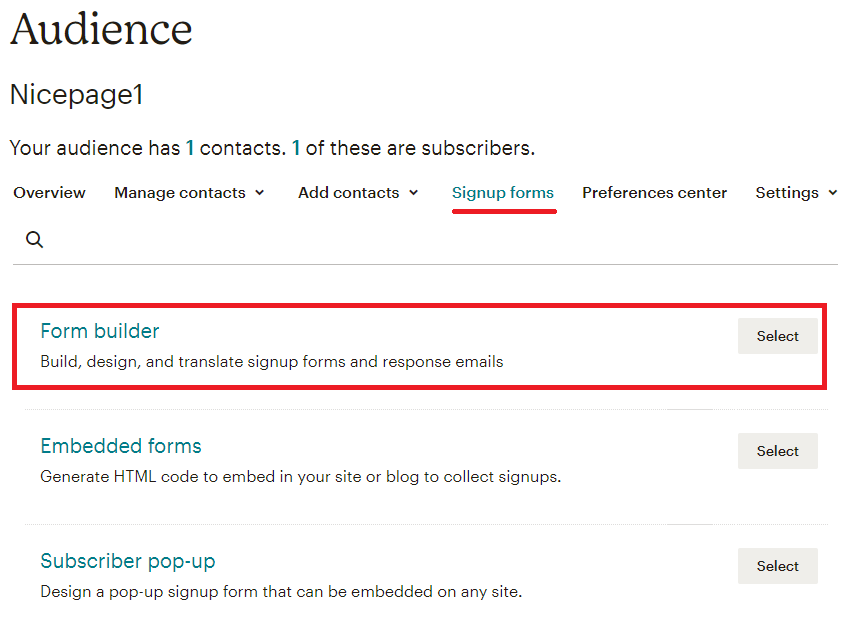
Once the Audience is created, select it in the list and click Signup forms.
Select Form Builder.
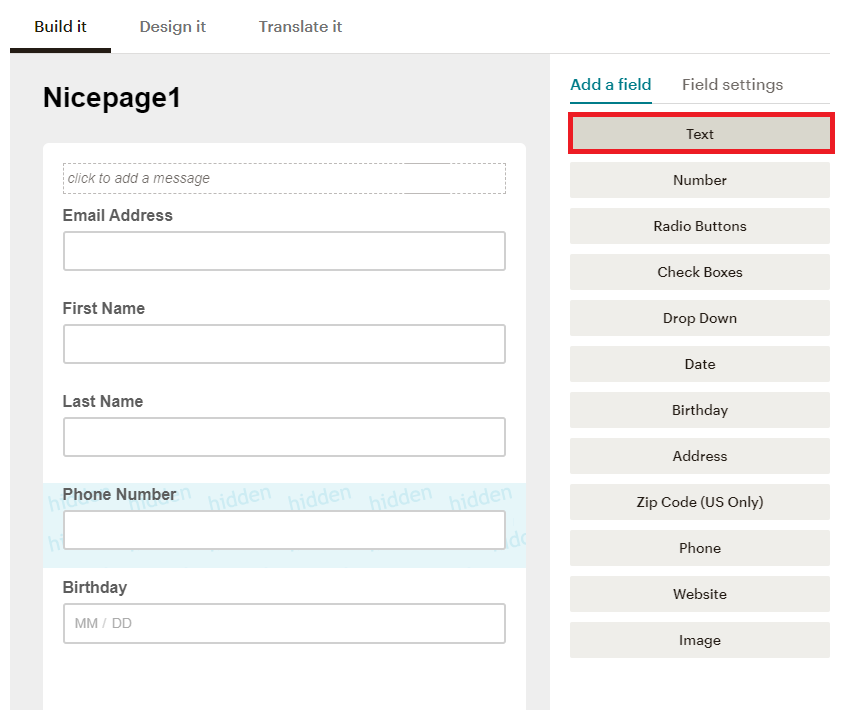
Build the Form with the same fields you created in the Nicepage Editor.
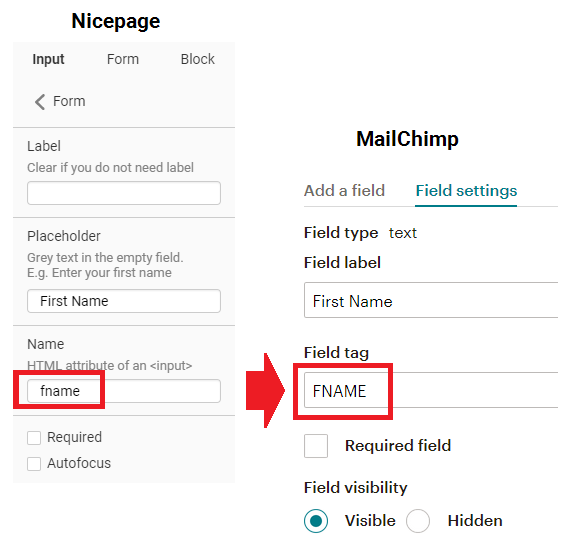
Specify Field Tags
IMPORTANT! The data in the Field Tag of the fields in the MailChimp form must match the name attributes of the corresponding Nicepage fields.
Please note that you should only type MailChimp's Field Tag name attributes in uppercase.
Submit Code
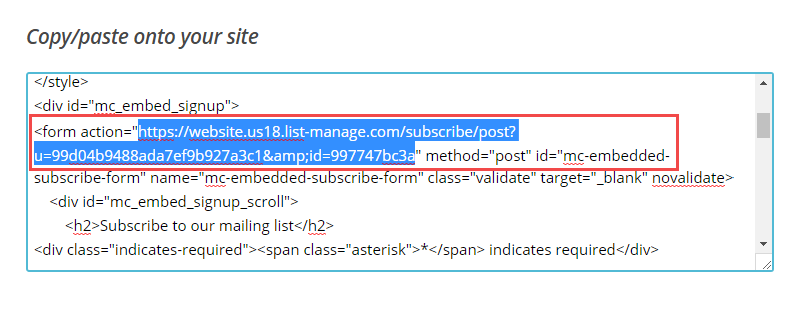
Go to Signup Forms - > Embedded Forms section.
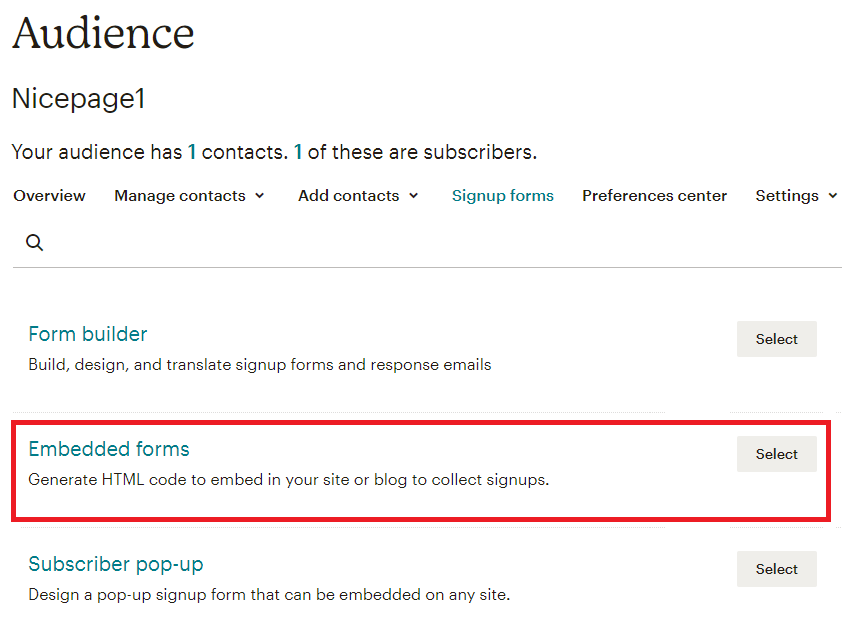
Like previously, go to the Classic tab and copy the Form Action URL.
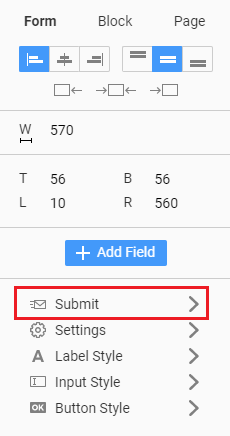
Return to Nicepage, select your Form, go to the Property Panel, select the Submit Tab, and select MailChimp.
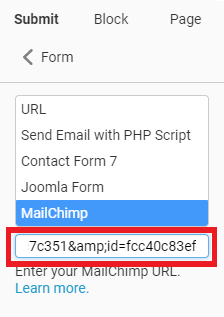
Paste the copied Action URL into the field under the list.
Save Changes.
Test Contact Form
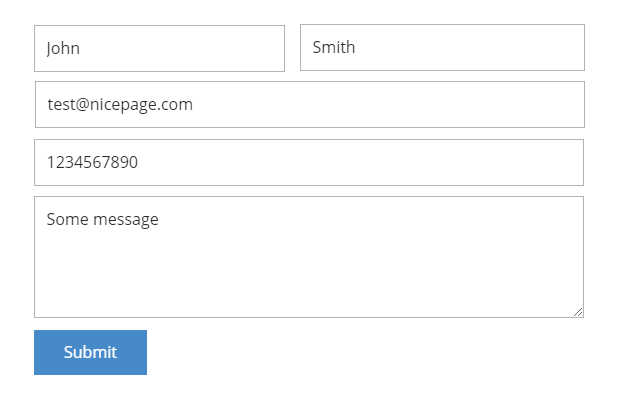
You can now test your Form. Enter data into the Contact Form fields, then click on the "Submit" button in the browser preview.
Return to your MailChimp and verify that you get the new form submission.