Beach Tours Template


Two destination slides create a stronger travel showcase than a static panel
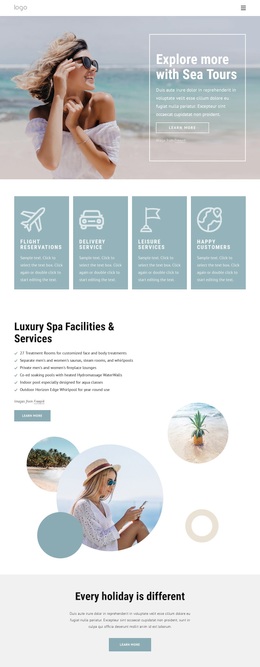
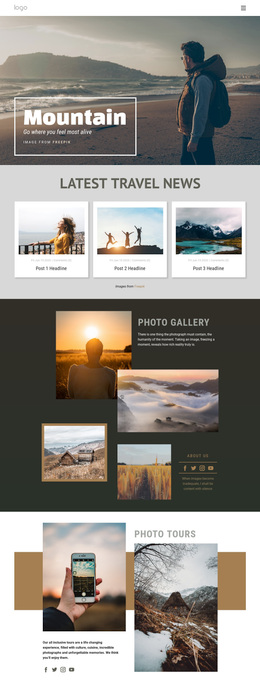
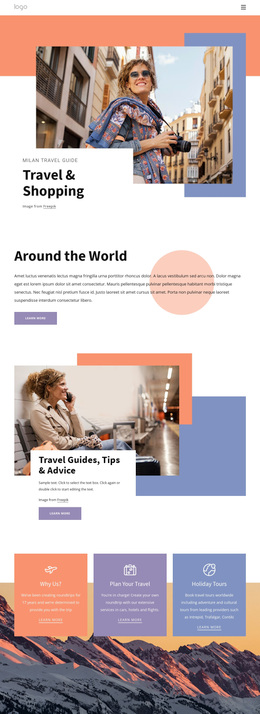
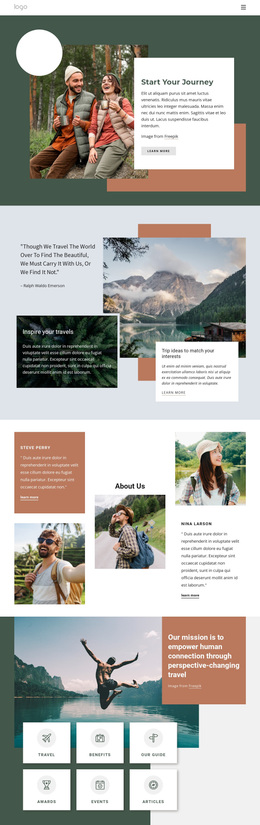
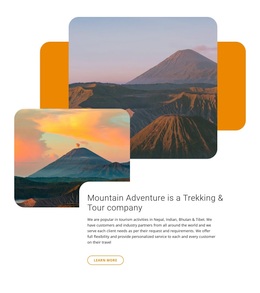
The section combines several characteristics that make it a specific design choice among travel-oriented blocks. Instead of presenting one fixed photograph beside text, it uses two carousel slides to create a small destination sequence. Each slide places large beach imagery behind or above an overlapping white panel, so the visual subject remains prominent while the heading and supporting description stay readable. The orange accent geometry adds a contrasting shape that helps the composition feel more deliberate than a simple rectangular content row.
This arrangement is useful when a page needs to introduce beach destinations with strong visual presence but limited text density. The carousel controls and indicators make the second destination part of the design rather than an unseen duplicate, and the repeated panel keeps the content pattern easy to follow. The “Beach Tours” heading supplies a clear subject for one slide, while the attribution line preserves source information beside the relevant image.
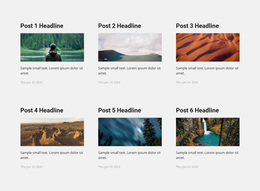
Compared with a conventional card grid, the block gives one destination image more space and uses overlap to create depth. Compared with a full-width static hero, it provides an additional browsing moment through the second slide. That balance makes it a practical choice for a focused travel introduction, destination preview, or visual transition where imagery should lead and explanatory text should remain concise.
Customize with Nicepage
Open this ready-made template in the Template Builder and customize it visually in the Nicepage editor. Replace demo content, edit page sections, and adapt the design to your project without rebuilding the template from scratch.
Edit Template Offline
2. Create a new page or select existing
3. Click Add new block, search for id 79321 and click enter
Edit Template Online
Create Awesome Websites


Free Nicepage Builder
Keywords
Start With a Ready-Made Template
Choose a Design for a New Page
Use a ready-made template as a starting point instead of creating every page from a blank canvas. When adding a new page in Nicepage, browse available designs, compare different layouts, and choose an option that already fits the general purpose and visual direction of your project.
Browse Different Page Designs
Explore Page Designs using search, thematic categories, Design Sets, and full-page previews. The collection includes layouts for different subjects and page purposes, making it easier to compare alternatives before selecting a design to customize.
Customize the Selected Template
After choosing a design, create the page and continue editing it visually in Nicepage. Replace the demo content, adjust images, typography, colors, sections, and other elements, and adapt the ready-made layout to your own content instead of rebuilding the design from the beginning.
Explore More Design Directions
If the first option does not match your project closely enough, return to the design collection and compare other templates before committing to a layout. This makes the template library useful not only for faster page creation, but also for exploring different visual approaches and finding a suitable starting point for a new project.
This workflow gives you access to a broad collection of ready-made designs that can be selected, compared, and customized according to the needs of each new page or project.