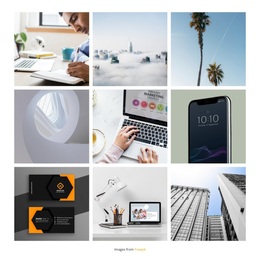
Ice cream menu Template


A compact dessert gallery with strong image variety
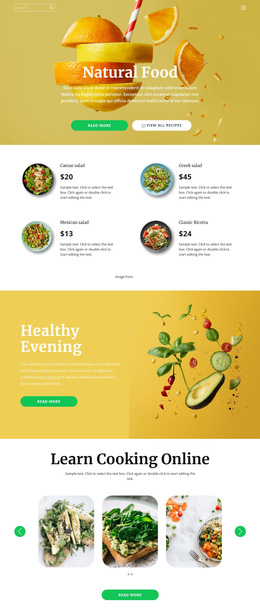
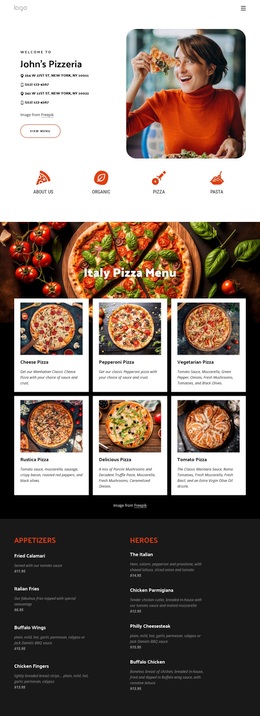
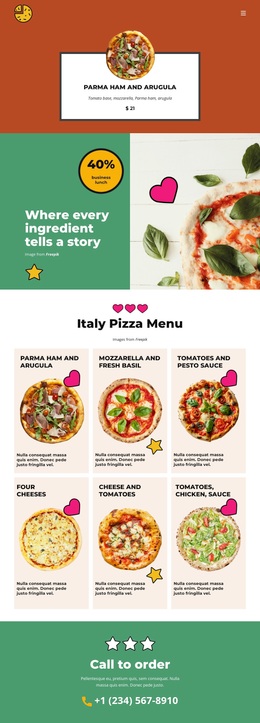
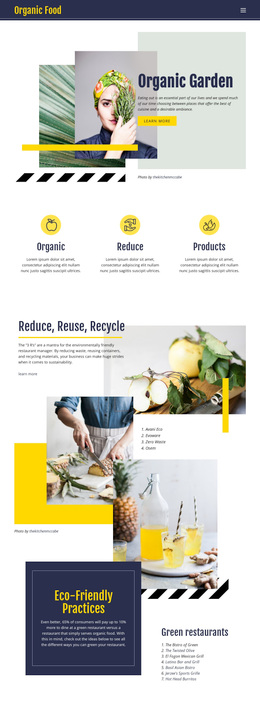
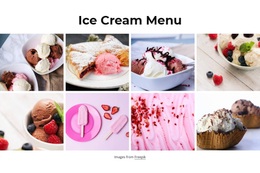
The block stands out through the combination of a direct “Ice Cream Menu” heading, eight dessert photographs, and a four-column, two-row arrangement. Instead of relying on a single hero image or a large amount of descriptive text, it presents ice cream, frozen desserts, fruit, and pastries as a varied visual collection. The evenly sized rectangular tiles keep the section orderly, while the pink, cream, brown, and berry tones create contrast across the grid.
That balance makes this design a useful choice when a page needs a focused gallery with more visual range than one image but less density than a large catalogue. Visitors can understand the subject at a glance, then use the lightbox to inspect individual photographs more closely. The centered heading provides a simple entry point, and the white background keeps the imagery prominent without adding competing decoration.
The centered “Images from Freepik” credit is integrated beneath the gallery rather than being separated from the visual content. This gives the section a finished internal rhythm: title, repeated image presentation, closer viewing, and attribution. Among alternative gallery sections, this option is particularly suited to projects that need a compact dessert showcase with clear image variety and a straightforward visual hierarchy.
Customize with Nicepage
Open this ready-made template in the Template Builder and customize it visually in the Nicepage editor. Replace demo content, edit page sections, and adapt the design to your project without rebuilding the template from scratch.
Edit Template Offline
2. Create a new page or select existing
3. Click Add new block, search for id 1173002 and click enter
Edit Template Online
Create Awesome Websites


Free Nicepage Builder
Keywords
Start With a Ready-Made Template
Choose a Design for a New Page
Use a ready-made template as a starting point instead of creating every page from a blank canvas. When adding a new page in Nicepage, browse available designs, compare different layouts, and choose an option that already fits the general purpose and visual direction of your project.
Browse Different Page Designs
Explore Page Designs using search, thematic categories, Design Sets, and full-page previews. The collection includes layouts for different subjects and page purposes, making it easier to compare alternatives before selecting a design to customize.
Customize the Selected Template
After choosing a design, create the page and continue editing it visually in Nicepage. Replace the demo content, adjust images, typography, colors, sections, and other elements, and adapt the ready-made layout to your own content instead of rebuilding the design from the beginning.
Explore More Design Directions
If the first option does not match your project closely enough, return to the design collection and compare other templates before committing to a layout. This makes the template library useful not only for faster page creation, but also for exploring different visual approaches and finding a suitable starting point for a new project.
This workflow gives you access to a broad collection of ready-made designs that can be selected, compared, and customized according to the needs of each new page or project.