Work and travel Template


Overlapping Photographs Give the Travel Story a Distinctive Shape
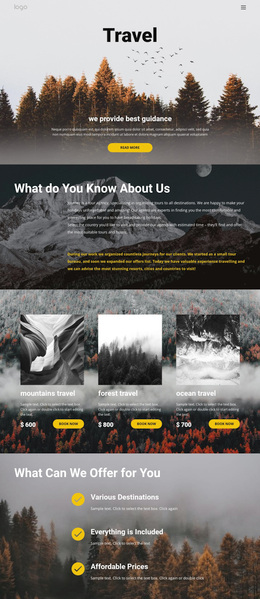
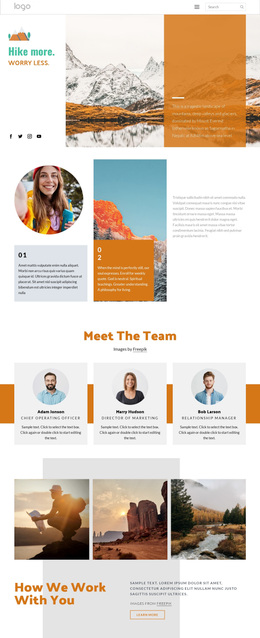
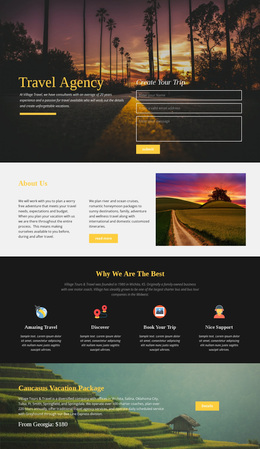
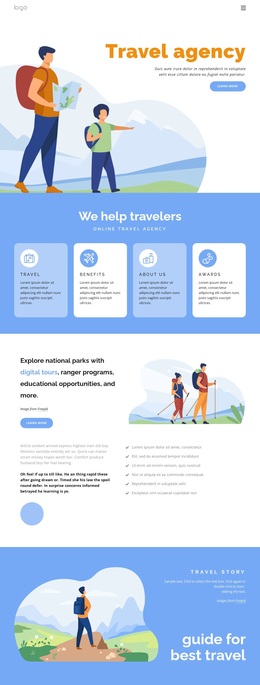
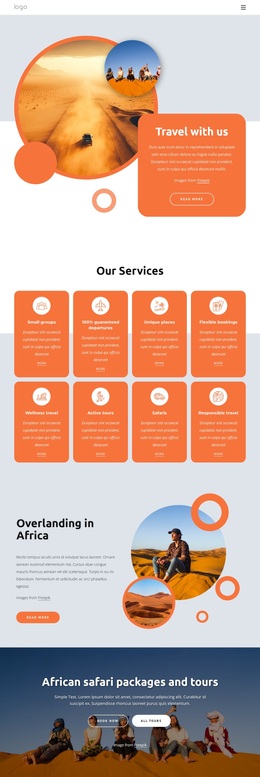
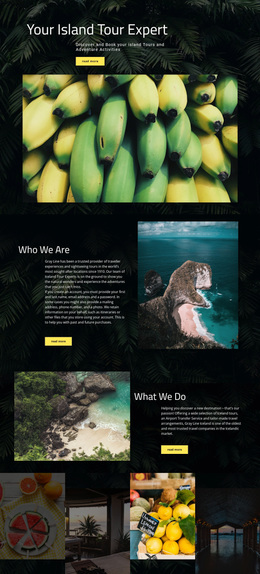
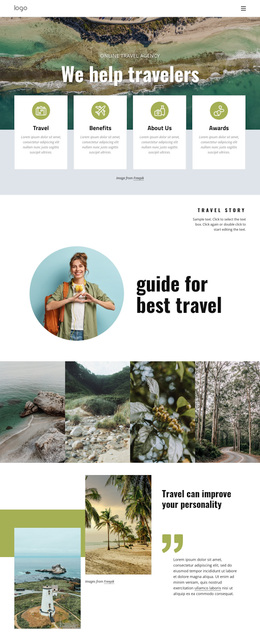
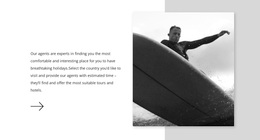
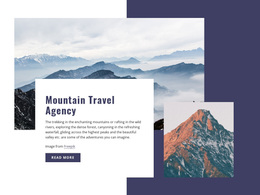
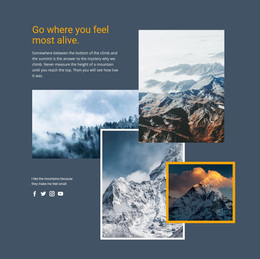
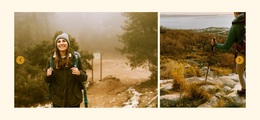
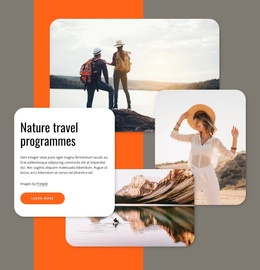
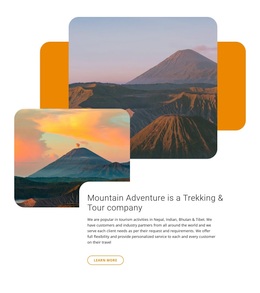
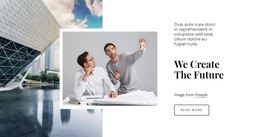
The two overlapping photographs make this section different from a conventional travel introduction built from one banner image or a row of cards. Their offset rectangular placement gives the left side a layered, editorial quality, while the right side remains deliberately simple. The “Travel Tours” eyebrow and “Work, Travel, Save, Repeat” heading establish a recognizable narrative before the supporting paragraph adds context.
That combination makes the block useful when a page needs to communicate a travel concept with both visual character and concise explanation. The image treatment attracts attention without taking over the entire section, and the vertically centered text keeps the composition balanced against the stacked photographs. The compact blue Read More button completes the arrangement by offering a next step without introducing several competing actions.
As a section choice, this design works particularly well when the surrounding page needs an about-style or introductory travel area with more personality than a plain text column. The restrained palette and generous white space leave room for neighboring sections to change direction, while the repeated blue accents provide continuity within this block. Its value lies in the relationship between the layered imagery, compact narrative, and single action, not in a claim that it replaces the rest of a travel project.
Customize with Nicepage
Open this ready-made template in the Template Builder and customize it visually in the Nicepage editor. Replace demo content, edit page sections, and adapt the design to your project without rebuilding the template from scratch.
Edit Template Offline
2. Create a new page or select existing
3. Click Add new block, search for id 52274 and click enter
Edit Template Online
Create Awesome Websites


Free Nicepage Builder
Keywords
Start With a Ready-Made Template
Choose a Design for a New Page
Use a ready-made template as a starting point instead of creating every page from a blank canvas. When adding a new page in Nicepage, browse available designs, compare different layouts, and choose an option that already fits the general purpose and visual direction of your project.
Browse Different Page Designs
Explore Page Designs using search, thematic categories, Design Sets, and full-page previews. The collection includes layouts for different subjects and page purposes, making it easier to compare alternatives before selecting a design to customize.
Customize the Selected Template
After choosing a design, create the page and continue editing it visually in Nicepage. Replace the demo content, adjust images, typography, colors, sections, and other elements, and adapt the ready-made layout to your own content instead of rebuilding the design from the beginning.
Explore More Design Directions
If the first option does not match your project closely enough, return to the design collection and compare other templates before committing to a layout. This makes the template library useful not only for faster page creation, but also for exploring different visual approaches and finding a suitable starting point for a new project.
This workflow gives you access to a broad collection of ready-made designs that can be selected, compared, and customized according to the needs of each new page or project.