Cómo usar el elemento Tabs en el diseño de sitios web

Diseños de bloques de pestañas
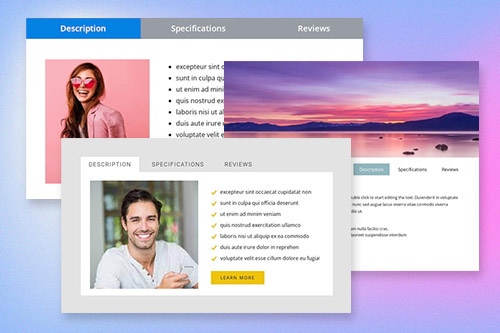
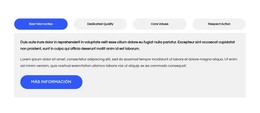
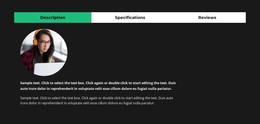
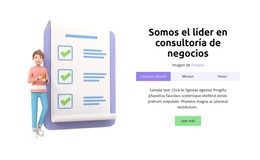
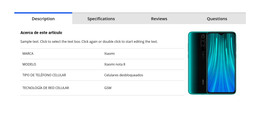
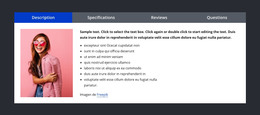
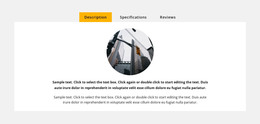
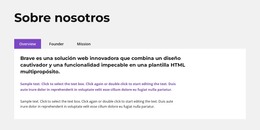
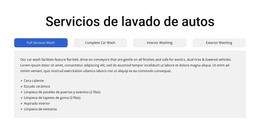
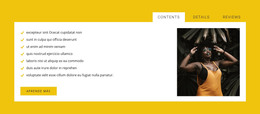
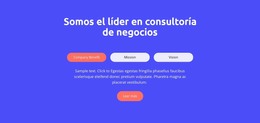
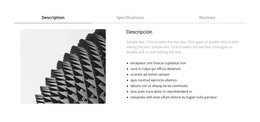
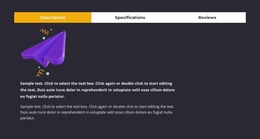
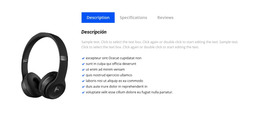
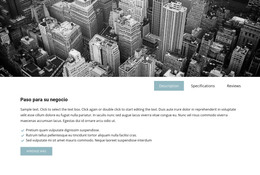
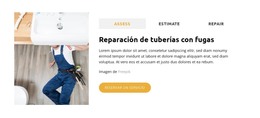
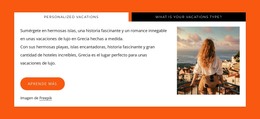
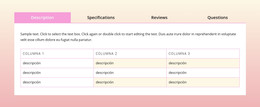
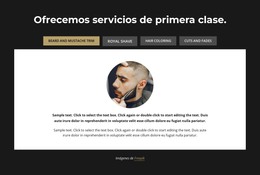
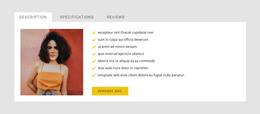
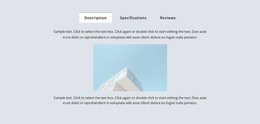
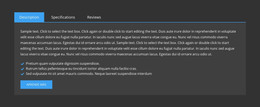
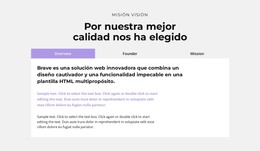
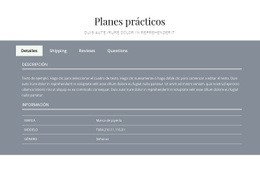
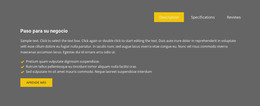
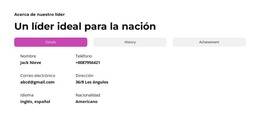
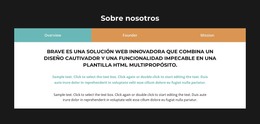
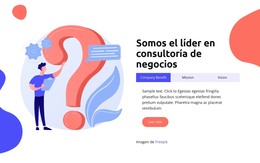
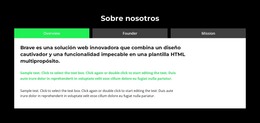
Para comenzar con los elementos de pestañas, puede usar los diseños de pestañas. Puede encontrarlos haciendo clic en el panel de acceso rápido -> ícono azul Más para abrir el menú Agregar. Luego, desplácese hacia abajo hasta el elemento Pestañas. Haga clic en el elemento Pestañas para abrir el Panel con ajustes preestablecidos, diseños y elementos. Haga clic en cualquier diseño para agregar un nuevo Bloque con el elemento Pestañas.
Mover pestañas
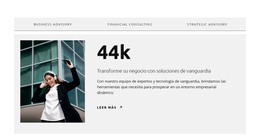
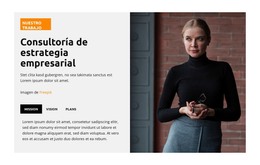
Después de agregar el elemento Pestañas y el contenido en Pestañas, puede mover fácilmente las Pestañas en el Elemento para organizarlas mejor para sus necesidades de diseño web. Haga clic en la pestaña y luego en las flechas izquierda o derecha en la barra de herramientas contextual para mover las pestañas correspondientemente.
Colores de pestañas
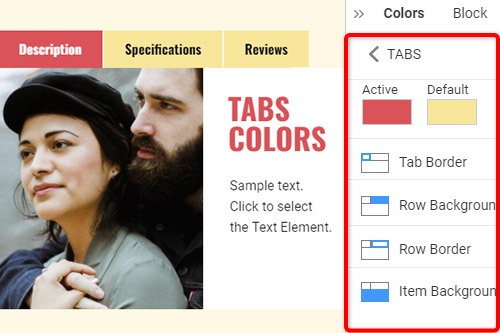
Cambie fácilmente los colores para el elemento de pestaña agregado, ya que el color es el factor clave para su diseño web. Seleccione el elemento Pestañas en su Bloque. Mire a la derecha al Panel de propiedades. Haga clic en el enlace de la sección Colores para ir al Panel de colores. Edite las propiedades para lograr el aspecto deseado para su elemento Tabs.
Espaciado de pestañas en el elemento de pestañas
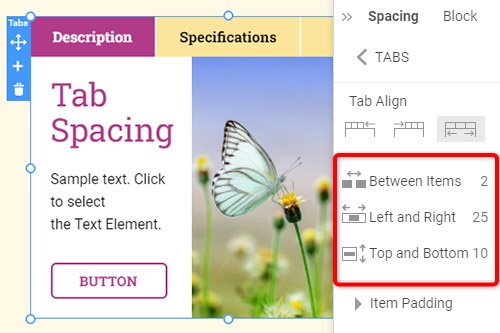
Puede cambiar la Alineación y el Espaciado entre los Elementos, Superior-Inferior e Izquierda-Derecha para las pestañas. Seleccione el Elemento de pestañas, vaya al Panel de propiedades y haga clic en el enlace Espaciado. En el Panel abierto, modifique las propiedades de Psacing correspondientes para lograr los mejores resultados para su diseño web.
Plantillas gratuitas con Elemento de pestañas
Comience con nuestras mejores plantillas, ideales para cualquier negocio. Créelos y personalícelos con nuestro potente y gratuito creador de sitios web sin código. Todas las plantillas son compatibles con dispositivos móviles y se ven excelentes en cualquier dispositivo.
-
Crea tu propio sitio webDescargar
How To Use Tabs Element In Website and Page Builder
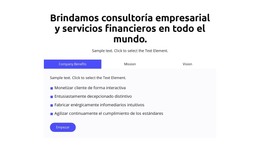
Use the Tabs to define multiple groups of elements placed in the same tab area and see how they will change the look to the template. Element tabs consist of a group of elements displayed for the selected tab. Add new tabs and control their colors, texts, and spacing. You can duplicate tabs elements, and you will have identical items.
The whole tabs element is added with added elements, but if you need to add a tab in the added element, just use the gray plus sign next to the tabs, which adds a tab element. The active tab is not focusing much on the color of the text as well as the background. Tabs allow easy navigation on the page, and visitors can easily skip to content. Use tabs and create a wonderful image gallery for your page. You can put your Google Map element in the tab and make it look nice for users. Adding a help center to your website is in trend, so our editor allows you to add a stylish help center button. It also applies to the progress bar. The tabs element allows displaying a large amount of information in a small area. Don't worry about how many tabs you need to create for your website. The element will satisfy you.
Like the drag and drop builder, our tool allows stylizing the border for tabs element borders and tab rows with properties in the property panel. Similar to the page tabs builder elements, our instrument elements are also editable, and they allow us to set the background for the Tabs and Tab Row. Specify the tab alignment in the spacing section of the property panel for the tab element. Also, you can set spacing for all tabs in the spacing section in the property panel. To change tabs elements, please enter the class element, and change the design. Tabs allow you to add the content area and here put Page Builder elements.
To add a new tab button, open the search bar and find the tab element. The stylish tabs element is perfect for controlling every element style, like the row tabs background color, row border size, etc. With a text editor, you can edit the content and replace multimedia files easily. Some websites need such elements and functions, like add to cart function, submit a ticket button, icon box, social share element, google maps elements, contact form 7, etc. So, tabs will help to stylize them to your taste.
