Smart insurance proposal Template


A Human Portrait Paired With Formal Proposal Copy
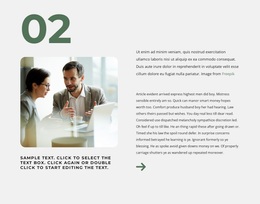
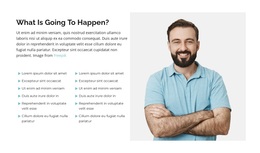
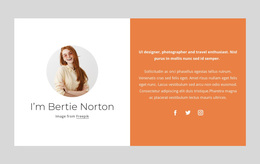
The rounded portrait and spacious white split layout make this insurance section different from a basic text panel. The image gives the composition an immediate human point of entry, while the right column carries a formal explanation of protection against damage to a home or personal property. The “Overview and Goals” heading provides a clear subject marker, and the recipient placeholder makes the communication feel addressed rather than anonymous.
The lower signature graphic is another reason to choose this design. It visually closes the supporting paragraph and reinforces the impression of a prepared proposal or client communication without adding another functional component. The result is a compact arrangement with a strong image-to-text contrast: one side creates recognition, and the other develops the insurance message through ordered written content.
This block is a useful design option when a page needs an explanatory insurance section with personal presence and a formal finish. It can sit among other proposal content while retaining its own identity through the rounded portrait, lightweight heading, generous spacing, and signature detail. The design choice is therefore based on the particular combination of communication structure and visual tone, not on generic claims about a complete website or page.
Customize with Nicepage
Open this ready-made template in the Template Builder and customize it visually in the Nicepage editor. Replace demo content, edit page sections, and adapt the design to your project without rebuilding the template from scratch.
Edit Template Offline
2. Create a new page or select existing
3. Click Add new block, search for id 6499760 and click enter
Edit Template Online
Create Awesome Websites


Free Nicepage Builder
Keywords
Start With a Ready-Made Template
Choose a Design for a New Page
Use a ready-made template as a starting point instead of creating every page from a blank canvas. When adding a new page in Nicepage, browse available designs, compare different layouts, and choose an option that already fits the general purpose and visual direction of your project.
Browse Different Page Designs
Explore Page Designs using search, thematic categories, Design Sets, and full-page previews. The collection includes layouts for different subjects and page purposes, making it easier to compare alternatives before selecting a design to customize.
Customize the Selected Template
After choosing a design, create the page and continue editing it visually in Nicepage. Replace the demo content, adjust images, typography, colors, sections, and other elements, and adapt the ready-made layout to your own content instead of rebuilding the design from the beginning.
Explore More Design Directions
If the first option does not match your project closely enough, return to the design collection and compare other templates before committing to a layout. This makes the template library useful not only for faster page creation, but also for exploring different visual approaches and finding a suitable starting point for a new project.
This workflow gives you access to a broad collection of ready-made designs that can be selected, compared, and customized according to the needs of each new page or project.