Season Winter Sports Template
Edit Template Offline
2. Create new page and search for id 23145
Edit Template Online
Create Awesome Websites


Free Nicepage Builder
Keywords
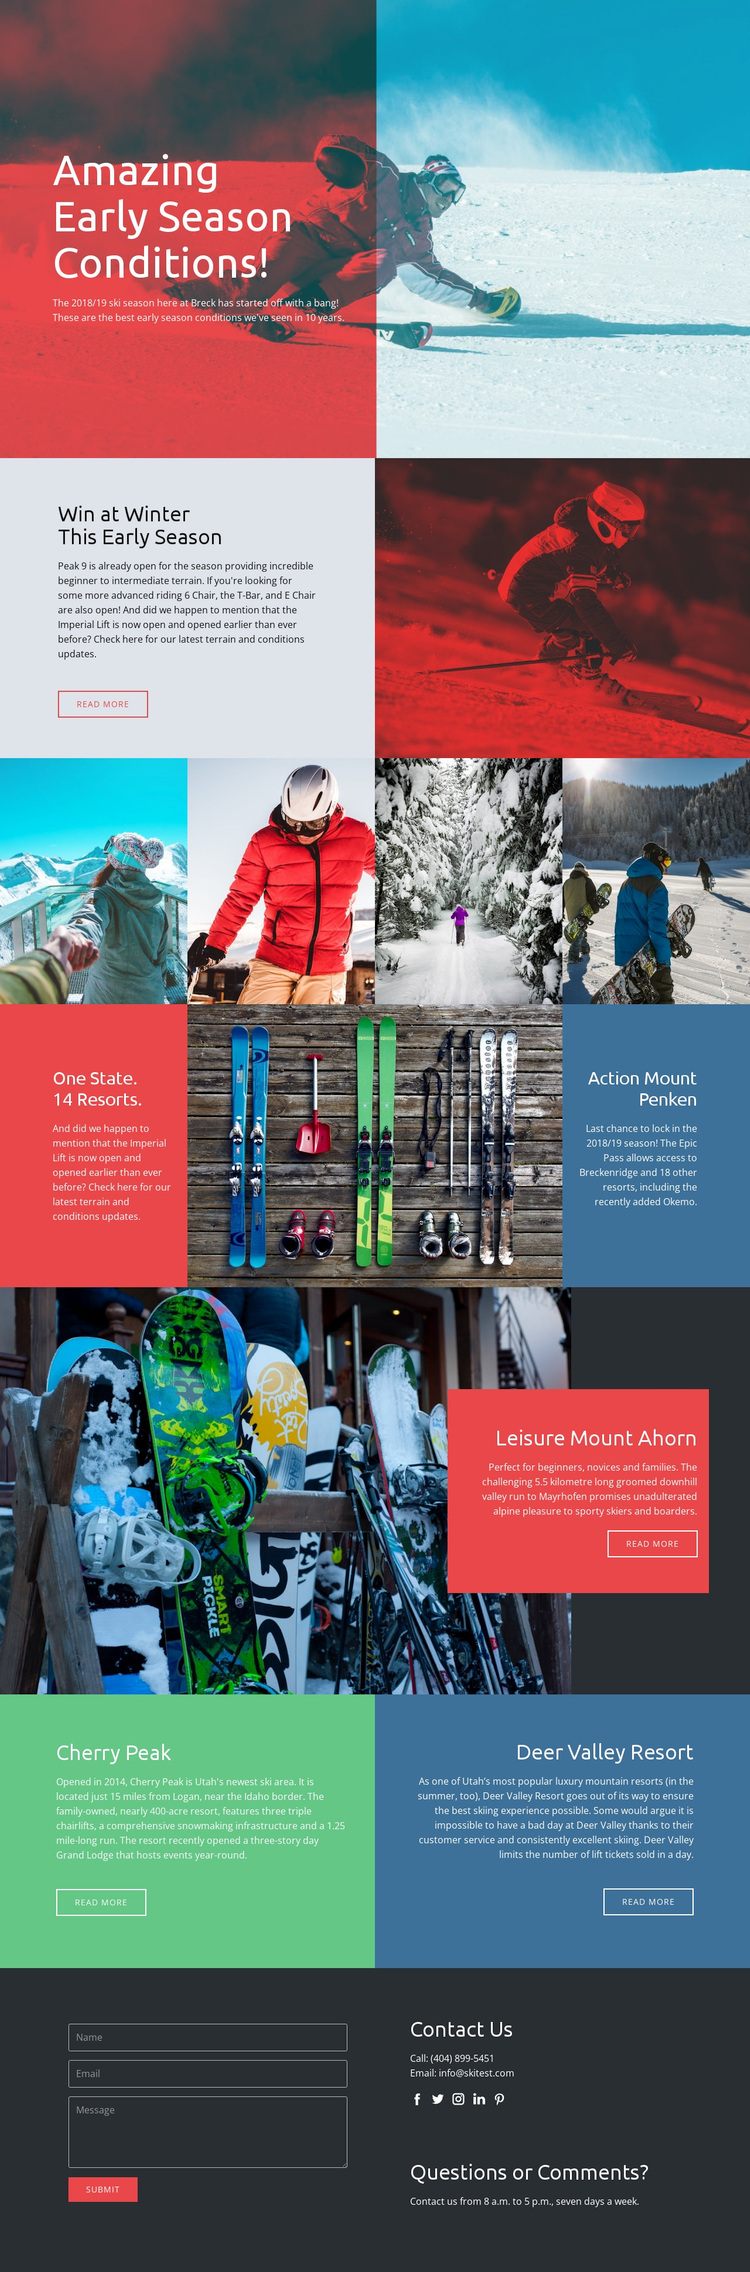
Ski Photography and Resort Comparisons Give This Design a Clear Direction
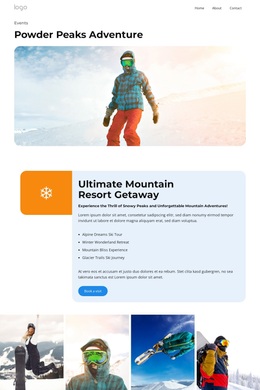
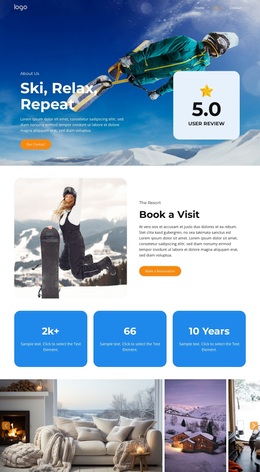
Large winter photography carries much of the page’s message, beginning with the full-width hero and its early-season conditions headline. That visual emphasis continues through the four-panel ski gallery, making the design a strong option for projects where destinations and outdoor atmosphere need to be understood quickly. The images are not isolated decoration; they alternate with text-led panels that explain terrain, resort availability, and destination content.
The connected tiles add a second distinctive quality. A resort-count message, central equipment image, and promotional panel create a compact way to present broader resort or pass information without relying on a dense list. The later Mount Ahorn feature adds a large image with a contrasting red card, while the Cherry Peak and Deer Valley Resort panels place two destinations side by side. Together, these sections give the page more content coverage than a design built around only one hero and a single service grid.
The closing contact area makes the design practical for resort information and inquiry projects. Visitors can move from seasonal context and photographic discovery toward a form, contact details, and social channels. This combination suits ski resorts, winter travel promotions, and outdoor recreation pages that need visual storytelling, destination comparison, and a direct way to continue the conversation.
Customize with Nicepage
Open this ready-made template in the Template Builder and customize it visually in the Nicepage editor. Replace demo content, edit page sections, and adapt the design to your project without rebuilding the template from scratch.
Start With a Ready-Made Template
Choose a Design for a New Page
Use a ready-made template as a starting point instead of creating every page from a blank canvas. When adding a new page in Nicepage, browse available designs, compare different layouts, and choose an option that already fits the general purpose and visual direction of your project.
Browse Different Page Designs
Explore Page Designs using search, thematic categories, Design Sets, and full-page previews. The collection includes layouts for different subjects and page purposes, making it easier to compare alternatives before selecting a design to customize.
Customize the Selected Template
After choosing a design, create the page and continue editing it visually in Nicepage. Replace the demo content, adjust images, typography, colors, sections, and other elements, and adapt the ready-made layout to your own content instead of rebuilding the design from the beginning.
Explore More Design Directions
If the first option does not match your project closely enough, return to the design collection and compare other templates before committing to a layout. This makes the template library useful not only for faster page creation, but also for exploring different visual approaches and finding a suitable starting point for a new project.
This workflow gives you access to a broad collection of ready-made designs that can be selected, compared, and customized according to the needs of each new page or project.