Investment consulting group Html Code Example



Edit Template Offline
2. Create new page and search for id 6464346
Edit Template Online
Create Awesome Websites


Free Nicepage Builder
Keywords
The Calendar, Pricing, and Form Create Practical Extension Zones
The appointment calendar in the hero gives the page an identifiable interaction point from the first screen. It sits beside the business-care message and Get Started button, so a project that needs additional scheduling logic or an external booking component has a clear place to extend the existing layout. The three service cards provide another set of defined content zones, while the accounting support section gives more room for a specialized business or financial component.
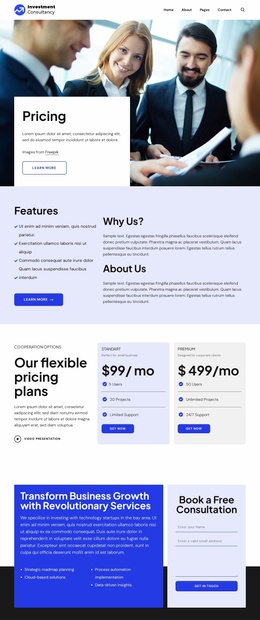
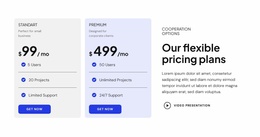
The pricing area introduces Standard and Premium cards with monthly values and feature lists, but the sample prices should be treated as demonstration content rather than real commercial terms. A custom code element could support project-specific pricing behavior, comparison logic, or an embedded service widget near these cards without requiring the surrounding page to be rebuilt. The gallery-style focus tiles and business photography can remain the visual context for such additions.
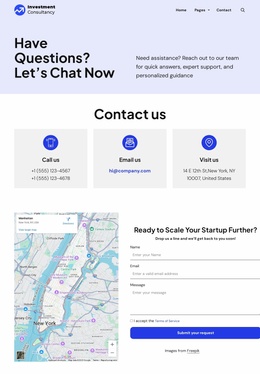
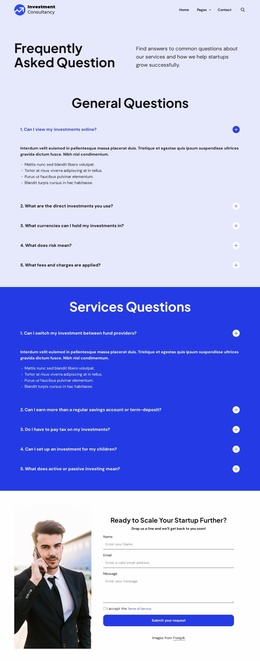
At the bottom, the Book a Free Consultation message and contact form already establish a natural response area. Custom markup, styling, or third-party functionality can be placed beside or around that form when the final project needs an integration beyond the visible page elements. The important advantage is the separation of extension points: scheduling belongs near the hero, service or plan additions near their related content, and response functionality near the closing consultation section.
Customize with Nicepage
Open this ready-made template in the HTML Code Generator and customize it visually in the Nicepage editor. Replace demo content, edit page sections, and adapt the design to your project without rebuilding the template from scratch.
Extend This Page With Custom HTML Code
Insert Code With the HTML Element
Use the HTML Element to add custom code directly to a Block in the Nicepage editor. Enter the required markup in the Code field when the page needs content or functionality that is not available through the standard page elements.
Place the HTML Element in the Layout
Treat the HTML Element as part of the visual page composition. Adjust its position, width, height, alignment, and margins to place the custom content where it belongs alongside text, images, buttons, and other elements. This makes it possible to combine visually edited sections with project-specific code without separating the custom element from the rest of the layout.
Add HTML, CSS, JavaScript, and External Components
The HTML Element supports HTML, CSS, and JavaScript, allowing you to extend the page with custom markup and interactive functionality. It can also be used to embed custom code and third-party components, such as social feeds, advertising code, widgets, or other external functionality required by the project.
This workflow makes the template useful for projects that need a visual page editor together with custom HTML code, JavaScript, embedded components, and functionality beyond the standard page elements.

Design Set (20)
-
Customize Any TemplateDownload
-

-
-
-
-
-
-
-
-
-















More from Business & Law Html Code Examples
-
Customize Any TemplateDownload