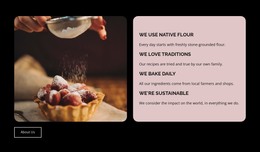
We're sustainable Html Code Example


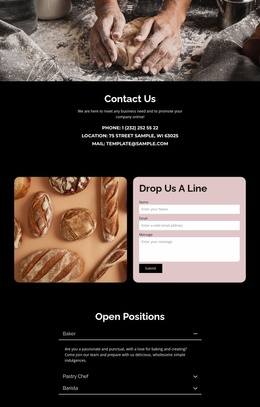
Side-by-Side Fields Leave a Clear Extension Area
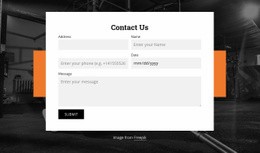
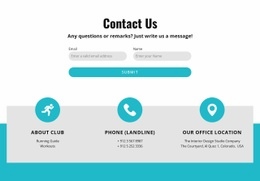
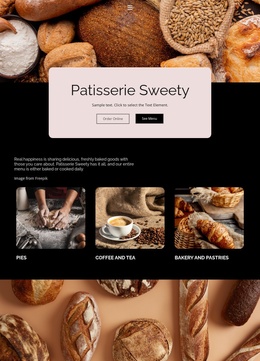
The email and name fields already define the block’s essential input relationship: two pieces of contact information are presented in one horizontal row beneath the centered “Contact Us” heading. The single Submit button then spans the form below that row, giving the section a clear response point. Around these controls, the bakery-themed image supplies context and the light central area protects the form from visual clutter. The Freepik credit line remains a small supporting detail within the same region.
That separation creates logical places for optional project-specific extensions if the finished section needs more than its existing content. A custom element could be positioned near the form’s input region for an additional data field, an external validation message, or another contact-related integration, provided the added function supports the same information-collection purpose. It should not obscure the side-by-side fields or weaken the full-width Submit button as the form’s final action. The surrounding image can remain a visual frame while the central content stays responsible for interaction. In this HTML Code context, custom markup is therefore best understood as a controlled addition around the real contact areas, not as a replacement for the bakery image, heading, fields, or submission structure already established by the block.
Customize with Nicepage
Open this ready-made template in the HTML Code Generator and customize it visually in the Nicepage editor. Replace demo content, edit page sections, and adapt the design to your project without rebuilding the template from scratch.
Edit Template Offline
2. Create a new page or select existing
3. Click Add new block, search for id 6166959 and click enter
Edit Template Online
Create Awesome Websites


Free Nicepage Builder
Keywords
Extend This Page With Custom HTML Code
Insert Code With the HTML Element
Use the HTML Element to add custom code directly to a Block in the Nicepage editor. Enter the required markup in the Code field when the page needs content or functionality that is not available through the standard page elements.
Place the HTML Element in the Layout
Treat the HTML Element as part of the visual page composition. Adjust its position, width, height, alignment, and margins to place the custom content where it belongs alongside text, images, buttons, and other elements. This makes it possible to combine visually edited sections with project-specific code without separating the custom element from the rest of the layout.
Add HTML, CSS, JavaScript, and External Components
The HTML Element supports HTML, CSS, and JavaScript, allowing you to extend the page with custom markup and interactive functionality. It can also be used to embed custom code and third-party components, such as social feeds, advertising code, widgets, or other external functionality required by the project.
This workflow makes the template useful for projects that need a visual page editor together with custom HTML code, JavaScript, embedded components, and functionality beyond the standard page elements.











More from Food & Restaurant Blocks
-

-

-
-
-
-
-
-
-
-
-
Customize Any TemplateDownload
-
-
-
-
-
-
-
-
-
-















More from Contact Form Blocks
-

-
-
-
-
-
-
-
-
-
-
Customize Any TemplateDownload
-
-
-
-
-
-
-
-
-
-