The Menu is the main Navigation Element of any website. Usually, the Header has a Menu that is reachable from all site pages. The Menu can contain links to Pages, Blocks on a Page, URLs, and Files.
The following video tutorial was made with one of the previous versions. We are updating the videos.
Build Menu From Pages
You can install the Nicepage Application for Windows or Mac OS. Please read more about installing Windows Application or Mac OS Application.
- Run Nicepage.
- Click on the Menu Element with Items created automatically for Pages in the Header.
- Open the Page Panel or go to the Dashboard.
- Create a new page, or
- Duplicating the existing one.
- In the Editor, open any page, for example, Page 1.
- The Menu Item is automatically added to the Menu for the new page.
- Preview the page.
You can see the changes made to the Menu correspond to those made with Pages.
Edit Menu
You can add many pages to the Menu, create a multilevel Menu, and link not only to Pages. Please learn about the Menu For One-Page Website.
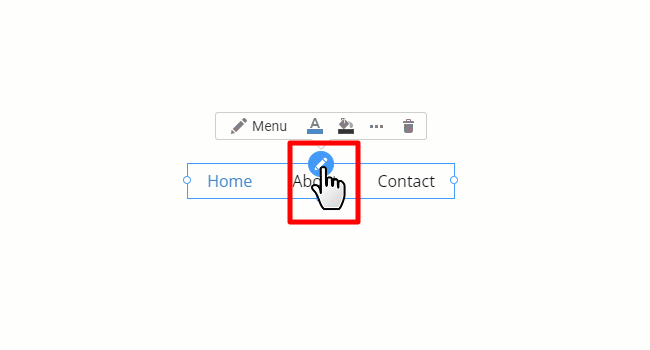
- Select the Menu Element.
- Double-click the Menu to edit.
- Rename any page.
- Add a new Menu Item without a link to a Page.
- Change the Page Order.
- Click Done.
- Preview the Page
Again, you can see the changes that you made to the Menu.
Link Settings
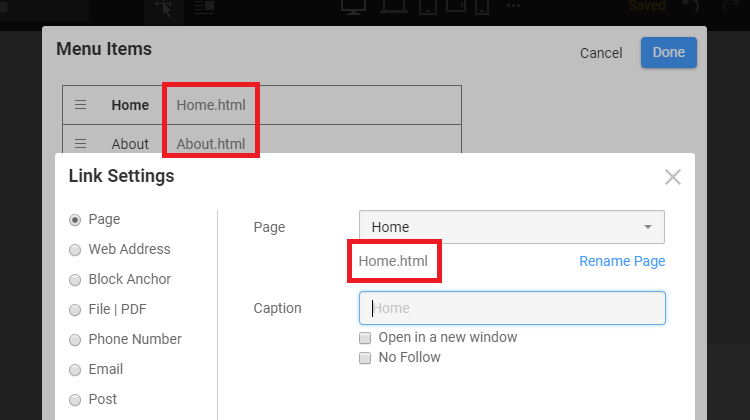
You can find the separate Page Rename operation for the Menu, which you can use to rename pages from the Link Settings dialog if needed.
Link To Item Styles
To simplify the navigation to the Color and Font properties of the Menu Items, you can click the Item Styles link in the Menu Items dialog.
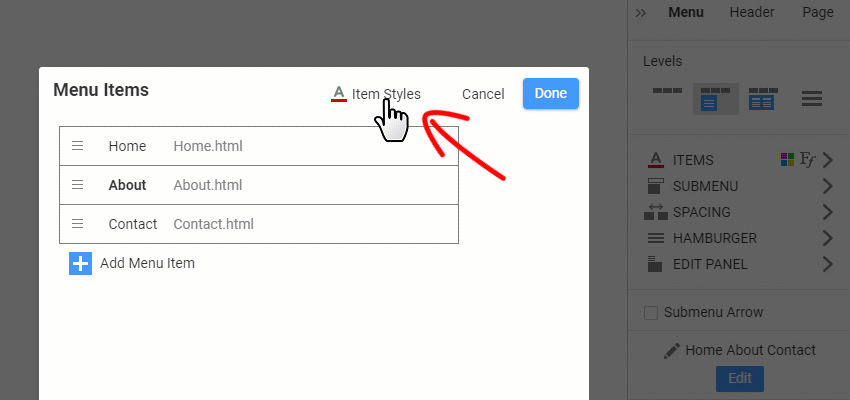
After clicking the dialog link, you can also see the Arrow and Tooltip pointing to the Item section in the Property Panel.
Link To Page Address
You can see the Page Address in the Link Settings and Edit Menu dialogs.
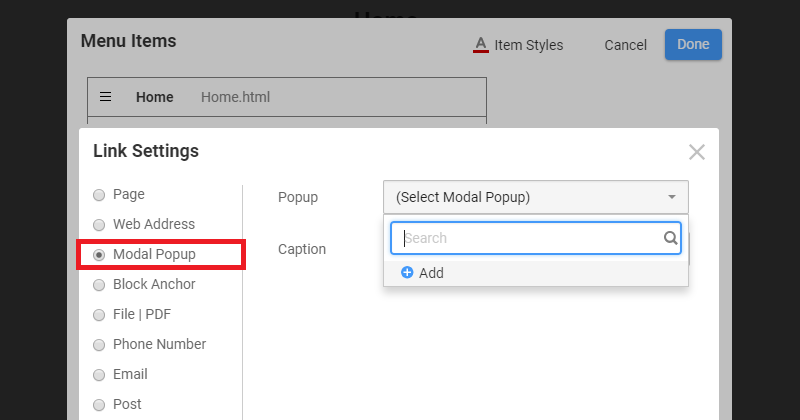
Link to Modal Popup
You can also assign the Modal Popup option to the Link Settings of the Menu Items.
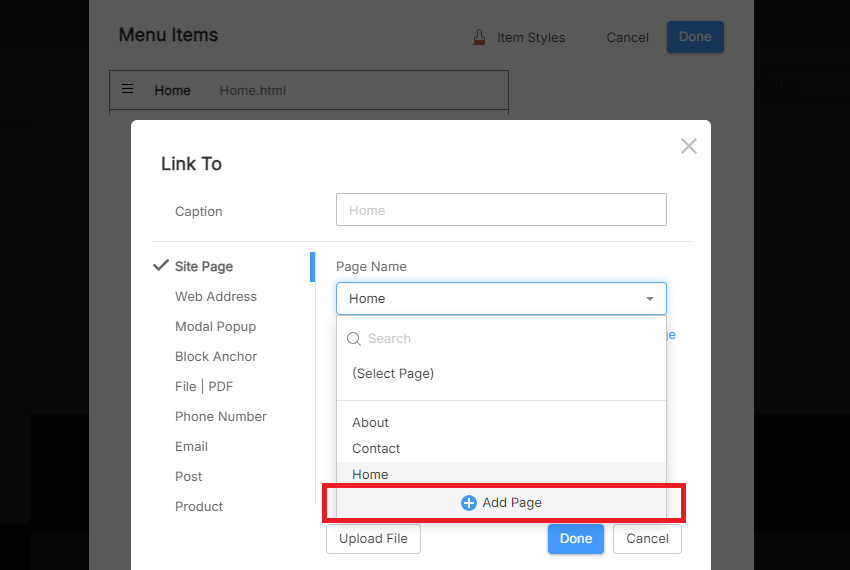
Add Page In Menu Settings
To improve page linking when building a menu, you can use the Add Page option in the Link Settings dialog for the Menu Element.
Menu Properties
You can change various properties to stylize the Menu.
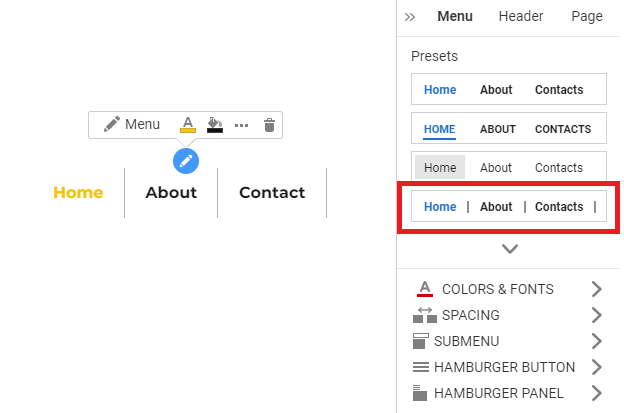
Menu Presets
For example, you can use Menu Presets to quickly apply the one with the Separator between the Menu Items.
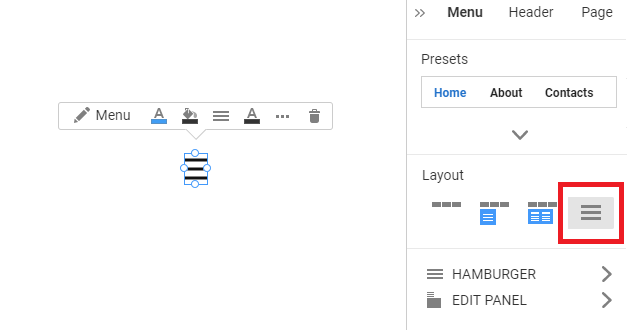
Menu Layouts
You can switch to the hamburger menu mode and other options in the property panel.
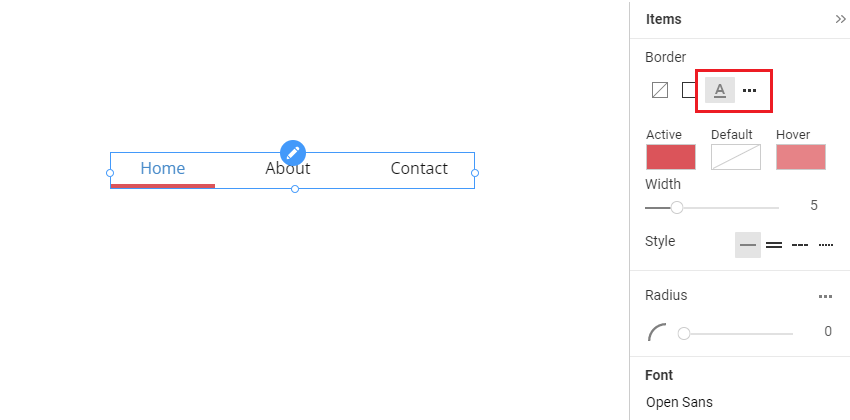
Underline For Menu Items
We have added the Underline for the Menu Items similar to the Hyperlink.
Hamburger Menu
By clicking on the hamburger icon, you will open the main properties of the Menu.
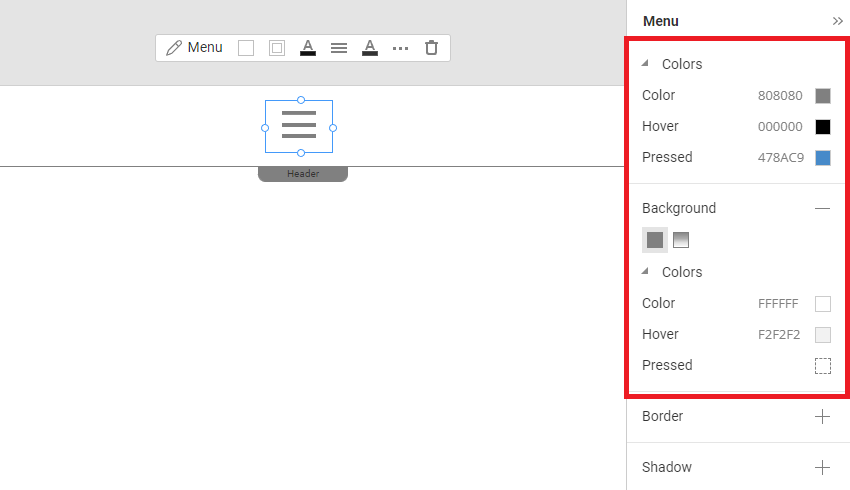
Hamburger Menu States
You can set the Hamburger Icon and Background's Default, Hover, and Pressed colors.
Export Menu To WordPress or Joomla
You can get a menu similar to WordPress or Joomla. To do so, you need to export the Content.
- Click the Publish and Export button on the Top Bar.
- Select the export option, WordPress or Joomla
- Check the Pages and Editor Plugin checkbox in the Export dialog.
- Click the Export button.
To edit the Menu Element in WordPress or Joomla, import the Content after installing the Nicepage Plugin or Extension. You can learn about using the Menu in WordPress or Menu in Joomla.