You can use the Image Element to illustrate data on your website.
When you add an element, you will see the Image Dialog.

Video Lesson
See Also
Add Image
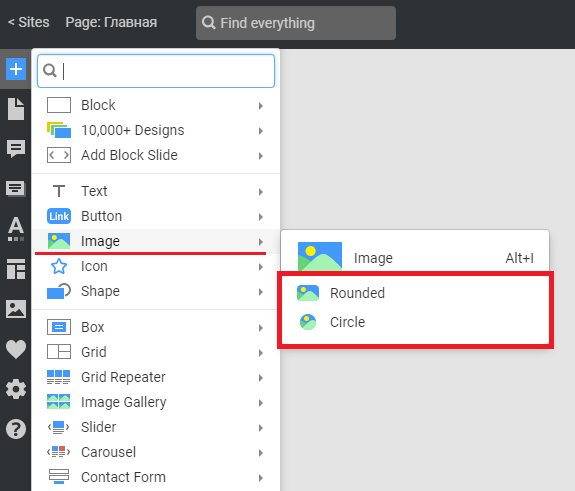
Add the Image Element from the Add Panel of the Quick Access Pane. You can insert the Image Element by pressing the Alt+I hotkey.
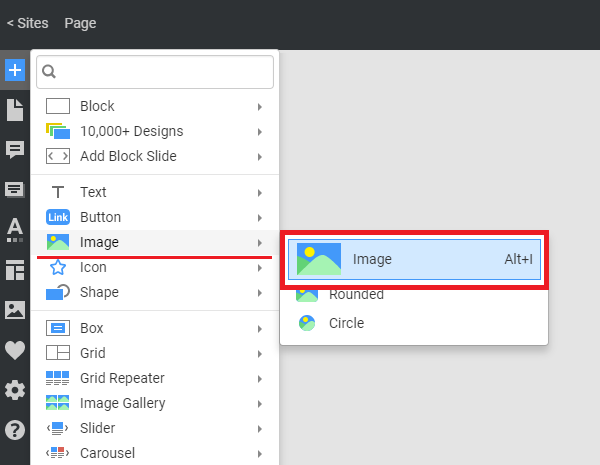
Image Shape Presets
You can use the Rounded and Circle Presets to inset the Image Element of the needed shape.
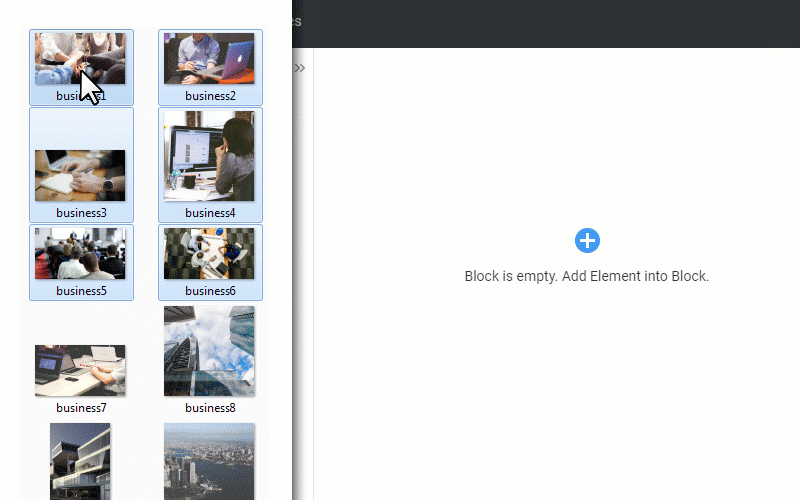
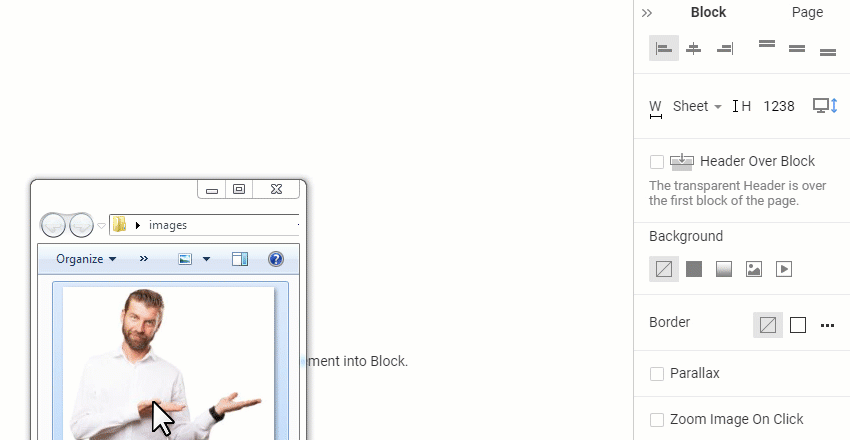
Drag Images From Desktop
You can drag images from the desktop to the Editor. After dropping, you see a dialog offering variants to convert to a Gallery, Grid Repeater, or insert separate Images.
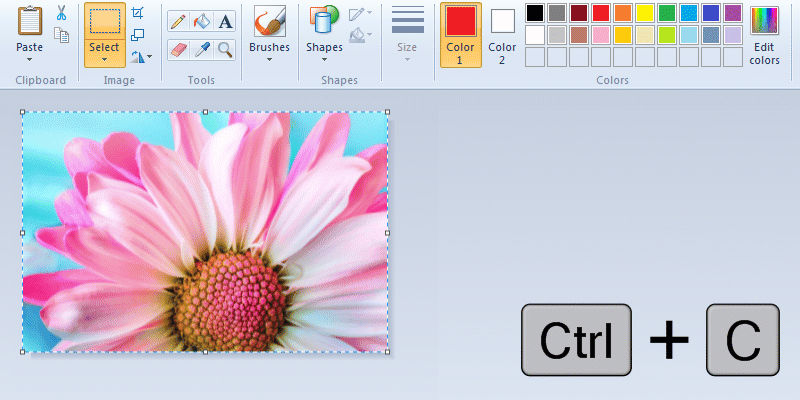
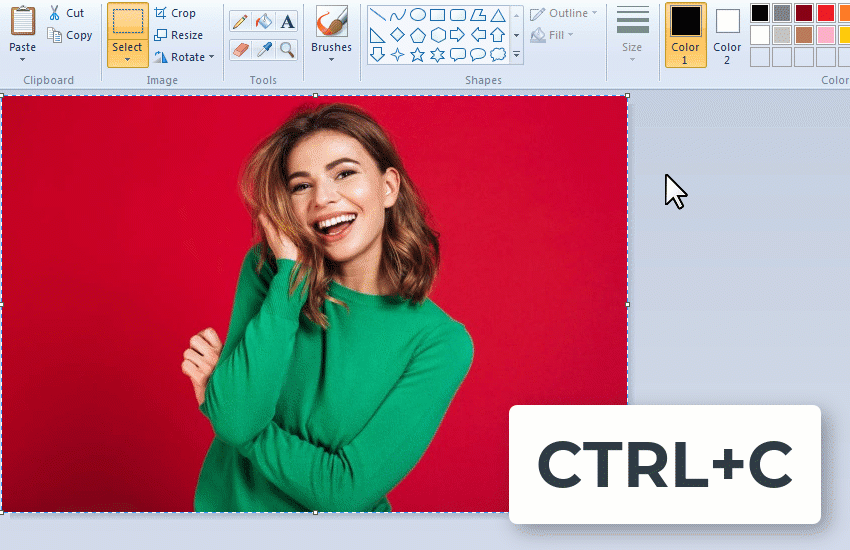
Paste the Image From Clipboard
You can copy and paste Images from the Clipboard. The following illustrates the pasting of the copied Image from Microsoft Paint.
You can paste Images from the clipboard into the Change Image dialog, as previously implemented for the Logo Element.
NOTE: This feature is supported only for the Desktop Application.
Expand To Background
You can expand the inserted Image to convert it to the Image Background. You can collapse the Image Background into a separate Image.
You can also expand the Image to the Background by clicking the button in the Property Panel.
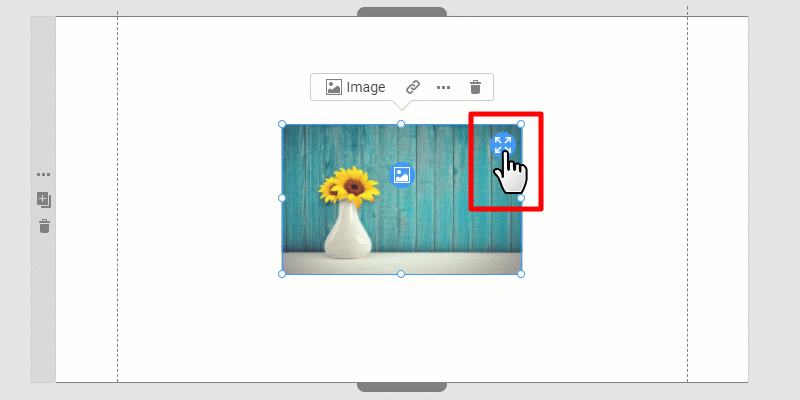
Change Image
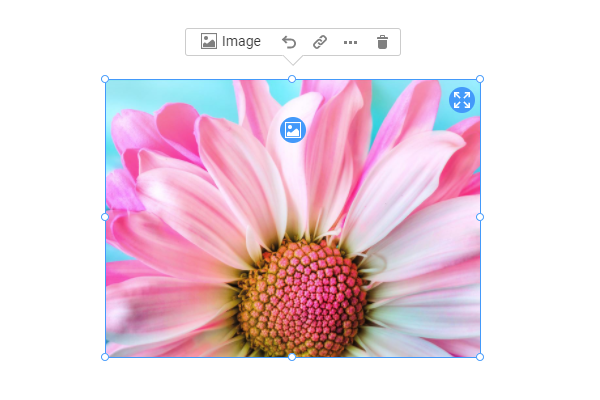
You can change the Image by clicking the icon at the top center of the Image, or the Image button on the Context Toolbar.
You can also change the Image by clicking the button in the Property Panel.
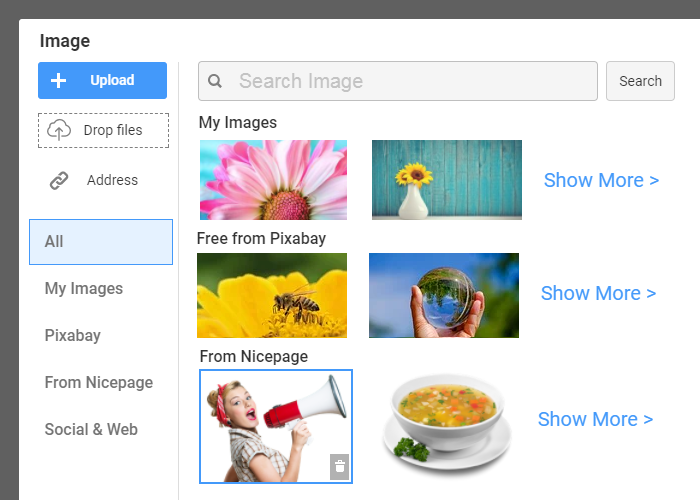
Search Image
Search for the required images by entering the topic keyword or phrase in the field. You can also search Google Images and parse website URLs in the Social & Web section below.
Upload Image
You can upload your images by clicking the Upload button or dropping files in the dashed Drop Files area.
Add Image By URL
Click on the Address link to enter the Image URL from the Internet.
My Images
The My Images section contains images you have already used in the project.
Stock Images
Pixabay is a free library with millions of stock images for your websites. The From Nicepage section provides exclusive stock photos, including the cut-outs on the transparent Background.
Image Resize
You can resize the Image Element in the Editor by dragging the markers. You can resize proportionally by holding the SHIFT and ALT keys to fix the current position.
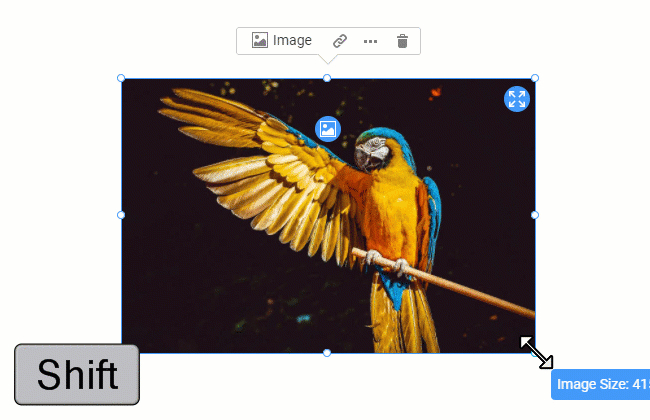
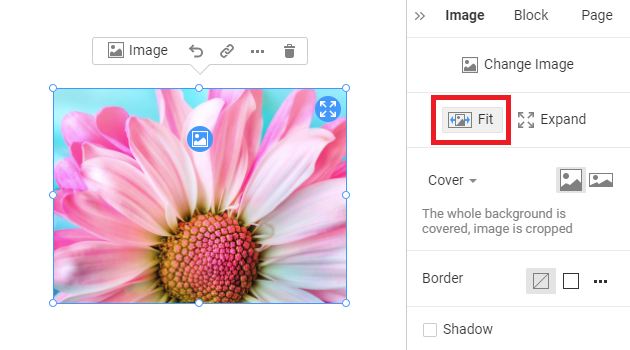
Image Fit
You can enable the Fit Image option in the Property Panel to crop the selected Image Element, making it the best for your web design.
Auto-Fit Image Objects
If you add an Image Object with a transparent or white Background, it is set to Contain by default.
Adding Images with the Cover Fit will result in a cut-off look after placement.
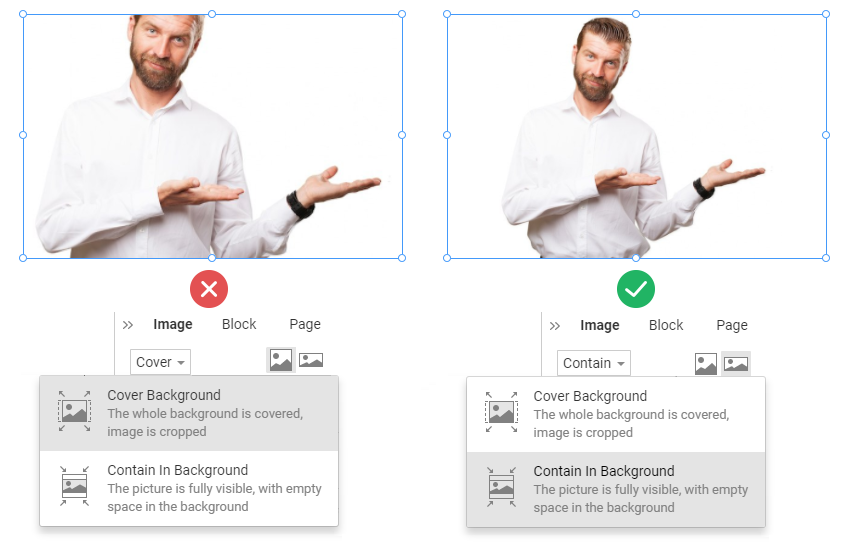
Image Zoom
You can use the Zoom operation while fitting the Image in the Background of the Box and Grid Cell. You can also modify this option in the Property Panel.
IMPORTANT: The Zoom operation is supported only for the Image Background of the Box and Grid Cell.
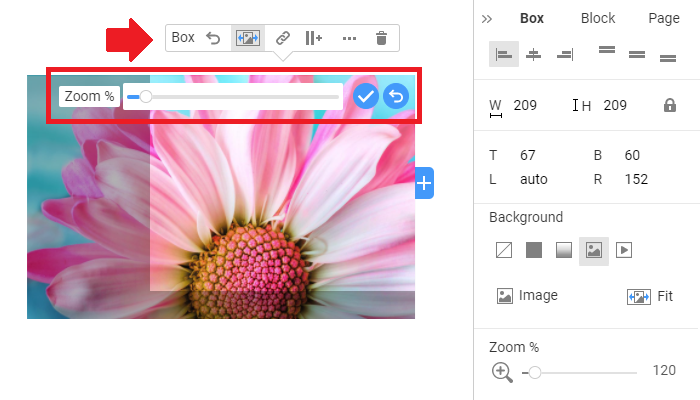
After you finish zooming, you can apply the change by clicking on the icon. You can reset the Zoom by clicking on the Reset icon on the Toolbar or the Round Blue icon on the Image.
Image Context Toolbar
Using the Context Toolbar, you can quickly change the Image and add a Hyperlink.
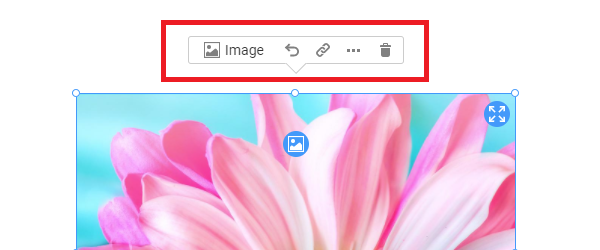
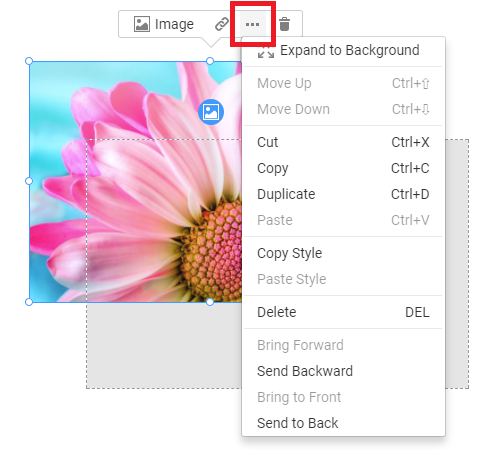
Image Context Options
Click the Options icons to open the list of all available operations for the Image. The same list is available in the Right-Click Context Menu.
The list includes the Bring Forward, Send Backward, Bring To Front, and Send To Back operations for the Image Element, available in both the Toolbar Options and the Right-Click Menu.
Reset Image Proportions
You can use the Reset Proportions of the Image by clicking on the icon on the Context Toolbar.

You can also reset the Image Background for Boxes and Grid Cells.
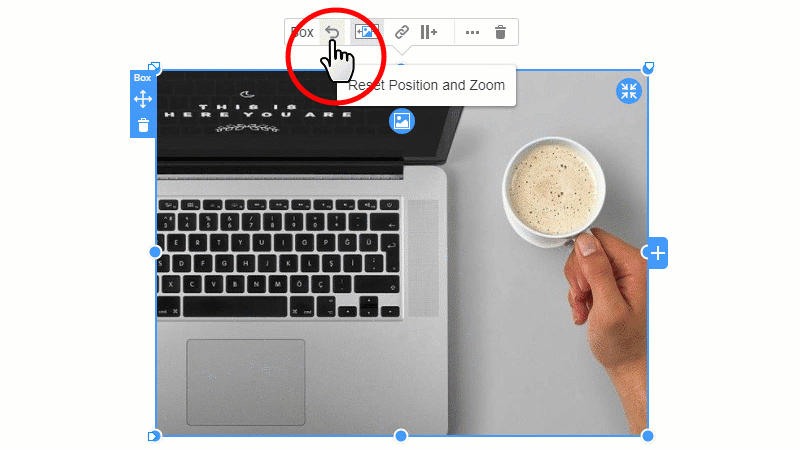
Image Hyperlink
You can link the Image to a Page, Block, File, Phone, Email, Modal Popup, or Post by clicking the Hyperlink icon on the Context Toolbar.
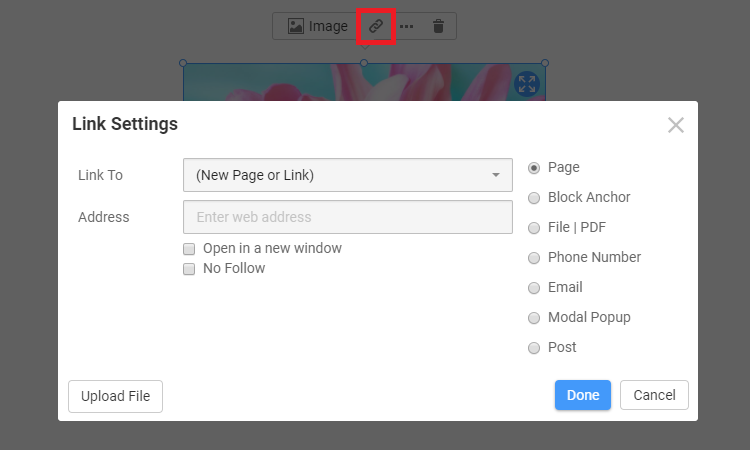
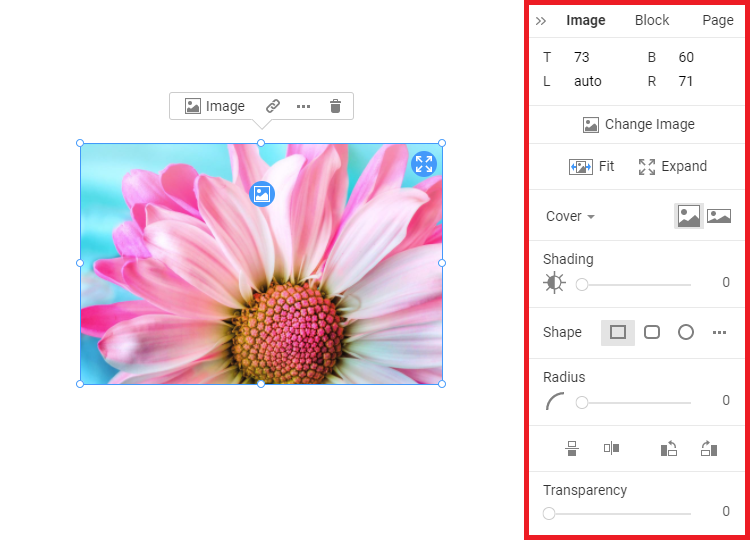
Image Properties
Edit all supported Image Properties in the Property Panel.
Rotate Image
You can use the Rotate property on Image and Shape Elements to spin them by a custom angle.
Image Width and Height
Enter the Width and Height values for the Image Element in the Property Panel.
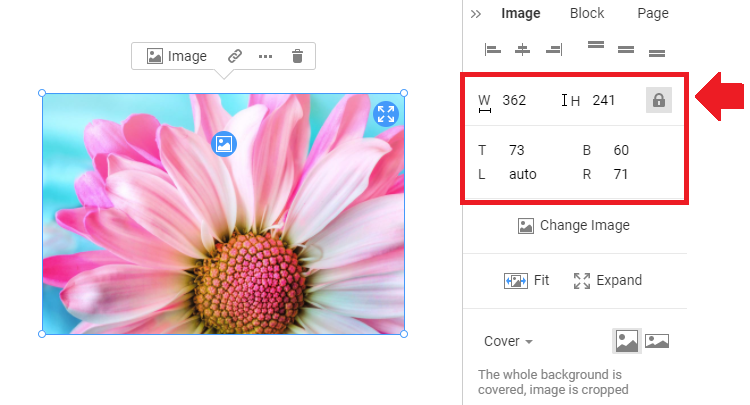
Lock Image Proportions
You can lock the Image Proportions by clicking on the Lock Icon in the Dimensions section of the Property Panel.
Image Margins
Modify the Image Element's Top, Bottom, Left, and Right Margins by entering values in the Property Panel.
Image Fit Options
You can select the Fit To Background and Cover Background options for the Image Element. Additionally, you can tile the Background of the Box Element and Grid Cell.
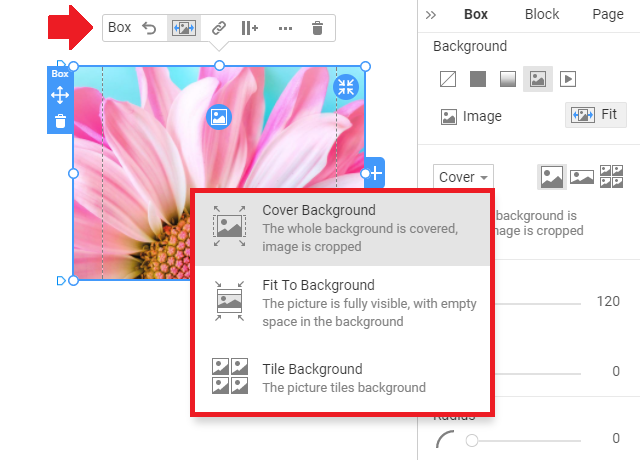
NOTE: You can set Image Fit by clicking the icons or selecting it from the Property Panel drop-down list.
Image Border
You can enable the Border for the Image Element by clicking on the icons in the Property Panel -> Border: No Border, Border, and choosing the Custom Border sides.
Edit the Width, and pick the Theme, Additional, or add a new Color for the Image Border.
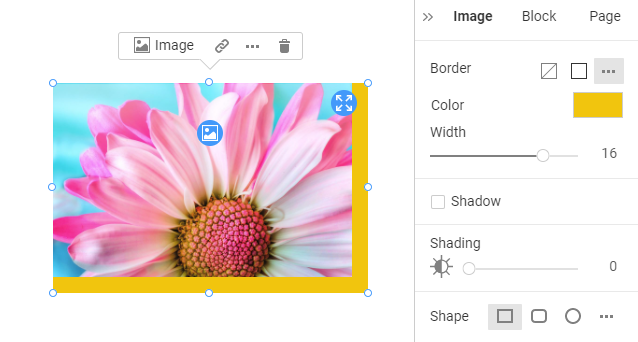
Image Shadow
Enable the Shadow for the Image Element by clicking on the checkbox. You can use the Shadow Presets or customize the Shadow in the Settings Tab, modifying the Positions, Blur, Spread, Transparency, and Color parameters.
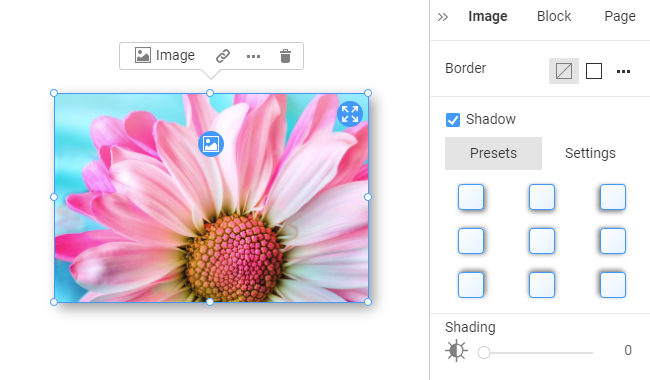
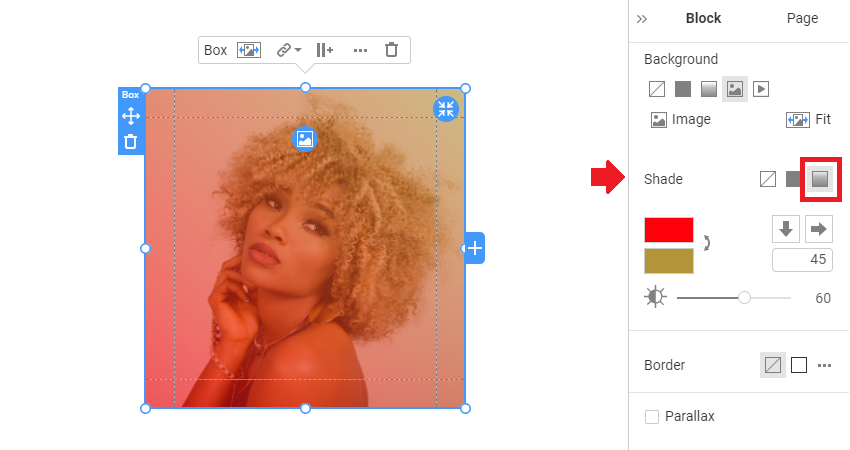
Image Shade
You can colonize the Image by changing the Shade property. You can also apply the Gradient Shade and switch between the Options.
If you expand a Shape over the Image Background, you will see the best-practice dialog offering to apply the Shade instead.
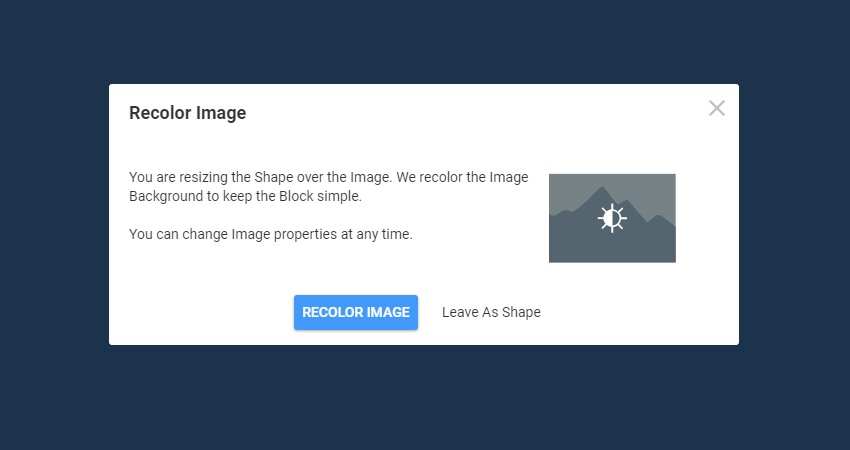
Image Shape
Edit the Image Shape to Rounded, Circle, or Square.
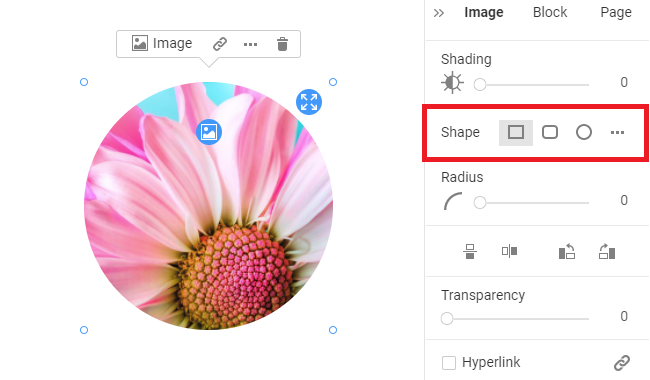
Image Radius
You can modify the Radius parameter for the Rounded corners of the Image Element.
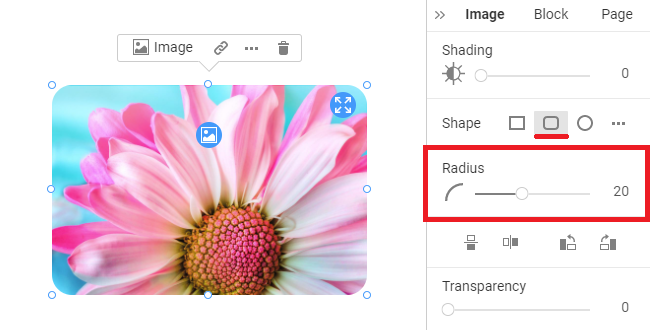
Image Flip And Rotate
You can flip and rotate the Image Element by clicking the corresponding icons in the Property Panel.
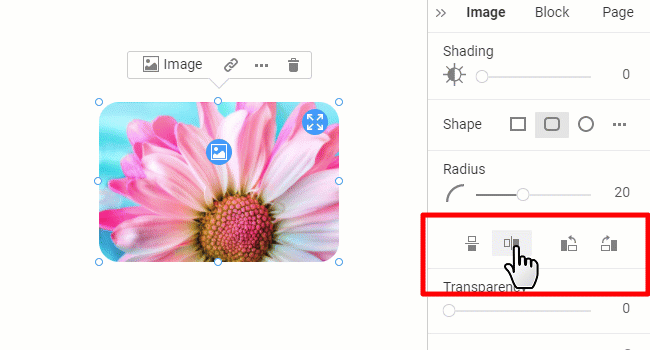
Image Transparency
Adjust the Image Transparency in the Property Panel to make the image more or less visible. It creates a natural hover effect in web page design.
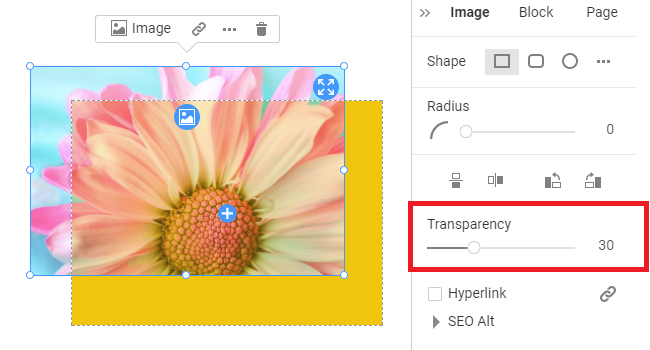
Image Hyperlink
Add the Hyperlink to the Image Element in the Property Panel to transfer visitors to a Page, Block, File, Phone, Email, Modal Popup, or Post.
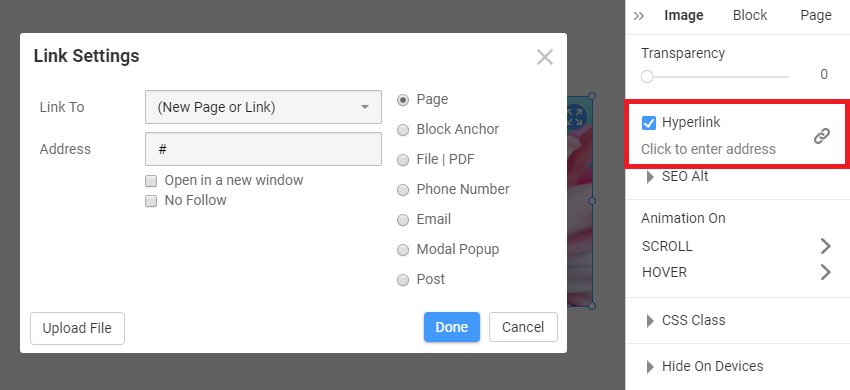
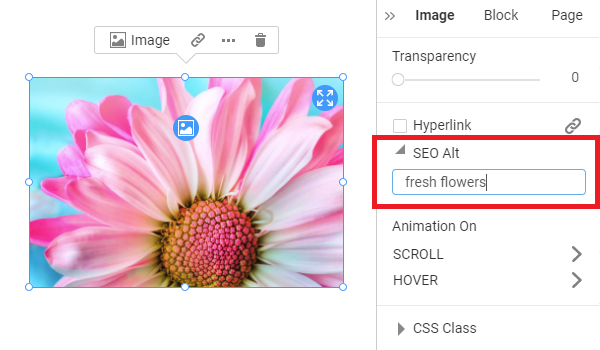
Image SEO Alt
Apply SEO Alt Description to your Image to improve search results for your web page.
Responsive Modes
You can modify the Image Element Size, Fit, and Zoom in all supported Responsive Modes to show it best on each mobile device screen for your web design requirements.