You can export your Nicepage Project as a static HTML Website using the Nicepage Applications or Online Editor. After exporting, you can upload the HTML code to a hosting company or send it to your customers.
Nicepage exports all HTML, CSS, JS files, and site Images required for your website.
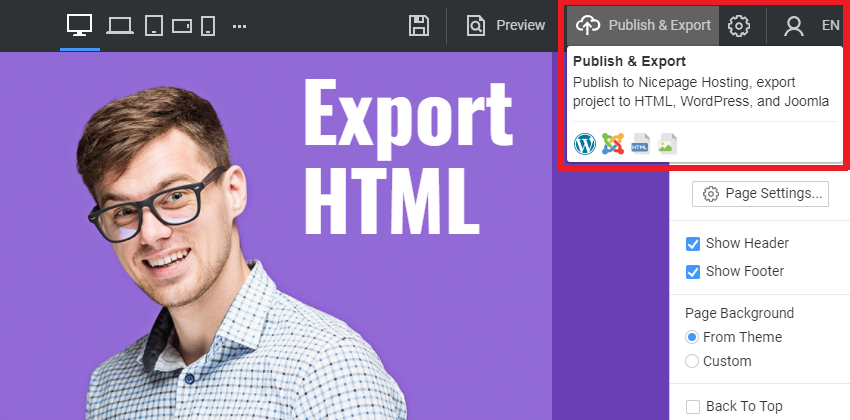
On the Top Bar, click the Publish button to open the dialog to export your HTML website.
HTML Export Options
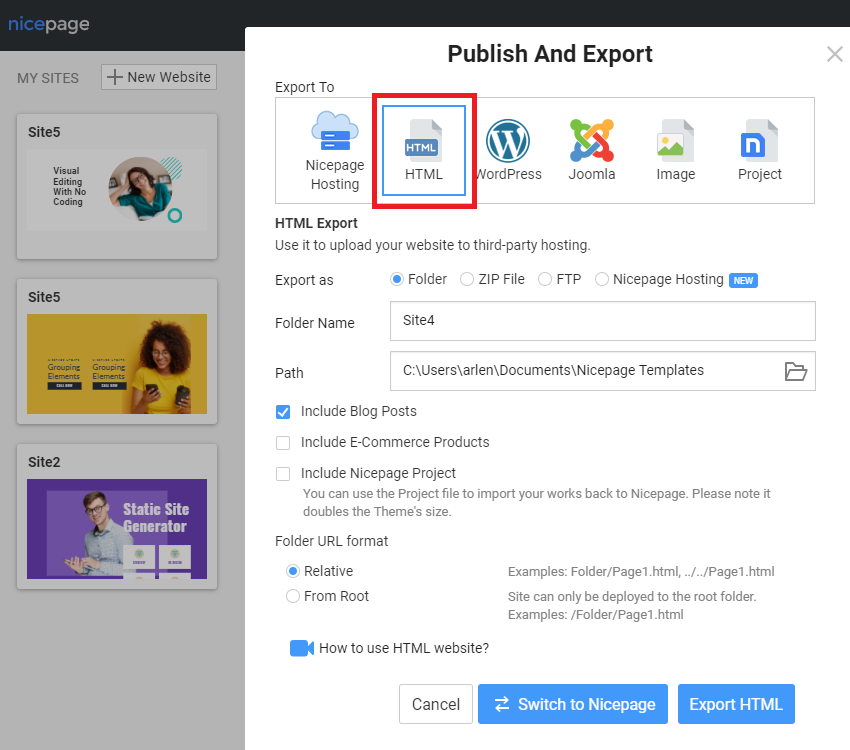
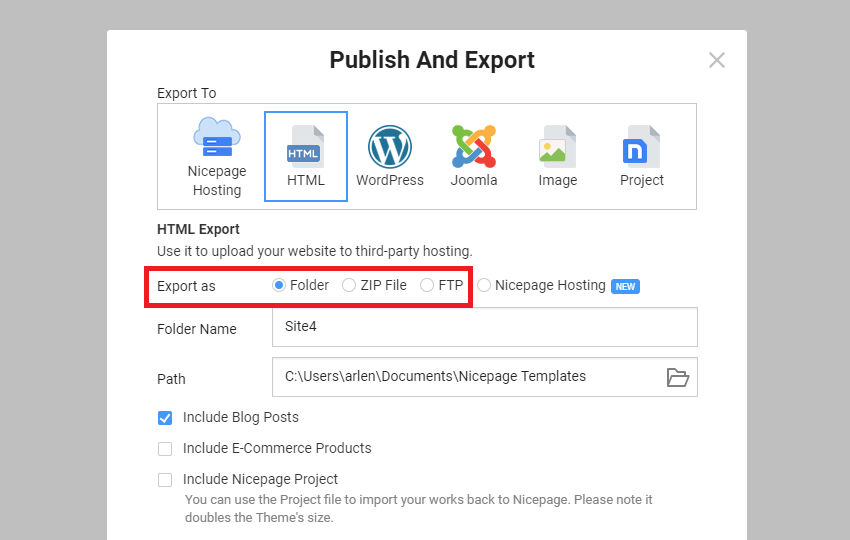
Choose HTML as the Export To and one of the following options to export your website's HTML.
- The Folder is the default option for exporting the HTML code.
- Export your website's HTML as a ZIP file.
- Or upload your HTML site via FTP.
Please note that you can also switch to Nicepage Hosting publishing at any time.
Export As Folder
If you export your HTML to a folder, please follow these steps.
- Open the Publish & Export dialog.
- Enter the Folder Name.
- Select the Path if needed.
- Click the Export HTML button.
Note: This option is not available in the Nicepge Online Builder.
Export As ZIP
If you export your HTML website as a ZIP, you can do the following.
- Upload the ZIP to your server's public directory (www, htdocs, etc.) using any file uploading software.
- Unpack the ZIP at the destination Folder.
- Use the Path to the home.html to preview the upload.
- Set your website domain to the folder with your site's HTML.
Export Via FTP
You can do the following if you export your HTML website via FTP.
- Add the server FTP credentials.
- Specify the Remote Directory for the HTML upload.
Note: This option is not available in the Nicepge Online Builder.
Include Blog Posts
If you create a Blog on an HTML website, you have to check the Include Blog Posts checkbox in the Publish and Export dialog.
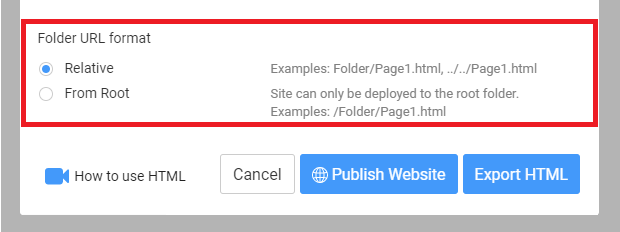
Folder URL Format
The Folder URL Format option allows you to specify whether site pages are set to Relative or From Root.
Preview HTML Website
To preview your HTML website, you can do the following.
- Open the Export Folder.
- Locate and click on the index.html in the folder.
- Preview your HTML site in your default browser.