Product design for startups Template


Six Square Samples Give the Gallery a Distinct Direction
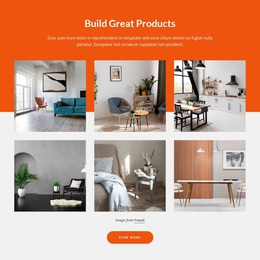
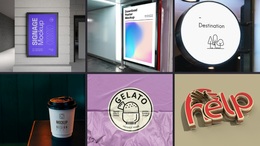
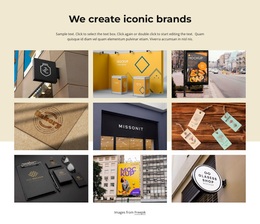
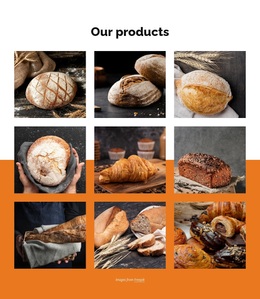
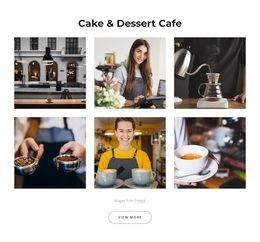
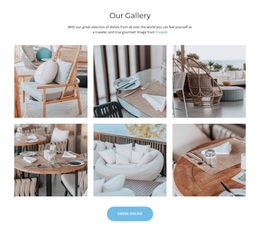
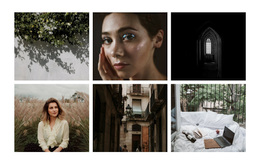
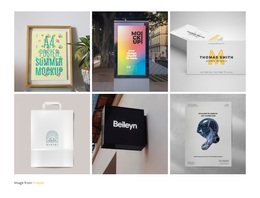
The section brings together several concrete choices that distinguish it from a generic image grid. “Build Great Products” is presented as a centered introduction with a decorative wave mark, followed by six square images in a precise two-row, three-column arrangement. That structure provides enough room to show a collection of product and brand mockups while maintaining a compact footprint. The rectangular tiles have subtle separation, so the gallery reads as an ordered set rather than one crowded composite image.
The lightbox adds a second reason to choose this design: visitors can move from a quick overview to closer inspection without losing the relationship between the samples. The visible “Images from Freepik” attribution is built into the section’s content flow, and the rounded orange “contact us” button gives the presentation a defined closing action. This makes the block particularly suitable when a page needs to display several visual examples and then invite an inquiry, without adding a dense text explanation to every image. Compared with a simple single-image feature, the six-tile arrangement communicates breadth; compared with a larger portfolio system, it keeps the presentation contained within one reusable section. The design choice is therefore its balance of visual range, consistent spacing, image inspection, source credit, and one focused contact point.
Customize with Nicepage
Open this ready-made template in the Template Builder and customize it visually in the Nicepage editor. Replace demo content, edit page sections, and adapt the design to your project without rebuilding the template from scratch.
Edit Template Offline
2. Create a new page or select existing
3. Click Add new block, search for id 1997800 and click enter
Edit Template Online
Create Awesome Websites


Free Nicepage Builder
Keywords
Start With a Ready-Made Template
Choose a Design for a New Page
Use a ready-made template as a starting point instead of creating every page from a blank canvas. When adding a new page in Nicepage, browse available designs, compare different layouts, and choose an option that already fits the general purpose and visual direction of your project.
Browse Different Page Designs
Explore Page Designs using search, thematic categories, Design Sets, and full-page previews. The collection includes layouts for different subjects and page purposes, making it easier to compare alternatives before selecting a design to customize.
Customize the Selected Template
After choosing a design, create the page and continue editing it visually in Nicepage. Replace the demo content, adjust images, typography, colors, sections, and other elements, and adapt the ready-made layout to your own content instead of rebuilding the design from the beginning.
Explore More Design Directions
If the first option does not match your project closely enough, return to the design collection and compare other templates before committing to a layout. This makes the template library useful not only for faster page creation, but also for exploring different visual approaches and finding a suitable starting point for a new project.
This workflow gives you access to a broad collection of ready-made designs that can be selected, compared, and customized according to the needs of each new page or project.