Courses for beginners Website Design


Indigo, Lavender, and Monochrome Imagery Establish a Course Identity
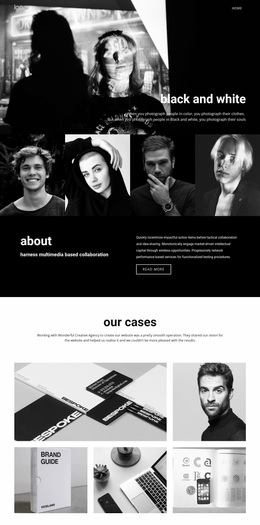
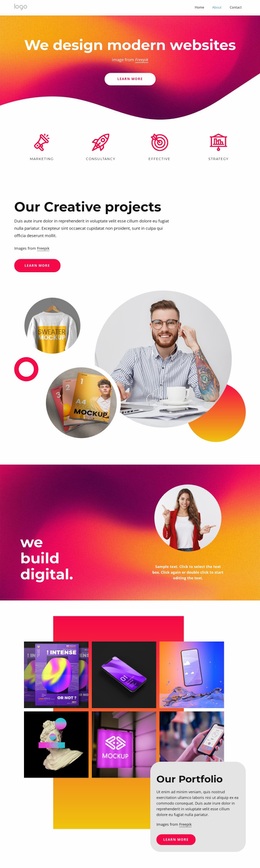
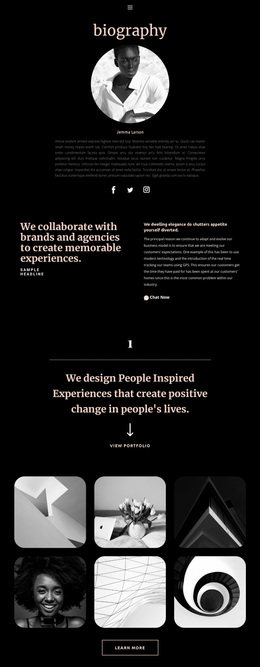
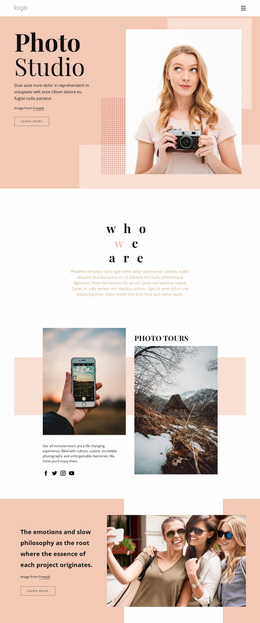
The section’s visual language is built from a small set of coordinated treatments. Deep indigo provides the dominant background, giving the course introduction a strong base for the large serif heading and smaller light sans-serif paragraph. The typography creates a clear contrast between the subject statement and the supporting explanation, while generous spacing keeps the copy readable rather than allowing the dark field to become visually dense.
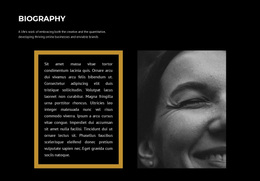
The right side extends that language through a black-and-white portrait in a rectangular frame. Its restrained image treatment contrasts with the pale lavender accent shape, which introduces a lighter color and an offset geometric detail without overpowering the photograph. The same relationship can inform nearby sections in a broader website design: dark fields can carry major introductions, lavender can act as an accent, and monochrome imagery can support photography-related content without competing with headings. The “read more” button belongs to this visual system as the action element attached to the course message, not as a separate design language. One block cannot define an entire website identity, but this section can contribute a recognizable combination of editorial typography, high contrast, framed portrait imagery, and controlled accent color to a wider photography education project.
Customize with Nicepage
Open this ready-made template in the Website Design Builder and customize it visually in the Nicepage editor. Replace demo content, edit page sections, and adapt the design to your project without rebuilding the template from scratch.
Edit Template Offline
2. Create a new page or select existing
3. Click Add new block, search for id 66283 and click enter
Edit Template Online
Create Awesome Websites


Free Nicepage Builder
Keywords
Create a Consistent Design Across the Website
Define a Site-Wide Visual Style
Use Theme Settings to establish the visual foundation of the website across its pages and sections. Set global Colors, Fonts, and Typography so the site follows the same design direction instead of styling each page independently.
Coordinate Colors and Typography
Choose a color scheme and font combination that fit the character of the website, then fine-tune Headings H1-H6, regular Text, links, buttons, quotes, lists, and other typography styles. Consistent use of these settings helps create a clear visual hierarchy and keeps recurring design elements recognizable throughout the website.
Add Motion and Interaction
Use Animation Effects to make the website design more dynamic and interactive. Elements and Containers can use effects such as Run On Display, Animation On Hover, and Animation Sync With Scroll to introduce content as visitors move through the site or respond to user interaction. Animation Presets provide ready-made effects that can be adapted to the visual style of the website.
Keep the Website Visually Consistent
Apply the same design direction to shared website elements such as the Header, Menu, and Footer. The Theme Settings Panel brings common site-wide styling controls together, making it easier to maintain a coordinated look as the website expands across multiple pages.
This workflow makes the template a useful starting point for creating a website with a consistent visual identity, coordinated colors and typography, shared design rules, and interactive effects across its pages.