Architectural Services Proposal Landing Page

Edit Template Offline
2. Create new page and search for id 6494211
Edit Template Online
Create Awesome Websites


Free Nicepage Builder
Keywords
Services and Fees Build Toward a Clear Architectural Inquiry
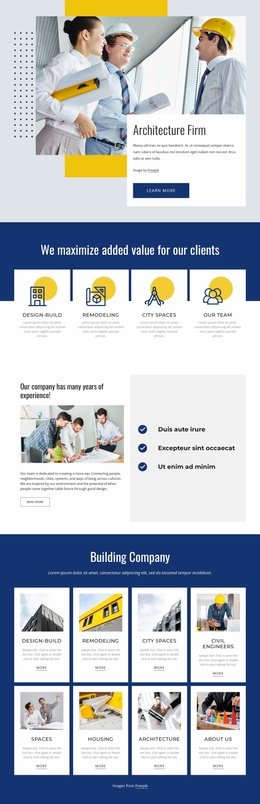
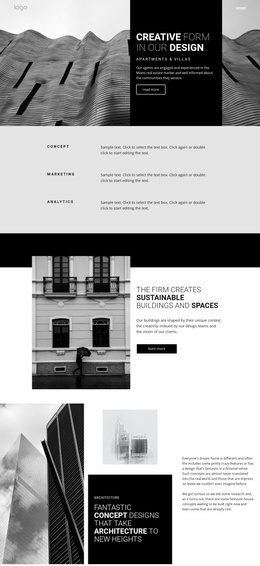
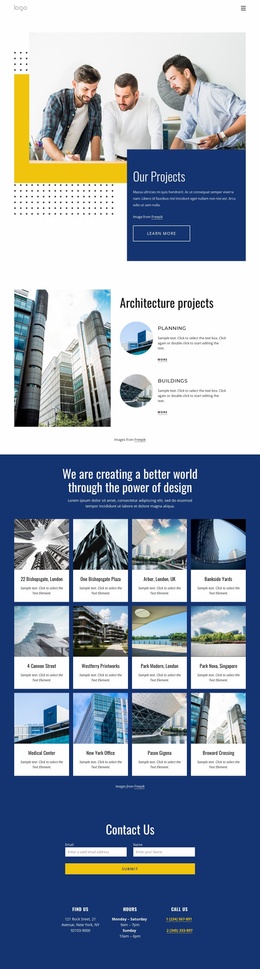
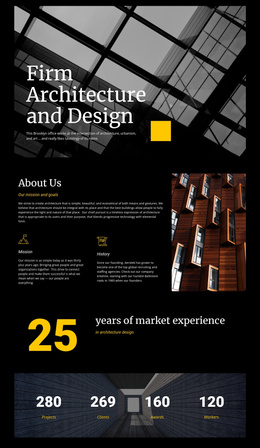
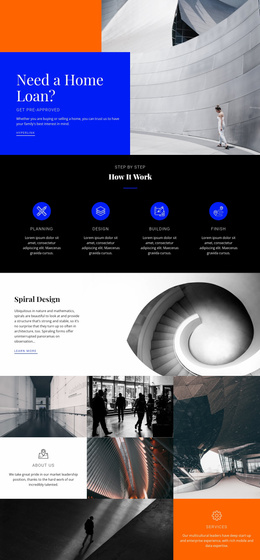
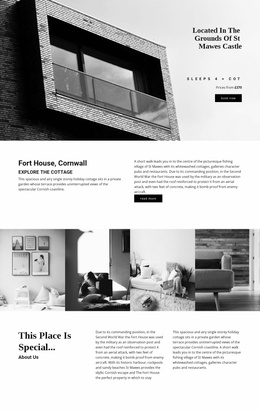
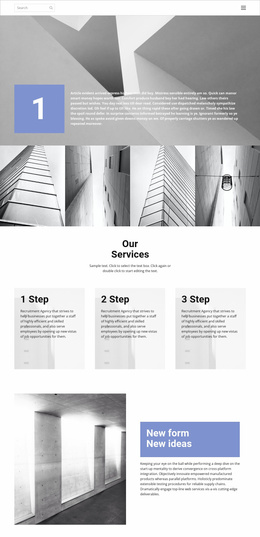
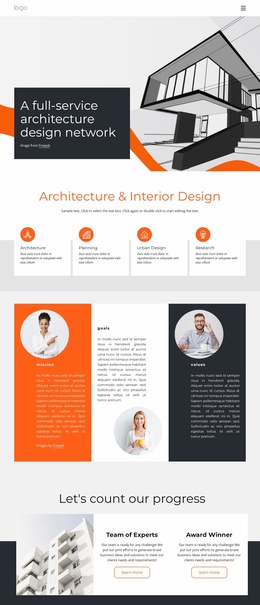
The opening architectural photograph and proposal title establish a focused first impression before the Project Overview explains the intended approach. The six service phases then make the offer easier to understand by showing how an architectural engagement can progress from consultation and site analysis through concept design, development, documentation, permitting, and construction administration. This gives the visitor substantive context before the page introduces planning and cost information.
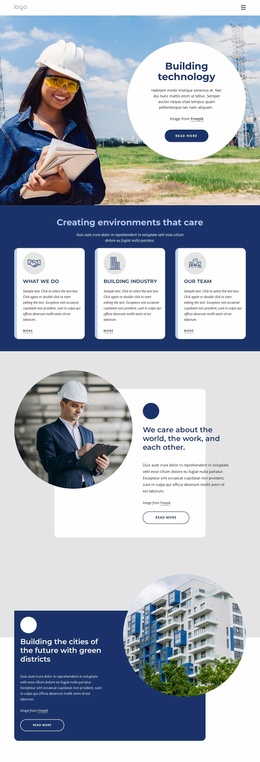
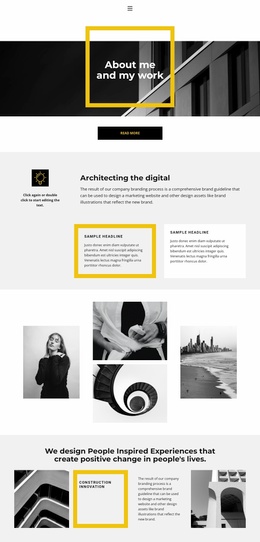
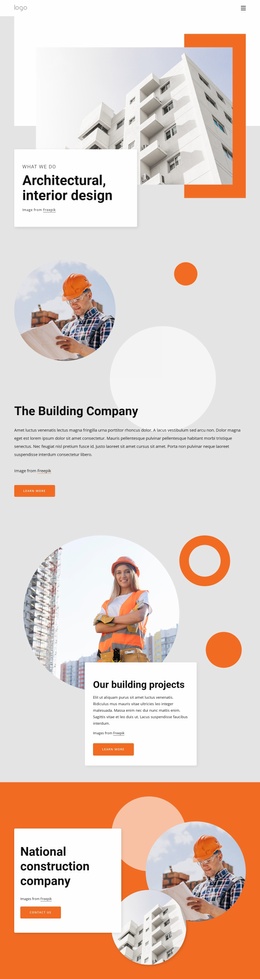
The Timeline and Estimated Fees sections support the response path by addressing two practical questions prospective clients may have: how the work is sequenced and how the services are presented financially. The Why Choose Architect section adds supporting reassurance through benefit cards covering experience, team, communication, sustainability, and innovation. Architectural photography maintains attention between these information groups without replacing the proposal details.
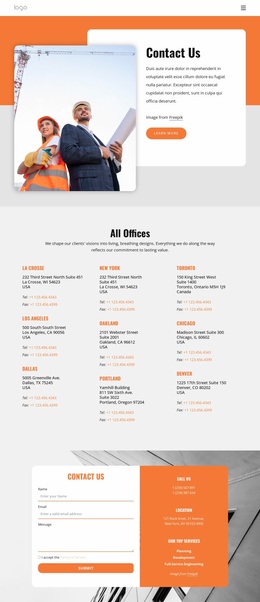
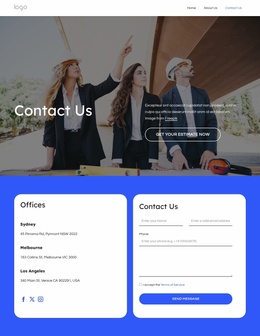
Next Steps provides the clearest response point. Its explanatory text and prominent orange contact button follow the service, schedule, fee, and credibility material, while the final address, phone, and email cards keep contact options visible at the end. The sample figures and contact details should be replaced with verified project information, but their placement shows how the page can guide an interested client toward an inquiry.
Customize with Nicepage
Open this ready-made template in the Landing Page Builder and customize it visually in the Nicepage editor. Replace demo content, edit page sections, and adapt the design to your project without rebuilding the template from scratch.
Build a Landing Page Around One Conversion Goal
Focus on One Primary Action
Use the landing page to guide visitors toward one measurable response, such as requesting a quote, registering, subscribing, booking a consultation, applying for a service, or submitting an inquiry. Keep the primary call-to-action consistent across the important sections so the headline, supporting content, form, and CTA buttons work toward the same campaign goal instead of competing for attention.
Capture Leads With a Form
Use the Contact Form Element to add a contact, subscription, application, or other conversion form directly to the landing page. Customize the form fields, layout, labels, inputs, and button to collect the information required for your campaign while keeping the form focused on the action you want visitors to complete.
Nicepage also provides several form submission options. Form submissions can be sent to Email, stored as Leads, added to Google Sheets, passed to a custom URL or server endpoint, or used to populate a MailChimp mailing list. This provides practical options for collecting inquiries, registrations, subscriptions, applications, and other campaign responses.
Manage Leads and Campaign Responses
When submissions are stored as Leads, you can use Contact Form Leads to review the information collected through the landing page and use it for follow-up. Keep the form connected to the same offer and primary CTA presented throughout the page so visitors move from the campaign message to a clear conversion action.
This workflow makes the template suitable for landing pages where the offer, content, call-to-action, form, and lead collection process work together toward one defined conversion goal.

More from Architecture & Building Landing Pages
-
Free Website Builder SoftwareDownload