Health nutritionist Landing Page
Edit Template Offline
2. Create new page and search for id 6324530
Edit Template Online
Create Awesome Websites


Free Nicepage Builder
Keywords
Three Monthly Plans Lead From Wellness Introduction to Visitor Response
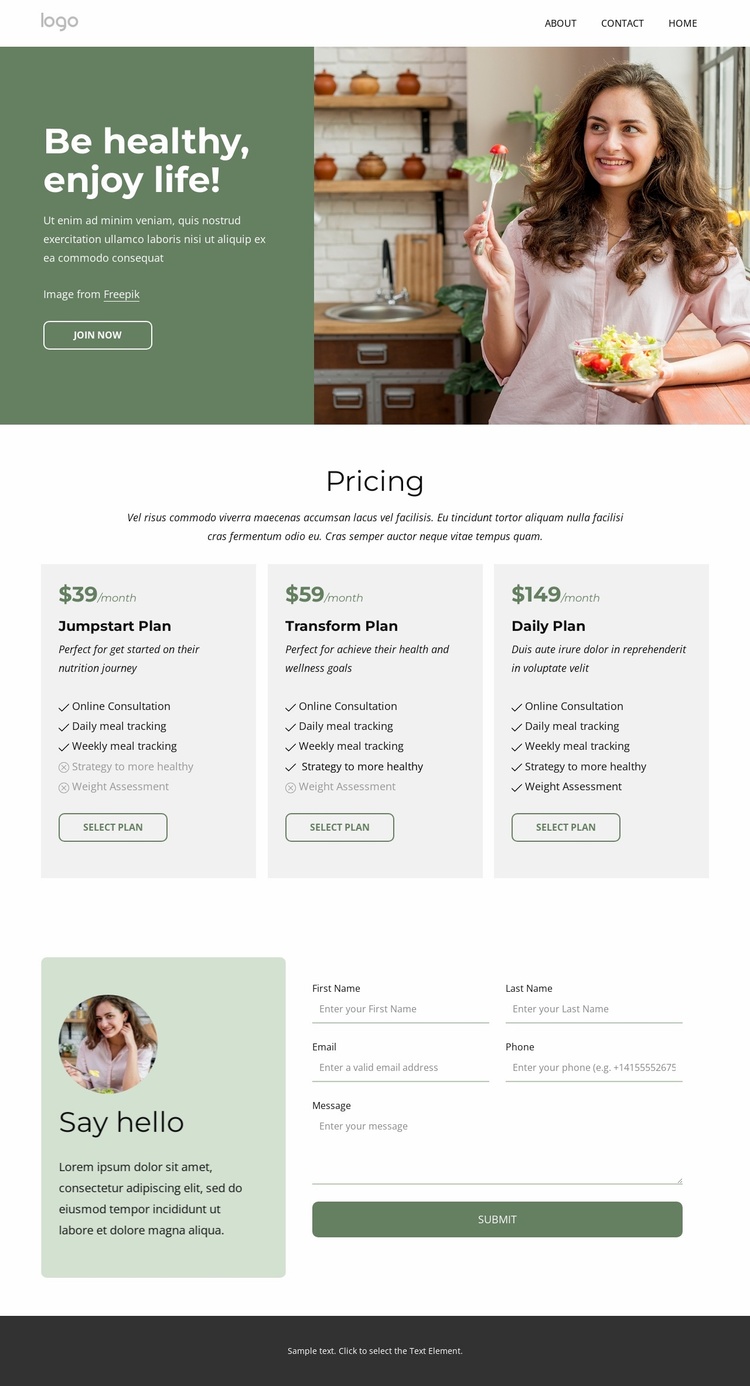
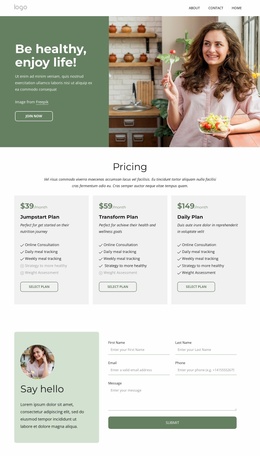
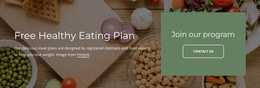
The page establishes its response path by presenting the wellness subject before asking visitors to compare plans. The green hero panel places “Be healthy, enjoy life!” beside food-related lifestyle photography and a Join now button, creating an opening action that introduces the service direction. The visual pairing gives the offer context before the visitor reaches the more detailed choice area.
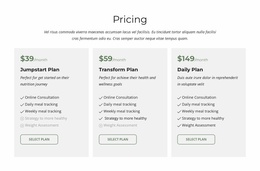
The three pricing cards then turn that interest into a concrete selection task. Jumpstart, Transform, and Daily are shown as peer options with monthly prices, feature lists, and Select Plan buttons. Online Consultation, Daily meal tracking, and Weekly meal tracking make the plan differences more tangible, while the repeated card structure lets visitors compare alternatives without losing sight of the available action. The page therefore supports a plan-selection path rather than relying on general wellness imagery alone.
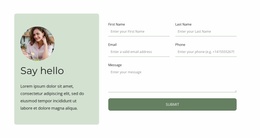
The contact section provides a secondary response point for visitors who need clarification or prefer direct communication. Its greeting panel and form create a natural follow-up after the pricing comparison, while the dark footer’s Subscribe form offers another contact route at the end of the page. For a campaign, the hero, plan cards, contact form, and subscription area can be aligned around one primary objective, with secondary actions kept subordinate to selection or inquiry.
Customize with Nicepage
Open this ready-made template in the Landing Page Builder and customize it visually in the Nicepage editor. Replace demo content, edit page sections, and adapt the design to your project without rebuilding the template from scratch.
Build a Landing Page Around One Conversion Goal
Focus on One Primary Action
Use the landing page to guide visitors toward one measurable response, such as requesting a quote, registering, subscribing, booking a consultation, applying for a service, or submitting an inquiry. Keep the primary call-to-action consistent across the important sections so the headline, supporting content, form, and CTA buttons work toward the same campaign goal instead of competing for attention.
Capture Leads With a Form
Use the Contact Form Element to add a contact, subscription, application, or other conversion form directly to the landing page. Customize the form fields, layout, labels, inputs, and button to collect the information required for your campaign while keeping the form focused on the action you want visitors to complete.
Nicepage also provides several form submission options. Form submissions can be sent to Email, stored as Leads, added to Google Sheets, passed to a custom URL or server endpoint, or used to populate a MailChimp mailing list. This provides practical options for collecting inquiries, registrations, subscriptions, applications, and other campaign responses.
Manage Leads and Campaign Responses
When submissions are stored as Leads, you can use Contact Form Leads to review the information collected through the landing page and use it for follow-up. Keep the form connected to the same offer and primary CTA presented throughout the page so visitors move from the campaign message to a clear conversion action.
This workflow makes the template suitable for landing pages where the offer, content, call-to-action, form, and lead collection process work together toward one defined conversion goal.

Design Set (18)
-

-
Free Website Builder SoftwareDownload
-
-
-
-
-
-
-
-

More from Food & Restaurant Landing Pages
-
Free Website Builder SoftwareDownload