Harley Davidson Landing Page
Edit Template Offline
2. Create new page and search for id 18994
Edit Template Online
Create Awesome Websites


Free Nicepage Builder
Keywords
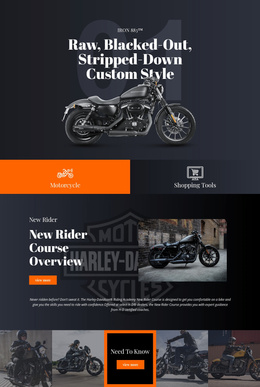
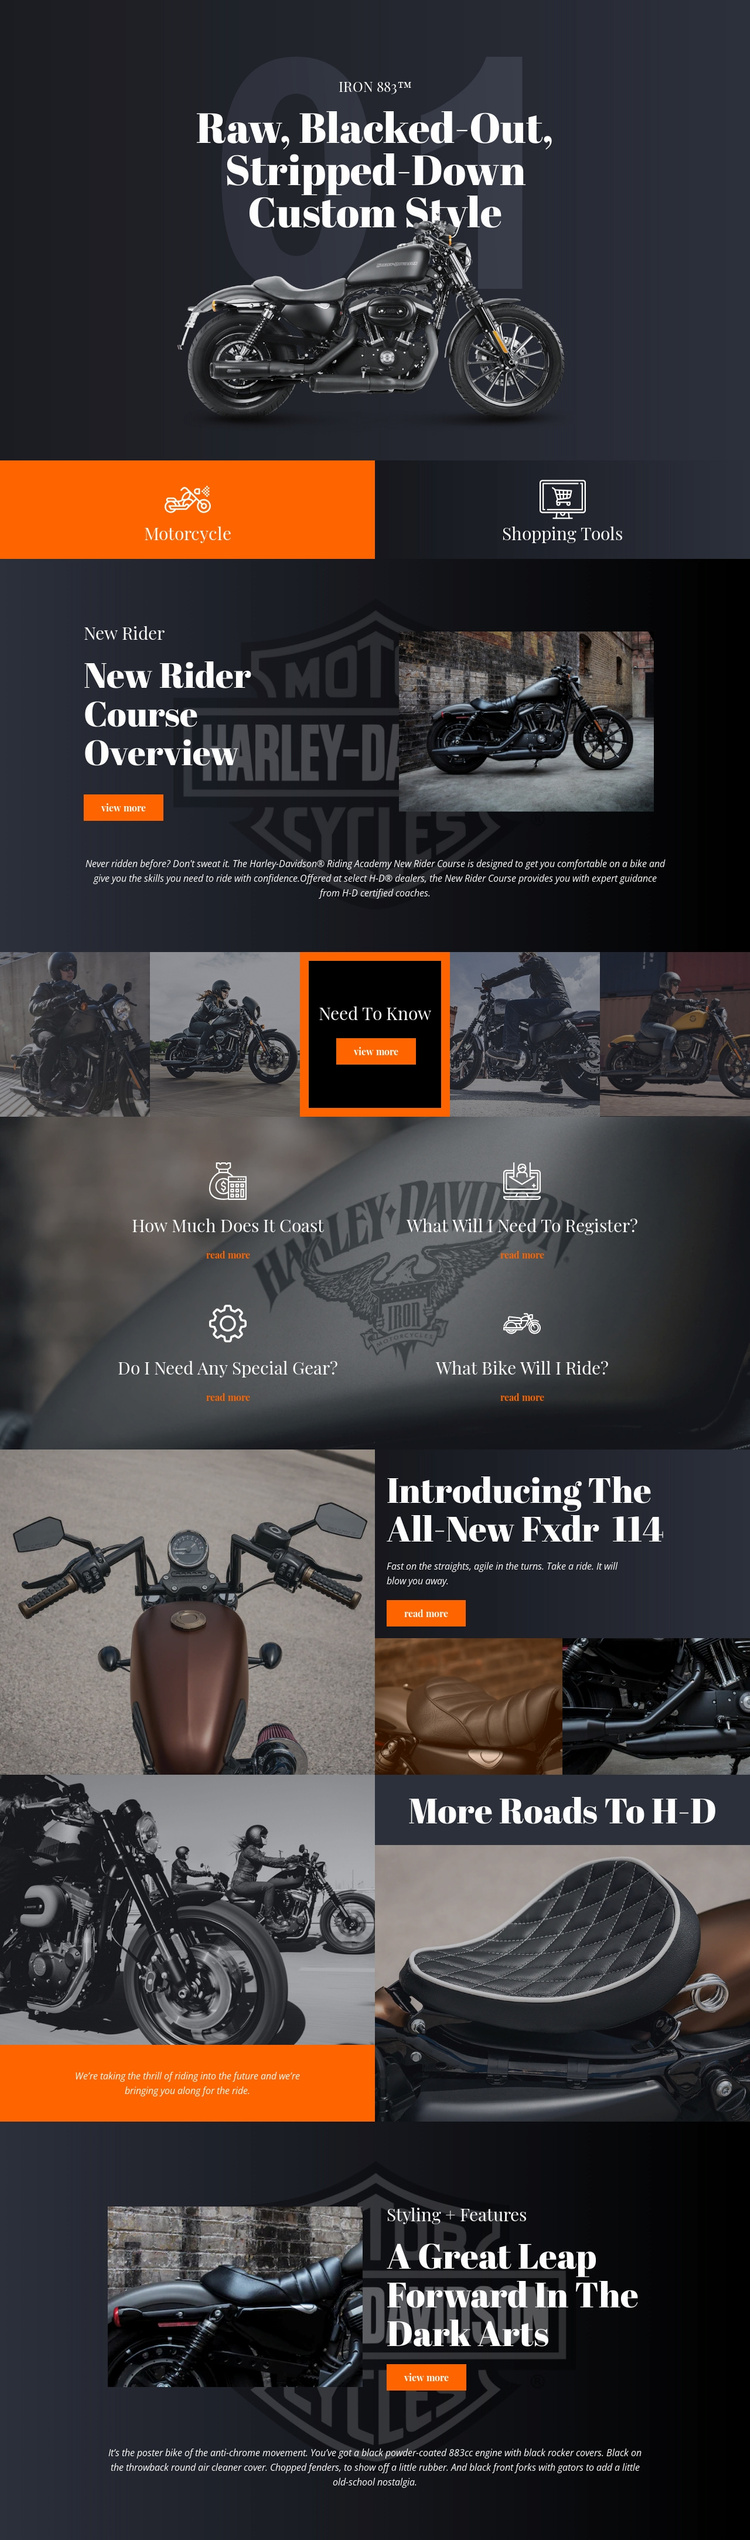
The IRON 883™ Hero Leads Into Rider Information and Model Discovery
The full-width motorcycle hero establishes the first impression with the IRON 883™ label, a dark image composition, and a centered custom-style headline. The next two tiles provide the page’s first response choices: visitors can move toward Motorcycle content or Shopping Tools. This keeps the opening focused on exploration rather than presenting unrelated navigation, while the contrasting tile layout makes the available paths easy to distinguish.
The New Rider Course overview supplies the strongest educational continuation. Its motorcycle image, editorial text panel, supporting explanation, and “view more” action give visitors a reason to continue after the hero. The four question panels then address practical concerns about course cost, registration, special gear, and the bike used. Together, these sections can support visitors who are evaluating whether to learn more about riding before considering a motorcycle model.
Product discovery remains present through the Fxdr 114 promotion and the final styling-and-features block. Large motorcycle imagery creates visual proof of the subject, while “read more” and “view more” actions provide response points for deeper model or feature information. The design therefore works best when the primary goal is continued exploration of motorcycle information and rider-course details. It should not be treated as evidence of a completed purchase or registration flow, because no transaction form is verified in the template.
Customize with Nicepage
Open this ready-made template in the Landing Page Builder and customize it visually in the Nicepage editor. Replace demo content, edit page sections, and adapt the design to your project without rebuilding the template from scratch.
Build a Landing Page Around One Conversion Goal
Focus on One Primary Action
Use the landing page to guide visitors toward one measurable response, such as requesting a quote, registering, subscribing, booking a consultation, applying for a service, or submitting an inquiry. Keep the primary call-to-action consistent across the important sections so the headline, supporting content, form, and CTA buttons work toward the same campaign goal instead of competing for attention.
Capture Leads With a Form
Use the Contact Form Element to add a contact, subscription, application, or other conversion form directly to the landing page. Customize the form fields, layout, labels, inputs, and button to collect the information required for your campaign while keeping the form focused on the action you want visitors to complete.
Nicepage also provides several form submission options. Form submissions can be sent to Email, stored as Leads, added to Google Sheets, passed to a custom URL or server endpoint, or used to populate a MailChimp mailing list. This provides practical options for collecting inquiries, registrations, subscriptions, applications, and other campaign responses.
Manage Leads and Campaign Responses
When submissions are stored as Leads, you can use Contact Form Leads to review the information collected through the landing page and use it for follow-up. Keep the form connected to the same offer and primary CTA presented throughout the page so visitors move from the campaign message to a clear conversion action.
This workflow makes the template suitable for landing pages where the offer, content, call-to-action, form, and lead collection process work together toward one defined conversion goal.

More from Cars & Transportation Landing Pages
-
Free Website Builder SoftwareDownload