Read reviews about Template


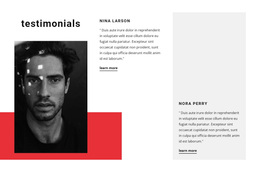
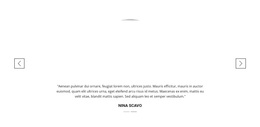
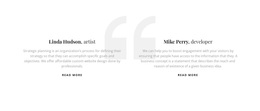
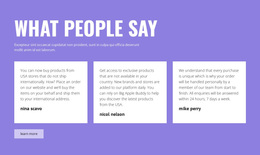
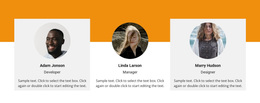
A Blue Badge and Two Unequal Card Treatments Distinguish This Review Layout
The section combines several concrete choices that make it different from a conventional testimonial grid. A circular blue badge carries the Testimonials heading and quotation-mark icon, creating a strong visual marker at the start of the row. Instead of placing three identical cards across the section, the layout uses the badge as an introduction and reserves the remaining two columns for testimonial entries. Each entry includes a name, quote, and Learn more link, so the content remains compact while still offering a secondary path.
The light blue rectangular treatment behind the right entry adds controlled variation to the pair. The left review remains on the white background, while the right review gains a stronger container boundary without receiving a different content model. Centered uppercase names sit above muted gray quote text, and generous spacing gives both entries room to breathe. Vertical centering helps the badge and cards read as one composed row rather than unrelated objects.
This design is useful when a page needs a small amount of social proof with a recognizable editorial signal instead of a long list of reviews. It can be selected for a section that should introduce testimonials clearly, show two entries at once, and use restrained color contrast to guide attention. The result is a specific layout choice, not a claim that the block supplies every surrounding page function.
Customize with Nicepage
Open this ready-made template in the Template Builder and customize it visually in the Nicepage editor. Replace demo content, edit page sections, and adapt the design to your project without rebuilding the template from scratch.
Edit Template Offline
2. Create a new page or select existing
3. Click Add new block, search for id 1762709 and click enter
Edit Template Online
Create Awesome Websites


Free Nicepage Builder
Keywords
Start With a Ready-Made Template
Choose a Design for a New Page
Use a ready-made template as a starting point instead of creating every page from a blank canvas. When adding a new page in Nicepage, browse available designs, compare different layouts, and choose an option that already fits the general purpose and visual direction of your project.
Browse Different Page Designs
Explore Page Designs using search, thematic categories, Design Sets, and full-page previews. The collection includes layouts for different subjects and page purposes, making it easier to compare alternatives before selecting a design to customize.
Customize the Selected Template
After choosing a design, create the page and continue editing it visually in Nicepage. Replace the demo content, adjust images, typography, colors, sections, and other elements, and adapt the ready-made layout to your own content instead of rebuilding the design from the beginning.
Explore More Design Directions
If the first option does not match your project closely enough, return to the design collection and compare other templates before committing to a layout. This makes the template library useful not only for faster page creation, but also for exploring different visual approaches and finding a suitable starting point for a new project.
This workflow gives you access to a broad collection of ready-made designs that can be selected, compared, and customized according to the needs of each new page or project.