Digital Design that Performs Web Page Design
Edit Template Offline
2. Create new page and search for id 6542487
Edit Template Online
Create Awesome Websites


Free Nicepage Builder
Keywords
The split opening gives way to a measured contact sequence
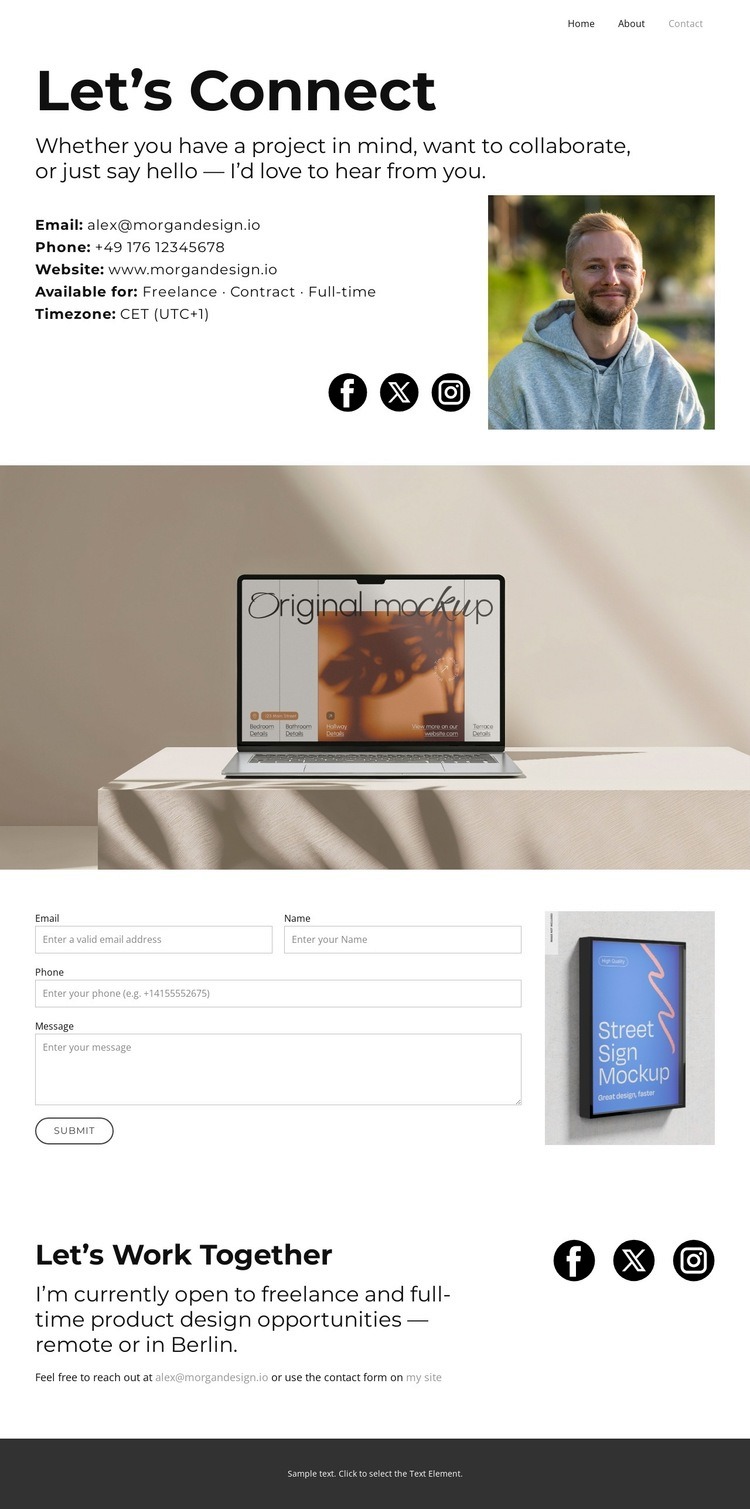
The composition begins with a narrow horizontal navigation line, creating a restrained top edge before the main content expands into a split section. “Let’s Connect” carries the strongest opening emphasis, while the portrait balances the text and prevents the introduction from becoming a dense block of information. Contact details and social links sit beneath the invitation, so related actions remain grouped rather than scattered across the page.
The full-width workspace photograph changes the page’s scale and density. Its wide band separates the personal introduction from the inquiry area, functioning as a transition that gives the next section more focus. Below it, the form is placed beside a narrow portrait-oriented image; this asymmetry keeps the practical interaction visually connected to the photography without allowing the image to overpower the fields. The final “Let’s Work Together” section shifts back to text and social links, closing the sequence with availability information and an email invitation. This progression creates a clear composition: compact orientation, personal introduction, wide visual pause, focused inquiry, and closing invitation. The design works as a single web page because each section changes the balance between text, image, and interaction while preserving the same minimal black-and-white language. Generous whitespace prevents the form and closing content from feeling crowded, even as the page moves through several purposes.
Customize with Nicepage
Open this ready-made template in the Web Page Design Builder and customize it visually in the Nicepage editor. Replace demo content, edit page sections, and adapt the design to your project without rebuilding the template from scratch.
Design a Web Page Section by Section
Choose a Design for Each Section
Build the page from individual content sections instead of starting with a fixed full-page layout. Use Block Designs to browse ready-made sections for different purposes, including introductions, services, galleries, testimonials, contact forms, pricing, and other common parts of a web page. Search or filter the available designs to find a layout that fits the content you want to add.
Combine Blocks and Page Elements
Add selected Blocks to the page and arrange them in the order that supports the page's purpose. A hero section can introduce the main message, followed by services, benefits, portfolio content, testimonials, calls to action, or contact information.
Inside each section, use Web Page Elements such as Text, Image, Hyperlink, Grid, Gallery, and other elements to build and present the page content. Individual elements can be added and adjusted within the Blocks, giving you more control over the composition of each section without having to create the complete layout from scratch.
Refine the Page Layout and Flow
After assembling the main sections, adjust their content, spacing, backgrounds, images, typography, and element placement in the Nicepage editor. Reorder Blocks when necessary and refine the transition from one section to the next so the information hierarchy and visual flow remain clear throughout the page.
This workflow makes the template useful as a web page design that can be composed from ready-made sections, customized with individual page elements, rearranged, and adapted to the content and purpose of an individual page.