Unique online learning Web Page Design


The Portrait-and-Panel Split Creates a Clear Page Entry Point
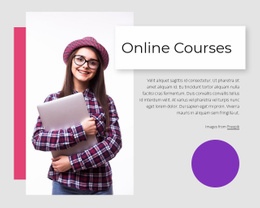
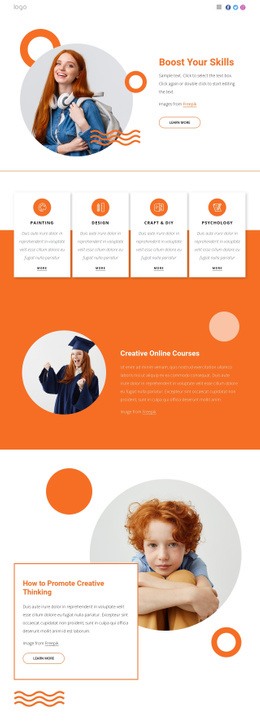
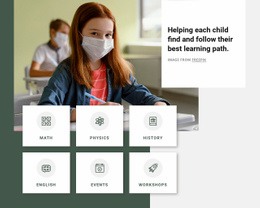
The left-side portrait carries the strongest visual weight in this block, while the right-side white panel concentrates the heading and supporting paragraph into a readable information area. That asymmetrical division gives the section a distinct page composition: visitors encounter the student image first, then move toward the “Online Courses” message and its explanatory text. The image credit line remains beneath the paragraph, keeping attribution connected to the visual it describes.
The magenta vertical rectangle behind the portrait reinforces the left edge and makes the cutout-style image feel deliberately framed rather than simply placed beside the copy. On the opposite side, the purple circular accent near the lower right offsets the tall image and helps the broad composition avoid becoming visually heavy on one side. These shapes support the spatial arrangement without introducing a second content task.
Within one webpage, the section can work as an introductory transition into more detailed education content. Its heading and paragraph establish the subject, while the image gives the page a recognizable visual entry point before later blocks explain courses, benefits, or enrollment information. The light gray background separates this composition from neighboring content, and the white panels create an internal rhythm between image and text. Because the interaction is static, the design depends on alignment, overlap, scale, and reading order rather than controls or motion.
Customize with Nicepage
Open this ready-made template in the Web Page Design Builder and customize it visually in the Nicepage editor. Replace demo content, edit page sections, and adapt the design to your project without rebuilding the template from scratch.
Edit Template Offline
2. Create a new page or select existing
3. Click Add new block, search for id 429100 and click enter
Edit Template Online
Create Awesome Websites


Free Nicepage Builder
Keywords
Design a Web Page Section by Section
Choose a Design for Each Section
Build the page from individual content sections instead of starting with a fixed full-page layout. Use Block Designs to browse ready-made sections for different purposes, including introductions, services, galleries, testimonials, contact forms, pricing, and other common parts of a web page. Search or filter the available designs to find a layout that fits the content you want to add.
Combine Blocks and Page Elements
Add selected Blocks to the page and arrange them in the order that supports the page's purpose. A hero section can introduce the main message, followed by services, benefits, portfolio content, testimonials, calls to action, or contact information.
Inside each section, use Web Page Elements such as Text, Image, Hyperlink, Grid, Gallery, and other elements to build and present the page content. Individual elements can be added and adjusted within the Blocks, giving you more control over the composition of each section without having to create the complete layout from scratch.
Refine the Page Layout and Flow
After assembling the main sections, adjust their content, spacing, backgrounds, images, typography, and element placement in the Nicepage editor. Reorder Blocks when necessary and refine the transition from one section to the next so the information hierarchy and visual flow remain clear throughout the page.
This workflow makes the template useful as a web page design that can be composed from ready-made sections, customized with individual page elements, rearranged, and adapted to the content and purpose of an individual page.