All-in-one display hub Landing Page


Four Labeled Features Build the Explanation Stage
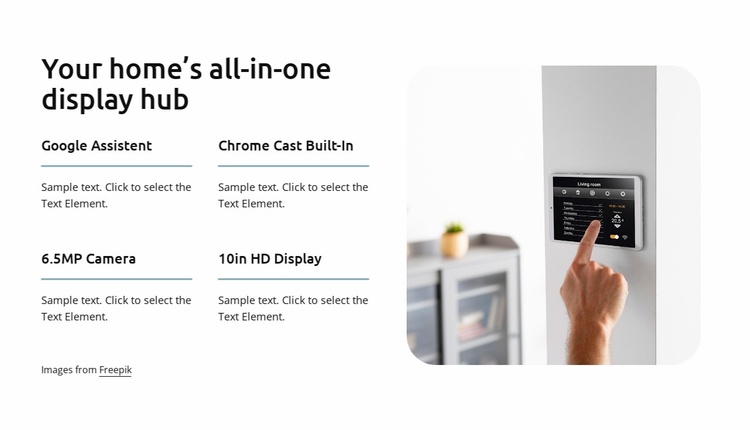
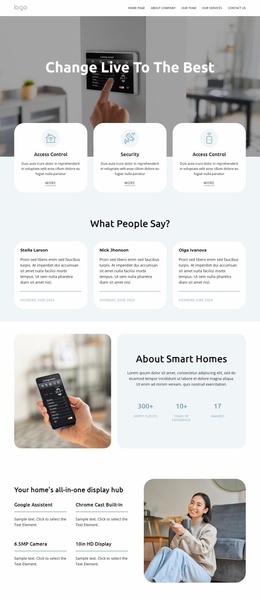
The four labeled items turn the section heading into a set of concrete product-feature topics. Google Assistent, Chrome Cast Built-In, 6.5MP Camera, and 10in HD Display are arranged in two columns, with each label followed by supporting paragraph text. Horizontal dividers reinforce the separation between items, helping a visitor move from one feature explanation to the next without losing the relationship between them.
The rounded product image on the right adds visual context to the left-hand information group. In a landing-page sequence, this combination can support the explanation or benefits stage by showing what the offering includes while keeping the content organized into short, scannable units. The image does not replace a response point, and the block contains no confirmed form or call-to-action; a separate CTA or inquiry section can remain the primary action area elsewhere in the sequence.
The block’s value is therefore its ability to clarify the proposition before a visitor reaches the next decision point. The heading establishes the product context, the repeated labels provide four paths for understanding its features, and the image keeps the explanation visually grounded. The Freepik attribution note remains a supporting detail within the section. Used this way, the block contributes information and product context to a focused conversion path while remaining one reusable section.
Customize with Nicepage
Open this ready-made template in the Landing Page Builder and customize it visually in the Nicepage editor. Replace demo content, edit page sections, and adapt the design to your project without rebuilding the template from scratch.
Edit Template Offline
2. Create a new page or select existing
3. Click Add new block, search for id 6315796 and click enter
Edit Template Online
Create Awesome Websites


Free Nicepage Builder
Keywords
Build a Landing Page Around One Conversion Goal
Focus on One Primary Action
Use the landing page to guide visitors toward one measurable response, such as requesting a quote, registering, subscribing, booking a consultation, applying for a service, or submitting an inquiry. Keep the primary call-to-action consistent across the important sections so the headline, supporting content, form, and CTA buttons work toward the same campaign goal instead of competing for attention.
Capture Leads With a Form
Use the Contact Form Element to add a contact, subscription, application, or other conversion form directly to the landing page. Customize the form fields, layout, labels, inputs, and button to collect the information required for your campaign while keeping the form focused on the action you want visitors to complete.
Nicepage also provides several form submission options. Form submissions can be sent to Email, stored as Leads, added to Google Sheets, passed to a custom URL or server endpoint, or used to populate a MailChimp mailing list. This provides practical options for collecting inquiries, registrations, subscriptions, applications, and other campaign responses.
Manage Leads and Campaign Responses
When submissions are stored as Leads, you can use Contact Form Leads to review the information collected through the landing page and use it for follow-up. Keep the form connected to the same offer and primary CTA presented throughout the page so visitors move from the campaign message to a clear conversion action.
This workflow makes the template suitable for landing pages where the offer, content, call-to-action, form, and lead collection process work together toward one defined conversion goal.

Design Set (19)
-

-
-
Free Website Builder SoftwareDownload
-
-
-
-
-
-
-
-
-



More from Technology Blocks
-
-
-
-
-
-
-
-
-
-
-
Free Website Builder SoftwareDownload
-
-
-
-
-
-
-
-
-
-









More from Grid Repeater Blocks
-
-
-
-
-
-
-
-
-
-
-
Free Website Builder SoftwareDownload
-
-
-
-
-
-
-
-
-
-