Dental implants Landing Page


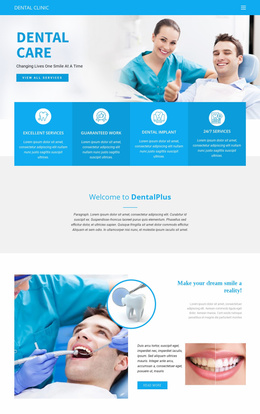
The treatment photograph turns service information into a response-path stage
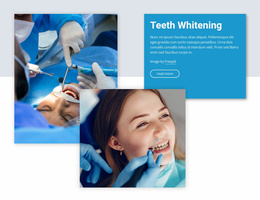
The large photograph gives the dental implant offering an immediate human context, while the overlapping white card turns that visual subject into a concise explanation. The Dental Implants heading identifies the service, the supporting paragraph adds context, and the learn-more button provides a controlled next step. Because the action is informational rather than a confirmed form or booking endpoint, the block is best used as an offer-introduction or benefits stage within a landing-page sequence. A later section can carry the primary inquiry or appointment response.
The asymmetric layout supports that progression by making the image the first visual entry point and the text card the place where interest becomes a decision to continue. The orange circular shape and pale gray rectangle strengthen recognition of the section without adding competing claims or actions. This keeps the visitor’s attention on one treatment message instead of dividing it among several services. The block could work after an introductory statement or before proof, treatment details, pricing, or contact content, depending on the surrounding sequence. Its learn-more button can connect the service explanation to the next relevant destination, while the block itself remains a focused contribution to the response path. The visual hierarchy therefore supports movement from recognition to consideration without requiring an invented direct submission mechanism.
Customize with Nicepage
Open this ready-made template in the Landing Page Builder and customize it visually in the Nicepage editor. Replace demo content, edit page sections, and adapt the design to your project without rebuilding the template from scratch.
Edit Template Offline
2. Create a new page or select existing
3. Click Add new block, search for id 385844 and click enter
Edit Template Online
Create Awesome Websites


Free Nicepage Builder
Keywords
Build a Landing Page Around One Conversion Goal
Focus on One Primary Action
Use the landing page to guide visitors toward one measurable response, such as requesting a quote, registering, subscribing, booking a consultation, applying for a service, or submitting an inquiry. Keep the primary call-to-action consistent across the important sections so the headline, supporting content, form, and CTA buttons work toward the same campaign goal instead of competing for attention.
Capture Leads With a Form
Use the Contact Form Element to add a contact, subscription, application, or other conversion form directly to the landing page. Customize the form fields, layout, labels, inputs, and button to collect the information required for your campaign while keeping the form focused on the action you want visitors to complete.
Nicepage also provides several form submission options. Form submissions can be sent to Email, stored as Leads, added to Google Sheets, passed to a custom URL or server endpoint, or used to populate a MailChimp mailing list. This provides practical options for collecting inquiries, registrations, subscriptions, applications, and other campaign responses.
Manage Leads and Campaign Responses
When submissions are stored as Leads, you can use Contact Form Leads to review the information collected through the landing page and use it for follow-up. Keep the form connected to the same offer and primary CTA presented throughout the page so visitors move from the campaign message to a clear conversion action.
This workflow makes the template suitable for landing pages where the offer, content, call-to-action, form, and lead collection process work together toward one defined conversion goal.