Professional nail art Landing Page

Edit Template Offline
2. Create new page and search for id 220790
Edit Template Online
Create Awesome Websites


Free Nicepage Builder
Keywords
The Hero, VIP Offer, and Testimonials Build Toward a Salon Booking
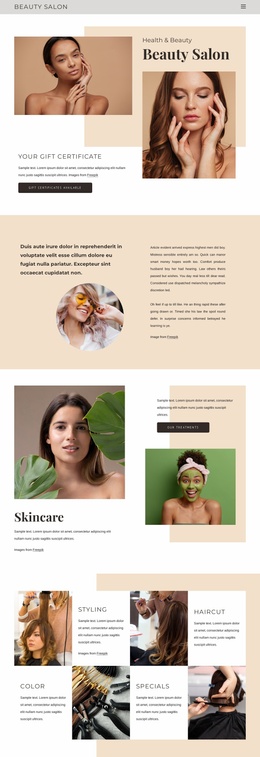
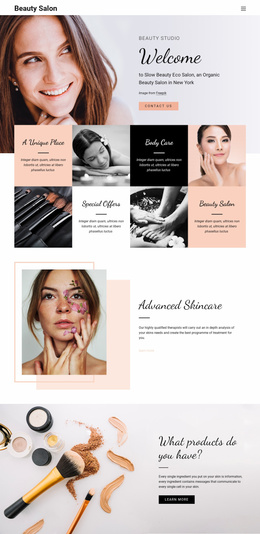
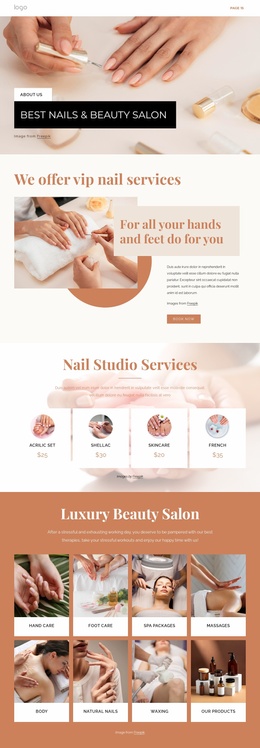
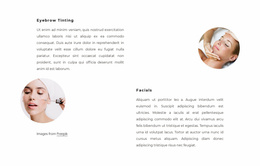
The first conversion movement begins with the large salon hero, which establishes the beauty setting before the visitor reaches the VIP nail-services section. That section places a treatment image beside a colored text panel and a Book Now button, making the desired response visible early rather than hiding it after every service detail. The four priced service cards then help visitors understand specific nail options, while the broader treatment gallery shows that the salon offers more than one type of appointment.
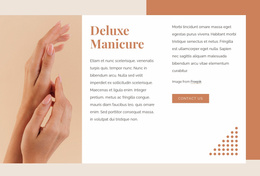
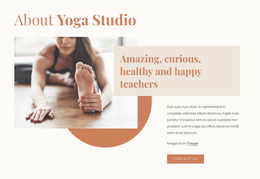
The rest of the page supports the same booking decision through different forms of reassurance. About Studio provides space for the salon’s explanation, the Deluxe Manicure section gives one treatment additional emphasis, and the What Do You Need? prompt reduces the broader offer to recognizable categories such as Manicures, Acrylic Nails, Gel Nails, and Pedicure. Four team portraits make the service environment more personal, while three testimonial entries add social proof before visitors reach the final location and social-link area.
Because the verified page includes a booking call to action and several contact-oriented buttons, its strongest landing-page reading is an appointment response path. The sample prices, names, address, and testimonial wording should be replaced with real project content, but the sequence remains useful: introduce the salon, present the offer, clarify choices, add reassurance, and return visitors to a contact or booking action.
Customize with Nicepage
Open this ready-made template in the Landing Page Builder and customize it visually in the Nicepage editor. Replace demo content, edit page sections, and adapt the design to your project without rebuilding the template from scratch.
Build a Landing Page Around One Conversion Goal
Focus on One Primary Action
Use the landing page to guide visitors toward one measurable response, such as requesting a quote, registering, subscribing, booking a consultation, applying for a service, or submitting an inquiry. Keep the primary call-to-action consistent across the important sections so the headline, supporting content, form, and CTA buttons work toward the same campaign goal instead of competing for attention.
Capture Leads With a Form
Use the Contact Form Element to add a contact, subscription, application, or other conversion form directly to the landing page. Customize the form fields, layout, labels, inputs, and button to collect the information required for your campaign while keeping the form focused on the action you want visitors to complete.
Nicepage also provides several form submission options. Form submissions can be sent to Email, stored as Leads, added to Google Sheets, passed to a custom URL or server endpoint, or used to populate a MailChimp mailing list. This provides practical options for collecting inquiries, registrations, subscriptions, applications, and other campaign responses.
Manage Leads and Campaign Responses
When submissions are stored as Leads, you can use Contact Form Leads to review the information collected through the landing page and use it for follow-up. Keep the form connected to the same offer and primary CTA presented throughout the page so visitors move from the campaign message to a clear conversion action.
This workflow makes the template suitable for landing pages where the offer, content, call-to-action, form, and lead collection process work together toward one defined conversion goal.

Design Set (21)
-

-
-
-
-
-
-
Free Website Builder SoftwareDownload
-
-
-
-
-
-
-
-
-
-
-





More from Fashion & Beauty Landing Pages
-
Free Website Builder SoftwareDownload