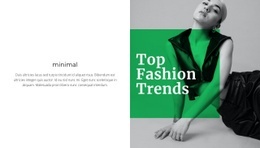
Modern cars Html Code Example


The mosaic creates defined regions for optional extensions
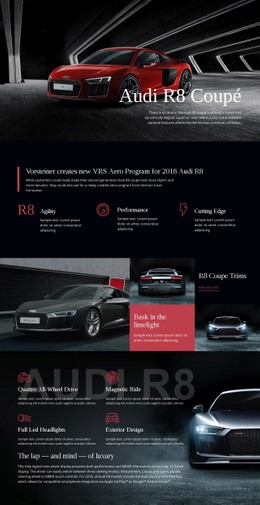
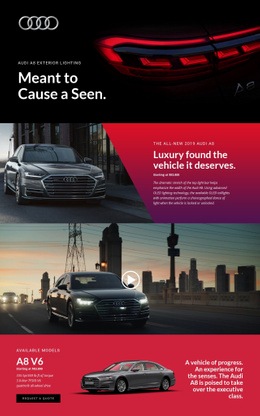
Three vehicle images, the “R8 Coupe Trims” heading, and the adjacent “View Key Info” link already establish the block’s product-information path. The large image on the left acts as the dominant visual region, while the two stacked image-and-text rows on the right provide smaller areas for supporting information. Because those regions are visually distinct, custom markup can be considered near the relevant content without replacing the block’s existing arrangement.
For example, a project could place additional trim data, an availability notice, or another vehicle-specific information element near the key-information area if the surrounding implementation requires it. That would be an optional extension around the existing content, not a claim that custom code is already part of the section. The secondary panel, headed “Bask in the limelight,” can remain focused on its supporting paragraph while any added functionality is kept visually subordinate.
In an HTML Code context, the important consideration is preserving the mosaic’s boundaries. An external component or custom data element should fit within one of the established image-text regions and respect the tight tile joins, dark panels, muted red surfaces, and white serif headings. This keeps added functionality connected to the R8 Coupe trim presentation instead of turning the block into an unrelated technical area.
Customize with Nicepage
Open this ready-made template in the HTML Code Generator and customize it visually in the Nicepage editor. Replace demo content, edit page sections, and adapt the design to your project without rebuilding the template from scratch.
Edit Template Offline
2. Create a new page or select existing
3. Click Add new block, search for id 41113 and click enter
Edit Template Online
Create Awesome Websites


Free Nicepage Builder
Keywords
Extend This Page With Custom HTML Code
Insert Code With the HTML Element
Use the HTML Element to add custom code directly to a Block in the Nicepage editor. Enter the required markup in the Code field when the page needs content or functionality that is not available through the standard page elements.
Place the HTML Element in the Layout
Treat the HTML Element as part of the visual page composition. Adjust its position, width, height, alignment, and margins to place the custom content where it belongs alongside text, images, buttons, and other elements. This makes it possible to combine visually edited sections with project-specific code without separating the custom element from the rest of the layout.
Add HTML, CSS, JavaScript, and External Components
The HTML Element supports HTML, CSS, and JavaScript, allowing you to extend the page with custom markup and interactive functionality. It can also be used to embed custom code and third-party components, such as social feeds, advertising code, widgets, or other external functionality required by the project.
This workflow makes the template useful for projects that need a visual page editor together with custom HTML code, JavaScript, embedded components, and functionality beyond the standard page elements.











More from Cars & Transportation Blocks
-

-

-
-
-
-
-
-
-
-
-
Customize Any TemplateDownload
-
-
-
-
-
-
-
-
-
-

















More from Wide Blocks
-

-
-
-
-
-
-
-
-
-
-
Customize Any TemplateDownload
-
-
-
-
-
-
-
-
-
-