You can translate the Nicepage WordPress Theme and Plugin using the poEdit Application.
Installation
To install the poEdit Application, do the following.
- Install the poEdit Application on your PC.
- Open it.
- Click Create new translation.
![poedit-1.jpg]()
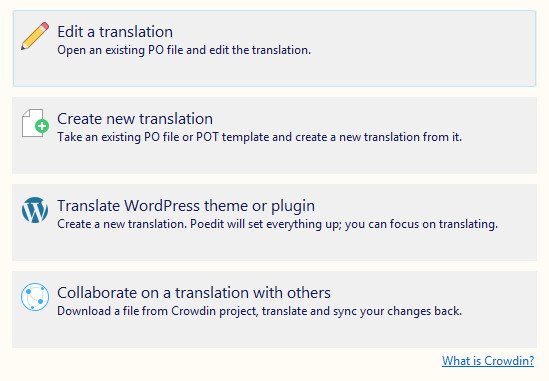
Language Settings
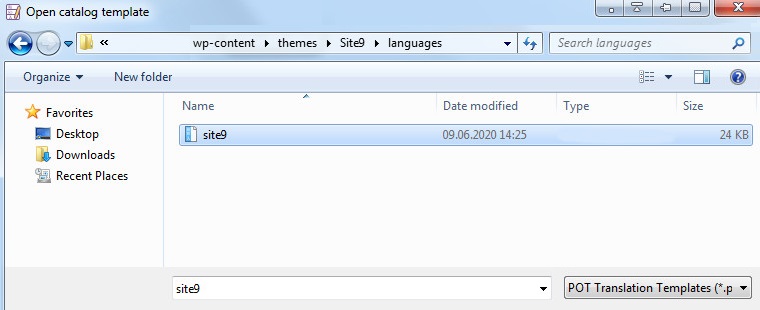
IMPORTANT! If you cannot find the .pot File in the specified folder, or there is no "languages" folder, we recommend downloading the newer version of the Nicepage Plugin or reexporting the Nicepage Theme.
To edit the Language Settings, do the following.
- Open the .pot file at the following locations:
![poedit-2.jpg]()
Theme:/wp-content/themes/THEME_NAME/languages/
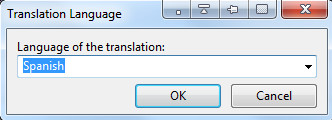
Plugin:/wp-content/plugins/PLUGIN_NAME/languages/ - Select the required language.
- Click OK.
![poedit-3.jpg]()
- Locate phrases for translation.
- You can also search by pressing CTRL + F keys.
- Enter your translation.
Save Localization
To save the Localization, do the following.
- Click File -> Save as.
![poedit-4.jpg]()
- Select the destination folder to save the results:
Theme:/wp-content/languages/themes/
Plugin/wp-content/languages/plugins/ - The Application may propose a Name for the language, for example, ES for Spanish.
- Add your theme name with the dash symbol, for example, "site9-es.po".
- Click Save.

Congratulations! You have created a new Language Localization.
Verify Localization
To verify the Localization, do the following.
- Go to WordPress Settings.
- Verify if you set the required language correctly and see the correct translations.
![poedit-5.jpg]()
