You can create and edit blog posts with the Desktop Application. You can edit the Posts in the Nicepage Desktop Application and export them to WordPress and Joomla if needed.
You can also create and manage your blog in the Online Builder.

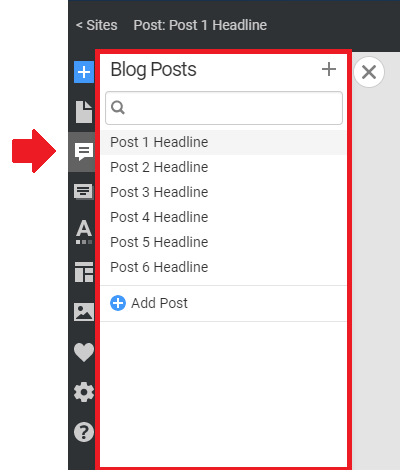
Manage Posts
Add and edit Posts that appear in the Blog Posts Element added to a Block on a Web Page.
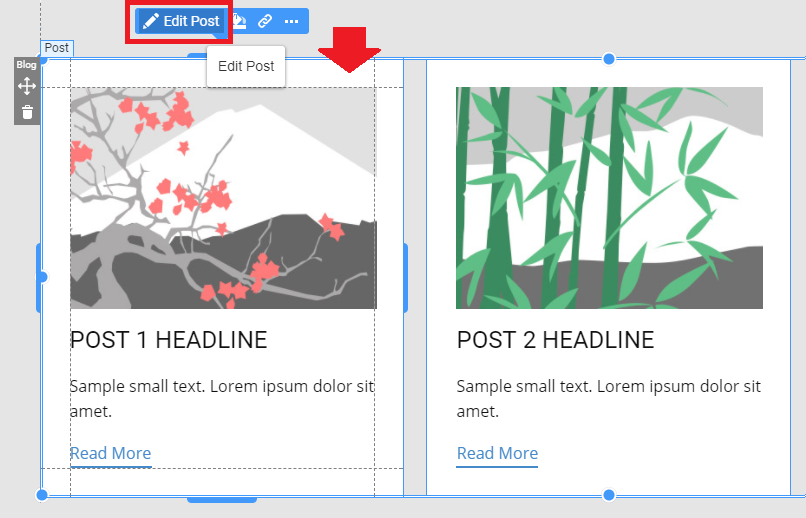
Edit Post
Click the Post Edit Button to edit the Post in the Editor.
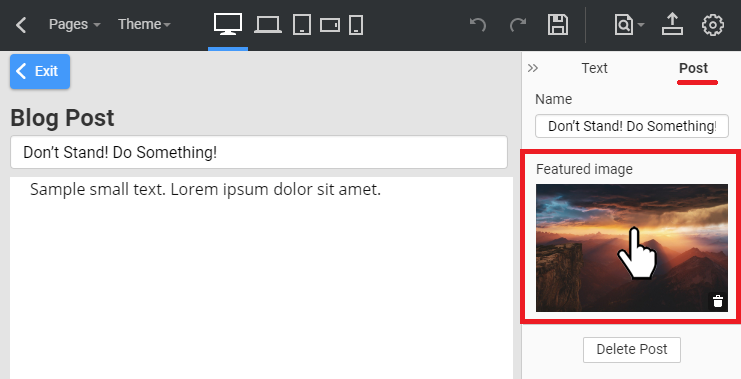
You can modify the Post Title, Content, and Featured Image.

Change Featured Image
Change the Featured Image by clicking the Change Image Button in the Property Panel.
Blog Posts Element
You can use the Blog Posts Element in a Block of an existing page, such as Home or a new page.
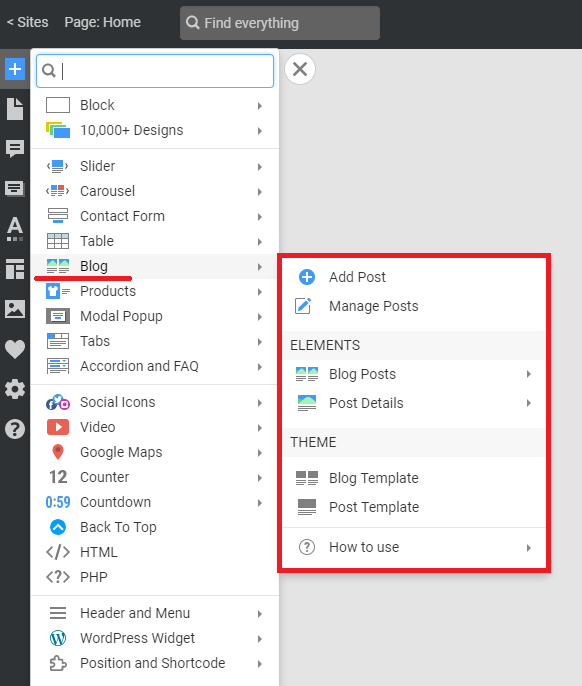
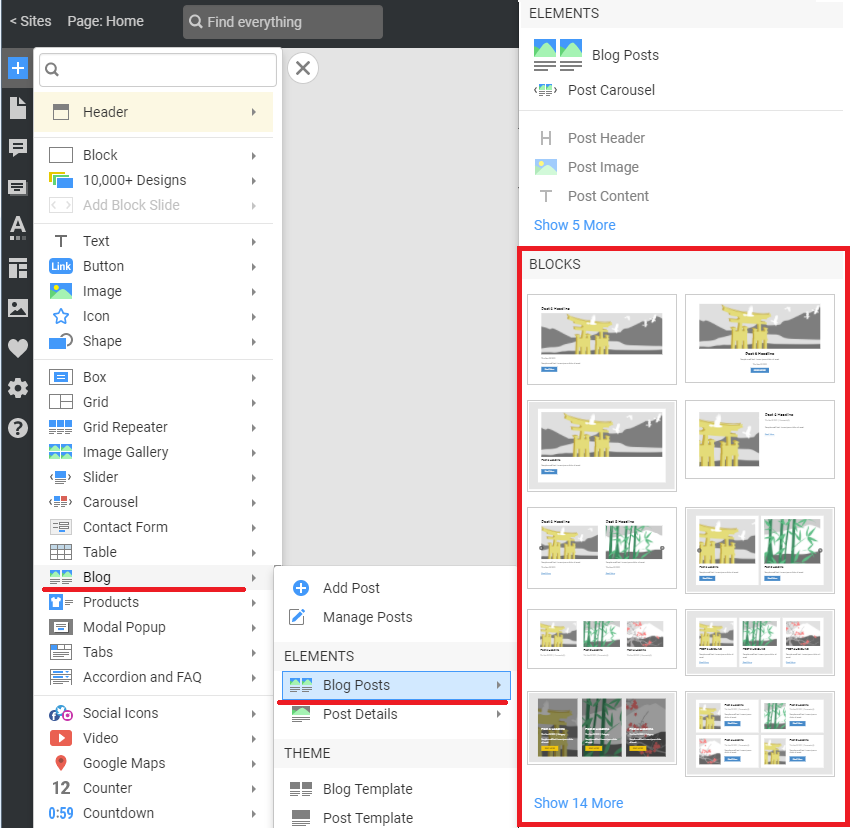
Blog Block Presets
Start with the Blog Posts Presets in the Add Panel's Blog section.
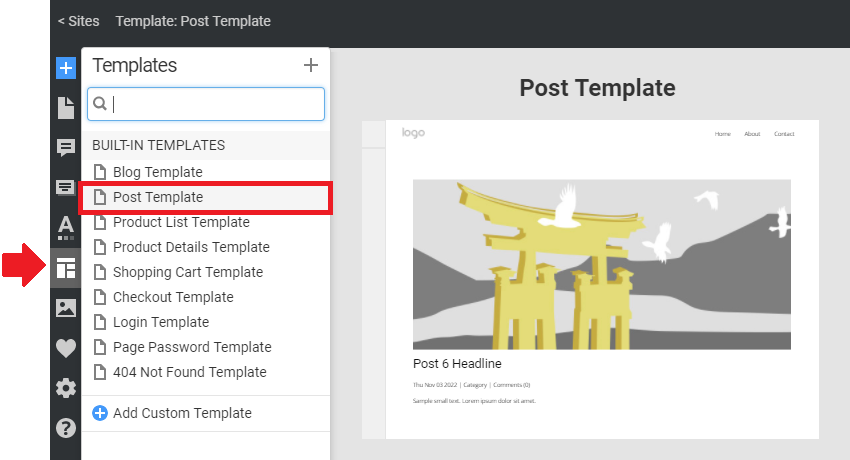
Blog Templates
Please note that you can modify only the Post Template.
Blog Posts Template
NOTE: To use this Project for WordPress and Joomla exports, you can edit the Theme -> Blog Template. You can skip this section for the HTML Blog.
Post Template
Edit the layout for your HTML Posts by customizing the Theme Panel -> Post Template.
Blog Pagination
You can add the Pagination to the Blog.

Link To Blog
Add a link to the Blog in the Menu Items and Link Settings Dialogs. It works in the Applications, WordPress Plugin, and Joomla Extension.
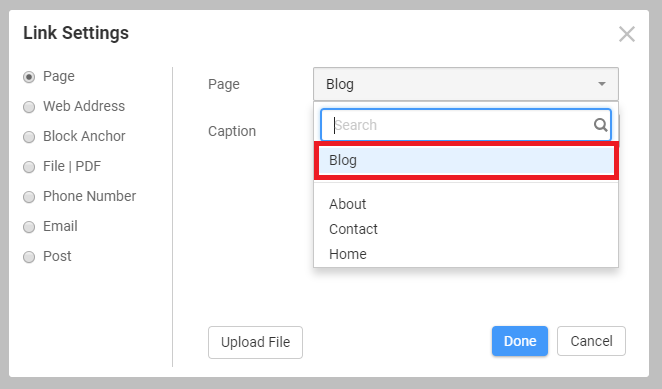
Link Post Pages
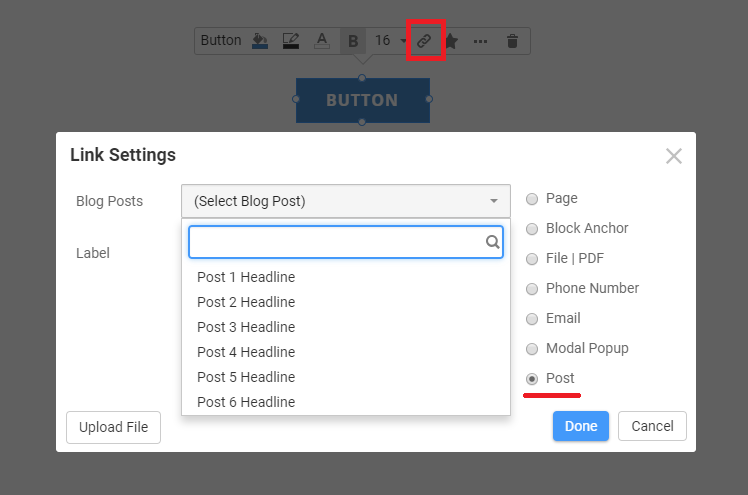
You can also add a link to Blog and Posts in the Edit Link Dialog for the Button and Hyperlink Elements.
Export Blog To HTML
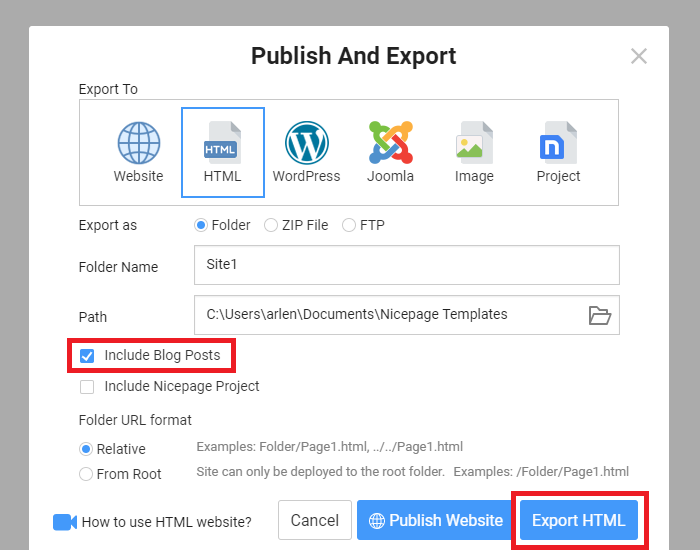
In the Publish dialog, select the HTML Tab.
NOTE: Check the Include Blog Posts option in the Publish dialog and export the HTML Blog and Posts to the Blog folder.
Click the Export HTML button. The blog folder will be created in the exported ZP file or folder.
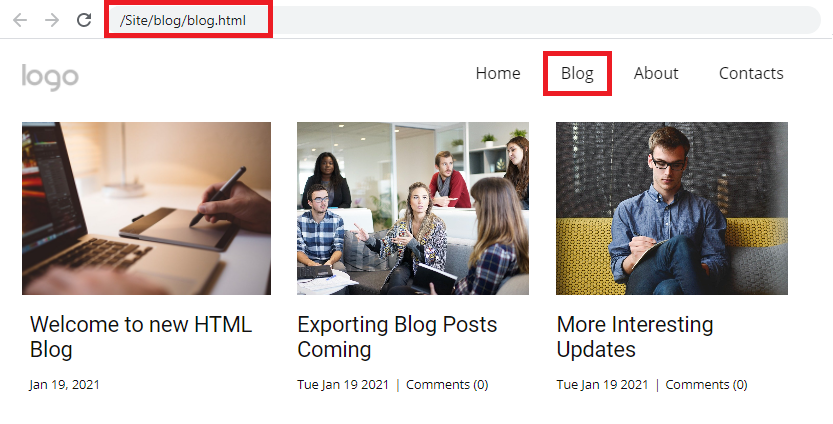
Preview Blog
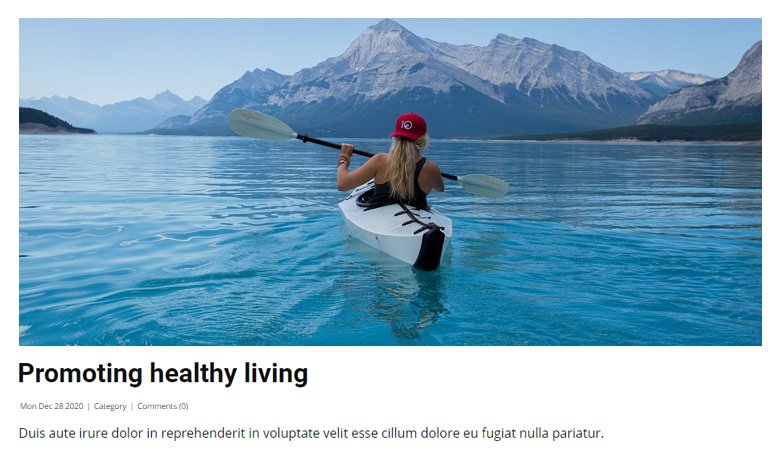
Open the page in a browser from the Publish Success dialog. After exporting, the HTML Blog will appear as follows on the live site in a browser.
The live Post will look like the following example. The exported Posts use the layout of the Post Template.