Cooking workshops Template
Edit Template Offline
2. Create new page and search for id 6459313
Edit Template Online
Create Awesome Websites


Free Nicepage Builder
Keywords
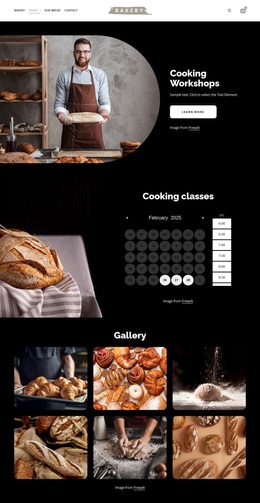
A calendar-led workshop page with strong visual coverage
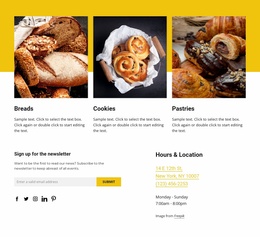
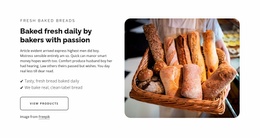
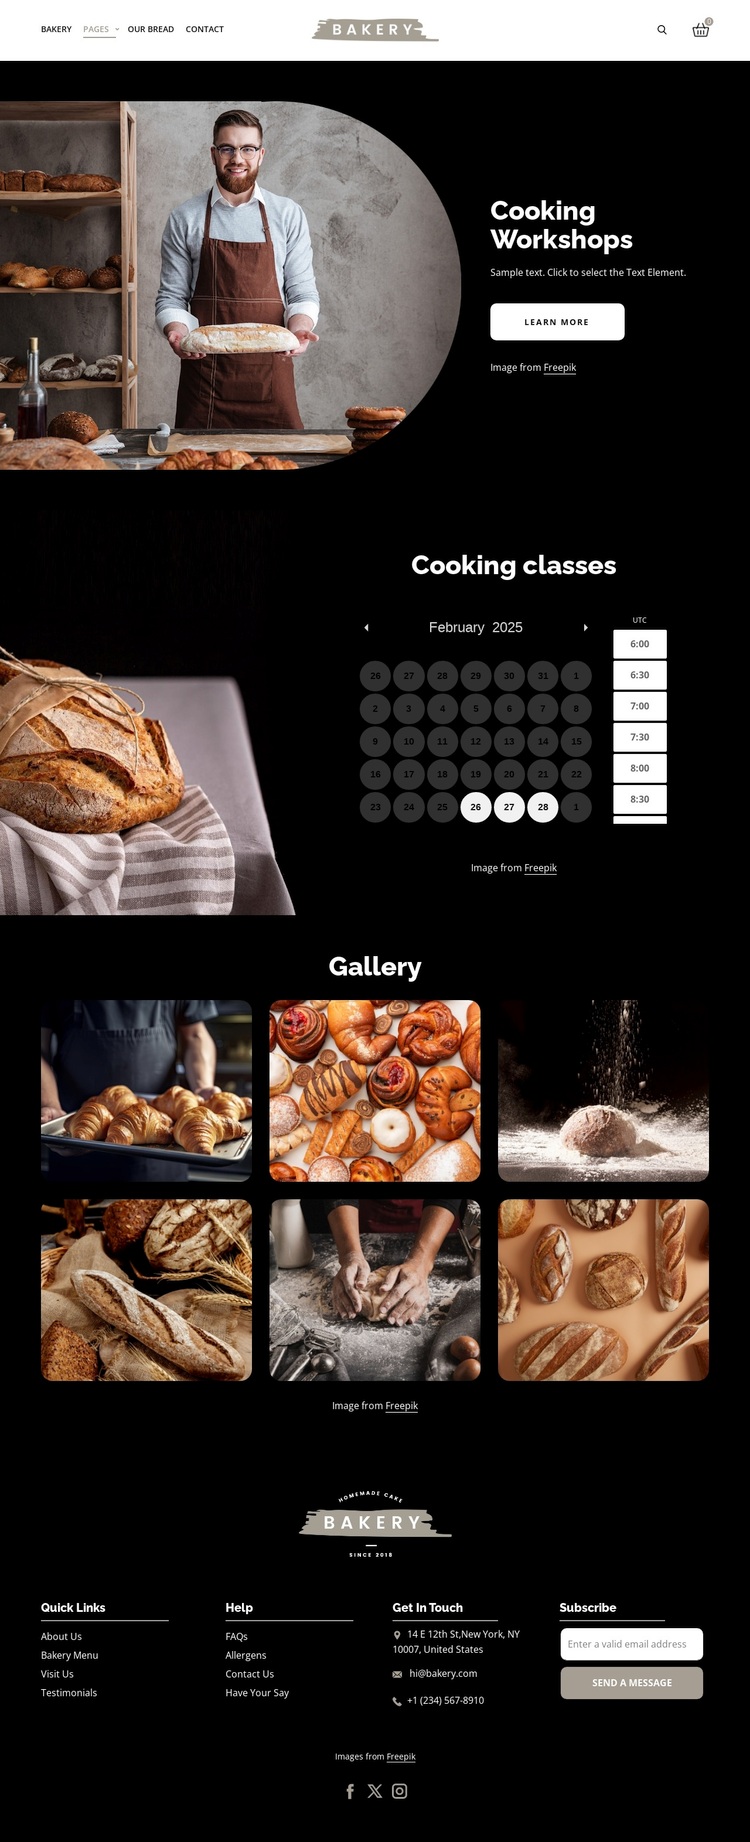
The combination of a cooking workshop introduction and a calendar-based appointment area makes this design worth considering for projects that must present an offer and provide a direct route into class scheduling. The page does not rely on dense explanatory content alone. A large food image establishes the bakery subject beside the Cooking Workshops heading and Learn more action, giving visitors an immediate visual and topical entry point.
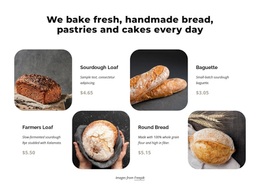
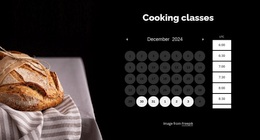
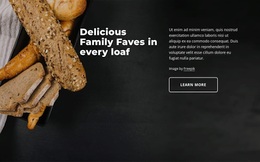
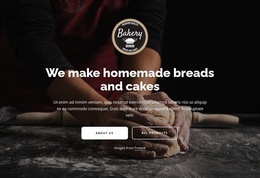
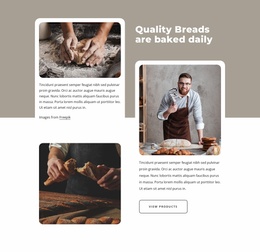
The Cooking classes section adds a practical second emphasis. Date and time selection is presented as part of the page structure, so appointment activity follows the initial explanation of the workshop rather than competing with it at the opening. The six-image gallery then supports the same subject through bakery and cooking scenes, making imagery a meaningful part of the page instead of a decorative afterthought.
The black, white, and orange palette gives these areas a recognizable direction. White typography remains legible against the dark background, while orange marks actions and small interface details. The footer broadens the coverage with Quick Links, Help, contact access, social links, and subscription content. This is a useful choice when a cooking or bakery project needs a visually focused page that also acknowledges scheduling and ongoing communication.
Customize with Nicepage
Open this ready-made template in the Template Builder and customize it visually in the Nicepage editor. Replace demo content, edit page sections, and adapt the design to your project without rebuilding the template from scratch.
Start With a Ready-Made Template
Choose a Design for a New Page
Use a ready-made template as a starting point instead of creating every page from a blank canvas. When adding a new page in Nicepage, browse available designs, compare different layouts, and choose an option that already fits the general purpose and visual direction of your project.
Browse Different Page Designs
Explore Page Designs using search, thematic categories, Design Sets, and full-page previews. The collection includes layouts for different subjects and page purposes, making it easier to compare alternatives before selecting a design to customize.
Customize the Selected Template
After choosing a design, create the page and continue editing it visually in Nicepage. Replace the demo content, adjust images, typography, colors, sections, and other elements, and adapt the ready-made layout to your own content instead of rebuilding the design from the beginning.
Explore More Design Directions
If the first option does not match your project closely enough, return to the design collection and compare other templates before committing to a layout. This makes the template library useful not only for faster page creation, but also for exploring different visual approaches and finding a suitable starting point for a new project.
This workflow gives you access to a broad collection of ready-made designs that can be selected, compared, and customized according to the needs of each new page or project.

Design Set (22)
-

-
-
-
-
-
-
-
-
-
-
-
-
-
Free Website Builder SoftwareDownload
-
-