Digital space Template

Edit Template Offline
2. Create new page and search for id 1692066
Edit Template Online
Create Awesome Websites


Free Nicepage Builder
Keywords
A six-entry timeline meets editorial portfolio storytelling
The six-entry timeline labeled 2018 through 2023 gives this design a distinctive way to present studio development without making the page depend entirely on a conventional service grid. It creates a chronological layer that can support a creative studio narrative, while the bold black typography and lime-green panels make the major statements easy to distinguish from lighter content areas.
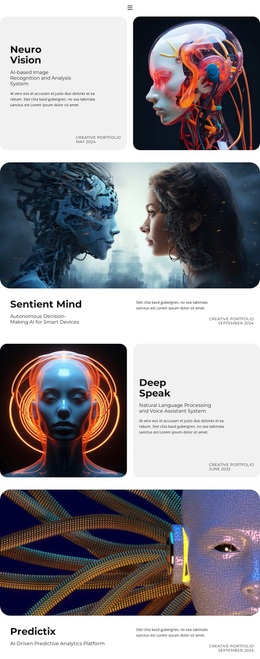
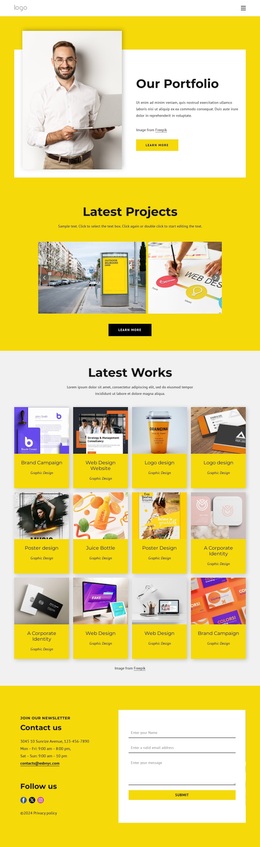
The template is also strongly image-led. Two galleries contain six images each, but they serve different presentation moments: the first supports the main portfolio story and Learn more action, while the later horizontal gallery introduces product and stationery imagery with navigation arrows and a credit line. This separation gives a project room to show both broad portfolio material and a more focused visual sequence. The two testimonial cards then add client-oriented context without competing with the gallery sections.
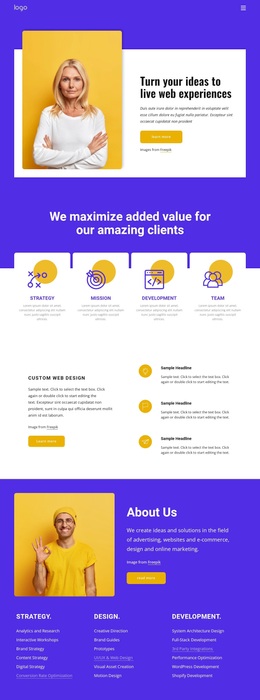
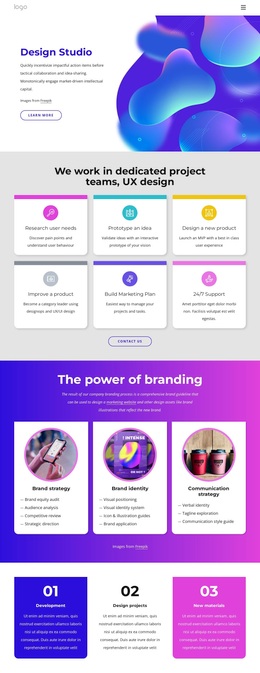
Three numbered capability highlights—Development, Design projects, and New materials—make the offering understandable in a compact form. Four portrait-and-text profile cards add another human layer, and the Projects section provides two project descriptions before the final contact panel. The result is a useful choice for a studio that needs a confident visual direction, evidence of work, service labels, and several routes toward contact rather than a text-heavy corporate layout.
Customize with Nicepage
Open this ready-made template in the Template Builder and customize it visually in the Nicepage editor. Replace demo content, edit page sections, and adapt the design to your project without rebuilding the template from scratch.
Start With a Ready-Made Template
Choose a Design for a New Page
Use a ready-made template as a starting point instead of creating every page from a blank canvas. When adding a new page in Nicepage, browse available designs, compare different layouts, and choose an option that already fits the general purpose and visual direction of your project.
Browse Different Page Designs
Explore Page Designs using search, thematic categories, Design Sets, and full-page previews. The collection includes layouts for different subjects and page purposes, making it easier to compare alternatives before selecting a design to customize.
Customize the Selected Template
After choosing a design, create the page and continue editing it visually in Nicepage. Replace the demo content, adjust images, typography, colors, sections, and other elements, and adapt the ready-made layout to your own content instead of rebuilding the design from the beginning.
Explore More Design Directions
If the first option does not match your project closely enough, return to the design collection and compare other templates before committing to a layout. This makes the template library useful not only for faster page creation, but also for exploring different visual approaches and finding a suitable starting point for a new project.
This workflow gives you access to a broad collection of ready-made designs that can be selected, compared, and customized according to the needs of each new page or project.