Harley Davidson HTML5 Template


Edit Template Offline
2. Create new page and search for id 18994
Edit Template Online
Create Awesome Websites


Free Nicepage Builder
Keywords
Eight Sections Build a Clear Motorcycle Information Hierarchy
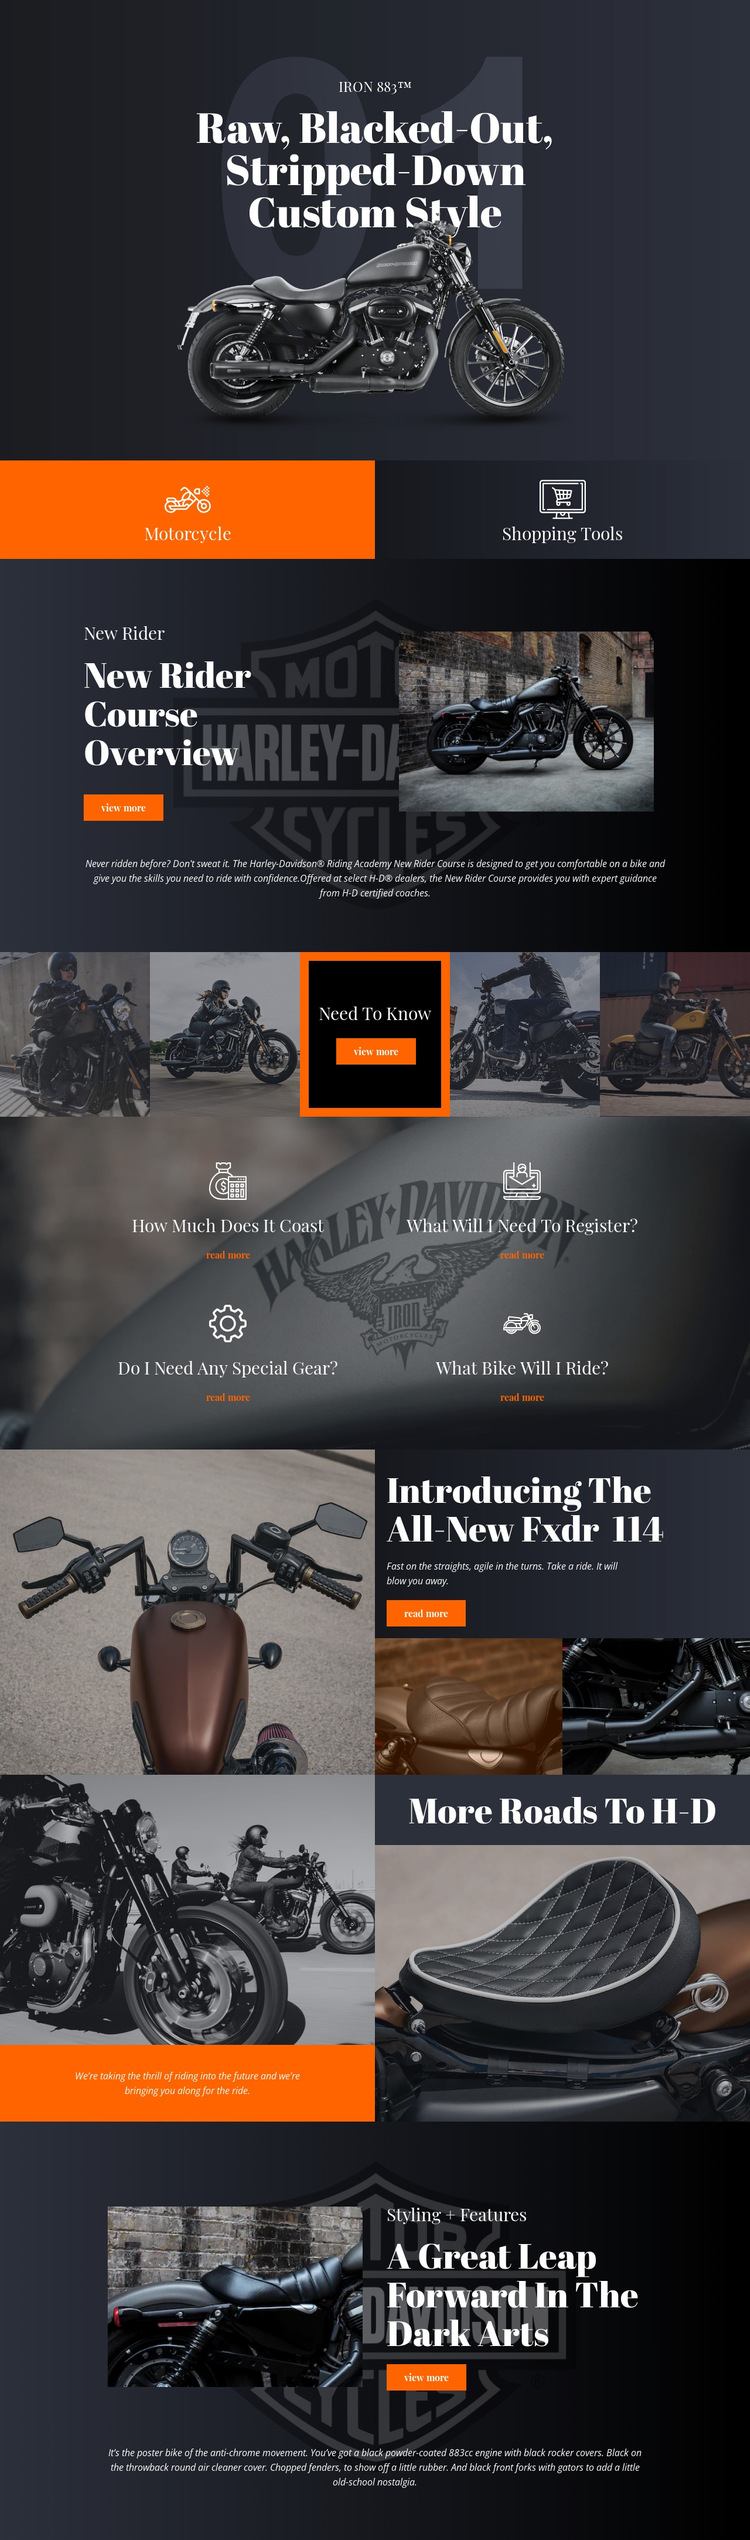
The page follows a recognizable hierarchy from introduction to supporting information and model promotion. Section 1 is a Text On Image hero centered on the IRON 883™, so the motorcycle and custom-style message establish the initial subject. Section 2 changes to two equal tiles labeled Motorcycle and Shopping Tools, creating a simple navigation layer before the page moves into longer explanatory content.
Sections 3 through 5 form the rider-education group. The New Rider Course overview uses an image, text panel, supporting paragraph, and action. The Need To Know strip places a bordered text tile among motorcycle images, and the following FAQ-style section repeats four question panels covering cost, registration, gear, and the bike used. This sequence moves from introduction to a highlighted information topic and then to several related questions.
Sections 6 through 8 return to product and brand presentation. The Fxdr 114 section pairs a large motorcycle image with a dark promotional panel and smaller image tiles. More Roads To H-D uses two complementary image-and-text compositions, while the final section presents styling and features beside another motorcycle image. This progression exposes a structured page hierarchy of hero, navigation tiles, educational content, repeated information items, model promotion, brand statement, and closing feature content.
Customize with Nicepage
Open this ready-made template in the HTML5 Template Builder and customize it visually in the Nicepage editor. Replace demo content, edit page sections, and adapt the design to your project without rebuilding the template from scratch.
Explore This HTML5 Template Structure
Navigate the Page Structure
Customize this ready-made HTML5 template visually in the Nicepage editor while keeping its page organization easy to understand. Use the Layers panel to view the hierarchy of the Header, Blocks, Containers, Elements, and Footer, navigate between different parts of the page, and quickly select items within the layout.
The Layers panel also provides practical controls for working with more complex pages. Blocks, Containers, and Elements can be renamed for easier identification, temporarily hidden while editing, or locked to prevent accidental changes. The outline can also expose the internal structure of elements such as Menus and Contact Forms.
Work With Organized Page Sections
Blocks divide the page into major content sections, while Containers and Elements organize the content inside them. Keeping this hierarchy visible makes it easier to understand how individual parts of the page relate to one another, especially when a layout contains many nested elements.
You can use the Layers panel to move through this structure instead of selecting everything directly on the canvas, making complex layouts easier to inspect and manage as an organized page hierarchy.
Review and Extend the HTML
After customizing the page visually, the resulting HTML can be reviewed and adapted when code-level changes are required. If a project needs additional markup or functionality beyond the standard page elements, use the HTML Element to add targeted custom HTML where necessary.
This workflow combines visual editing with a clear view of the page hierarchy, making the template useful both as a ready-made design and as an HTML5 project whose structure can be inspected, managed, adapted, and extended.

More from Cars & Transportation HTML5 Templates
-
Free Website Builder SoftwareDownload