Customize the Login Template to authenticate access to your website's restricted pages and forms. The Login Template usually contains a form with the Username, Password, and links to recover forgotten information.
IMPORTANT! To use the customized Login Template with Nicepage, install the Theme My Login WordPress Plugin on your website.
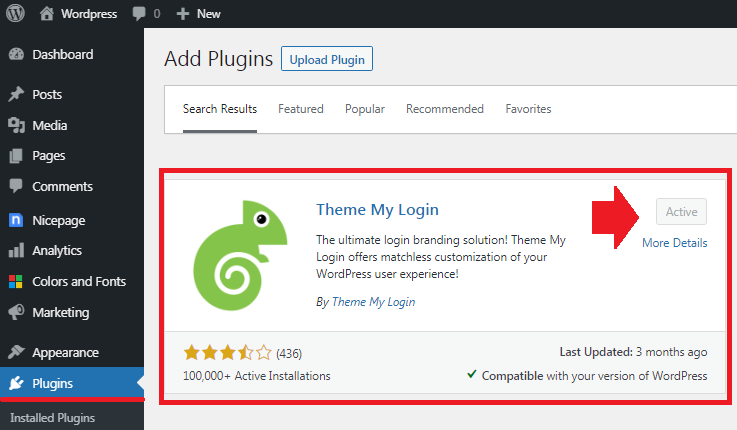
Theme My Login Plugin
In WordPress, to use the customized Login Template with Nicepage, you need to install the Theme My Login plugin.
IMPORTANT! You must install and activate the Theme My Login plugin and USE IT AS-IS without changing settings.
Edit Login Template
You can modify the layout, add images, and stylize Elements of the Login Template using the Nicepage Application for Windows or Mac OS.
- Open the Nicepage Application.
- Go to Theme -> Login Template

Add Elements
You can add the Login Template Elements from the Add Menu.

Exporting Theme with Login Template
If you are ready to install the Theme into your CMS, export your Theme containing the Login Template.

Installing Theme into WordPress
- Install the exported Theme into your WordPress.
- Activate your Theme after the installation is complete.

Live View of Login Template
To see the Login Template after the installation, log out. You will see the Login Template you have edited with Nicepage and installed with your Theme.
