Free 10% off coupon Web Page Design


Centered Modal Composition With a Clear Visual Entry Point
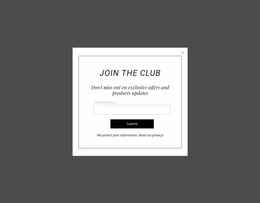
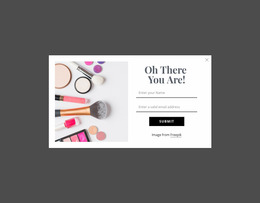
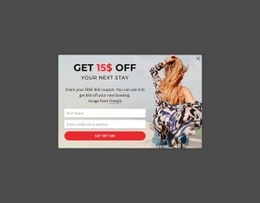
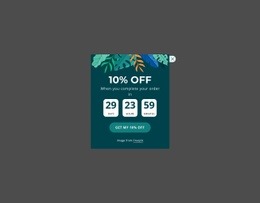
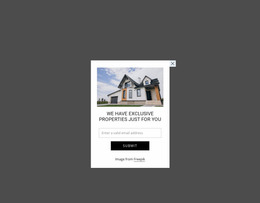
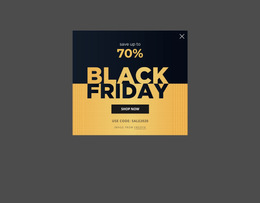
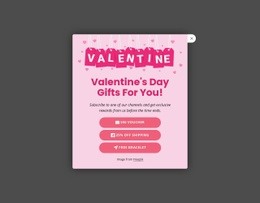
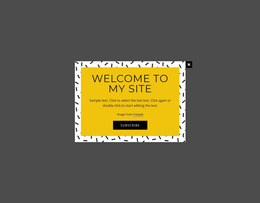
The darkened backdrop creates a quiet field around the white rectangular panel, making the modal the dominant compositional unit. Within that panel, the logo provides the first visual point, and the black serif heading gives the offer a strong typographic center. The supporting description narrows the message before the eye reaches the paired name and email fields. This top-to-bottom sequence keeps identity, explanation, input, and action in a predictable order.
The two-column field row adds horizontal structure inside an otherwise vertical composition. Beneath it, the full-width rounded button restores the panel’s width and creates a deliberate visual endpoint for the form. The credit line is placed after the response area, so it reads as supporting information rather than part of the main action. Meanwhile, the close control occupies a separate corner position and does not interrupt the central reading path.
As one section within a webpage, this block can create a strong transition from surrounding content into a focused promotional interaction. The page around it would determine when the modal appears or what content leads to it, but the block itself supplies the internal composition. Its most important design relationships are the backdrop-to-panel contrast, logo-to-heading alignment, paired-field proportion, and button width. Preserving those relationships helps the coupon message remain legible and visually self-contained.
Customize with Nicepage
Open this ready-made template in the Web Page Design Builder and customize it visually in the Nicepage editor. Replace demo content, edit page sections, and adapt the design to your project without rebuilding the template from scratch.
Edit Template Offline
2. Create a new page or select existing
3. Click Add new block, search for id 6546887 and click enter
Edit Template Online
Create Awesome Websites


Free Nicepage Builder
Keywords
Design a Web Page Section by Section
Choose a Design for Each Section
Build the page from individual content sections instead of starting with a fixed full-page layout. Use Block Designs to browse ready-made sections for different purposes, including introductions, services, galleries, testimonials, contact forms, pricing, and other common parts of a web page. Search or filter the available designs to find a layout that fits the content you want to add.
Combine Blocks and Page Elements
Add selected Blocks to the page and arrange them in the order that supports the page's purpose. A hero section can introduce the main message, followed by services, benefits, portfolio content, testimonials, calls to action, or contact information.
Inside each section, use Web Page Elements such as Text, Image, Hyperlink, Grid, Gallery, and other elements to build and present the page content. Individual elements can be added and adjusted within the Blocks, giving you more control over the composition of each section without having to create the complete layout from scratch.
Refine the Page Layout and Flow
After assembling the main sections, adjust their content, spacing, backgrounds, images, typography, and element placement in the Nicepage editor. Reorder Blocks when necessary and refine the transition from one section to the next so the information hierarchy and visual flow remain clear throughout the page.
This workflow makes the template useful as a web page design that can be composed from ready-made sections, customized with individual page elements, rearranged, and adapted to the content and purpose of an individual page.