Summary
- Overview
- Adding Video Element
- Options
- Margin and Size
- Source: URL and File Upload
- Video File Upload In Online Editor
- Video Player Options
- Border and Shadow
- Shading and Transparency
- Other Settings
- Expand to Background
- Upload Button On Toolbar
Video Overview
The Video Element allows you to add a video to a page. You can link to YouTube, Vimeo, and your hosting or upload videos from your computer.

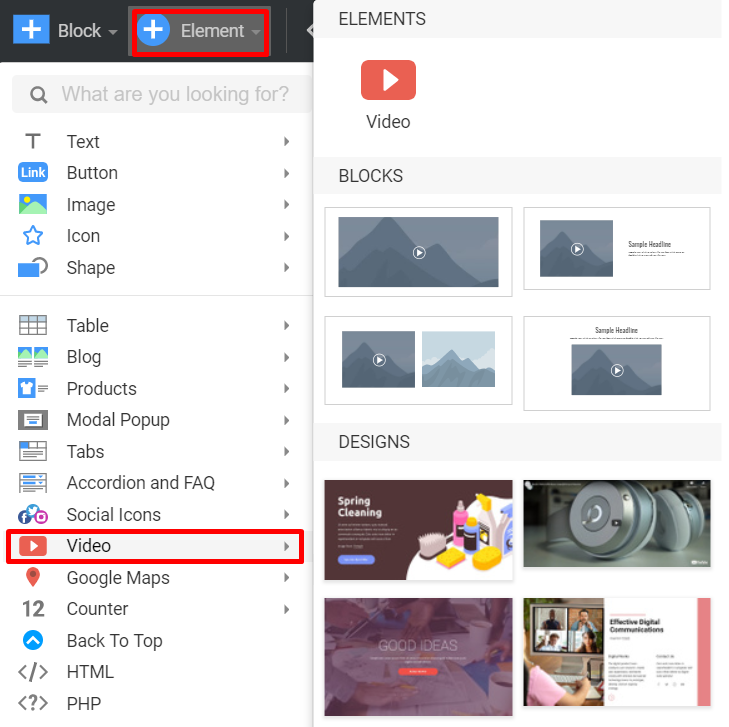
Adding Video Element
You can add the Video Element for Add Element menu or a Block Preset or Design in the corresponding Video sections.
Video Options
Video Element has various Options you can use for styling and setting the player options.
Margin and Size
You can set the Video Element's width and height using the following options and edit the Margins. Also, you can simply adjust the Video Element size in the Editor by dragging the markers.

Source
Choose the Source for your Video. You can use the URL option and specify the URL to your Video hosted on YouTube, Vimeo, or any other server.
** URL **
For YouTube and Vimeo, copy the URL of the page with the Video. For videos on any other server, use the full link to the exact video file.

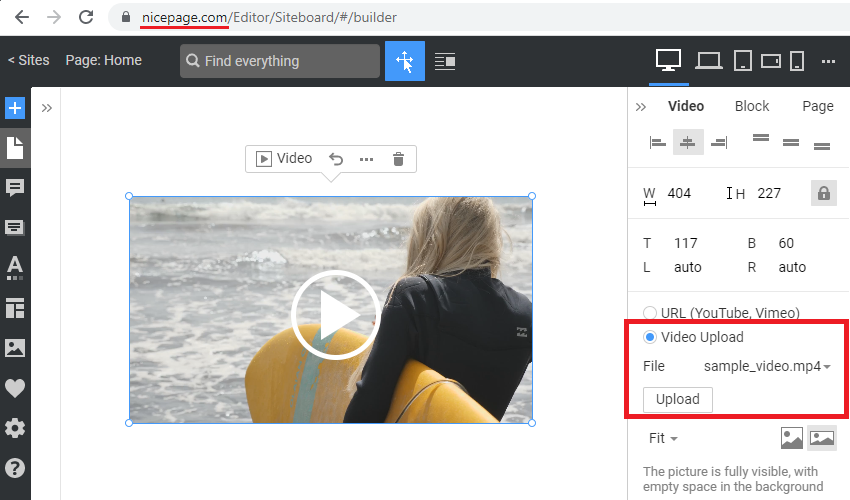
** File Upload **
You can also upload a video from your computer. Choose the Upload File option, and then you can choose from the already uploaded files or upload a new one.

Note, the size of the uploaded file should be less than 10MB.
Video File Upload In Online Editor
You can upload the Video both for the Video Element and Video Background in the Online Editor.
Player Options
In the right panel, you can set the options for the video player. Note that the options are different for the specific Video Source option chosen.
If you use the Video from YouTube or Vimeo, you can set the following options:

You can set only the Fit option for the custom uploaded video files. It allows selecting how a video will fit the container size: Cover or Contain.
Note, if the Automatically start to play option is selected, a video becomes Muted by default due to the browser's requirements. You cannot have a video with autoplay on start if you need the sound to be on.
Border and Shadow
Here you can find the settings to enable Border and Shadow options and design them.
For Border, you can select the color and width; for the Shadow, you can choose one of the ready presets or set the custom shadow options.

Shading and Transparency
To add a more design look to your Video, use the Shading and Transparency options that allow you to add the dark shade and make your Video transparent, so the block background appears visible under the Video.

Other Settings
Here you can find other standard settings available for the Video Element. You can add a custom CSS class name and use the Hide On Devices option to hide this control in the specific response views.

Expand To Background
The Video Element can be stretched to the block size using the Expand To Background option in the top right corner of the element in the Editor.

That will transform the Video from the Video control into the video background option of the Block. After expanding, you will see the same options for the Video Element and Background of the Block.

The video background is always set to autoplay mode in a loop.
Upload Button On Toolbar
You can use the Upload Button in the Change Video dialog in the Editor and the Video Context Toolbar.
