How to Use Nicepage for WordPress
- Go to your WordPress Admin >> Plugins >> Add New and click the "Upload plugin" button.
- Choose the nicepageplugin.zip file, then Upload.
- After uploading finished, go to the WordPress Admin >> Plugins, and activate the plugin.
- Start customizing your website with creating a new page under WordPress admin panel >> Nicepage >> New Page >> choose the desired source for the future page content:
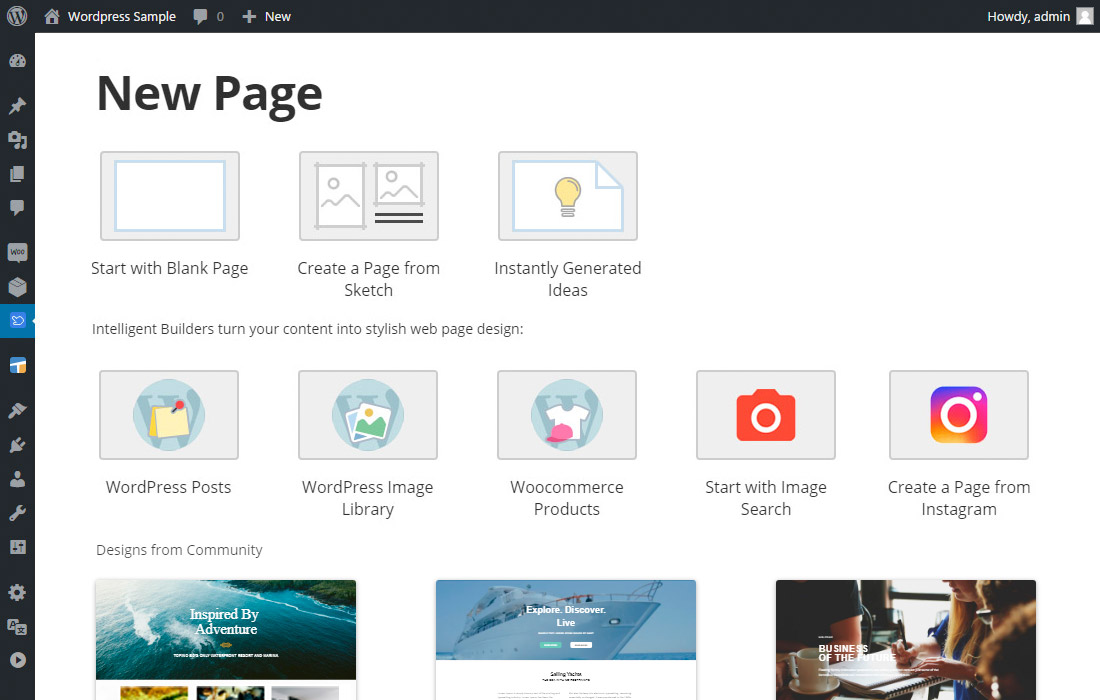
- Web: type any keyword, social account or website link.
- From WordPress: choose one or more WordPress Posts, Products or Images from WordPress Media.
- Social Network: Login with social networks account to access your pages and images.
Note: In you previously exported Nicepage plugin from Nicepage Desktop or our website with content you can import this content through the following message that will appear in the WordPress admin panel:

As alternative, you can import previously exported content under WordPress admin panel >> Nicepage >> Import.
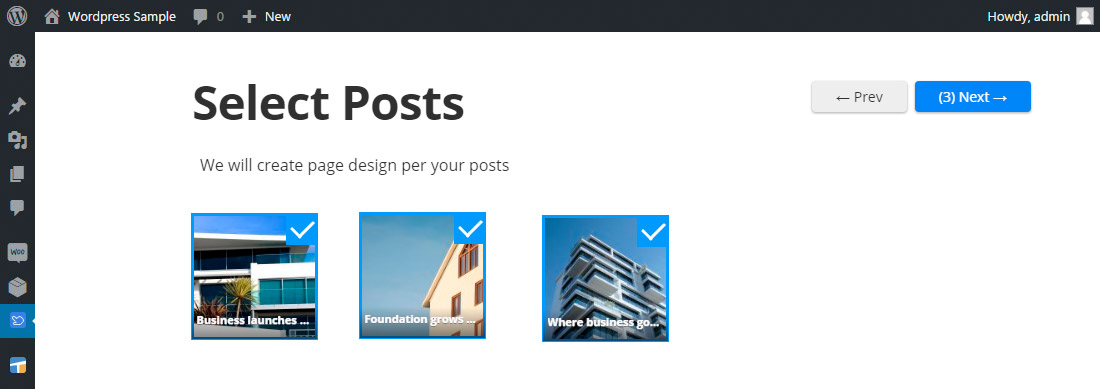
- Once you selected the source for the new Nicepage Page you can select one or more of the ready Posts or choose Images only:
- On the next step select one of the various ready-made designs which most closely matches your needs:
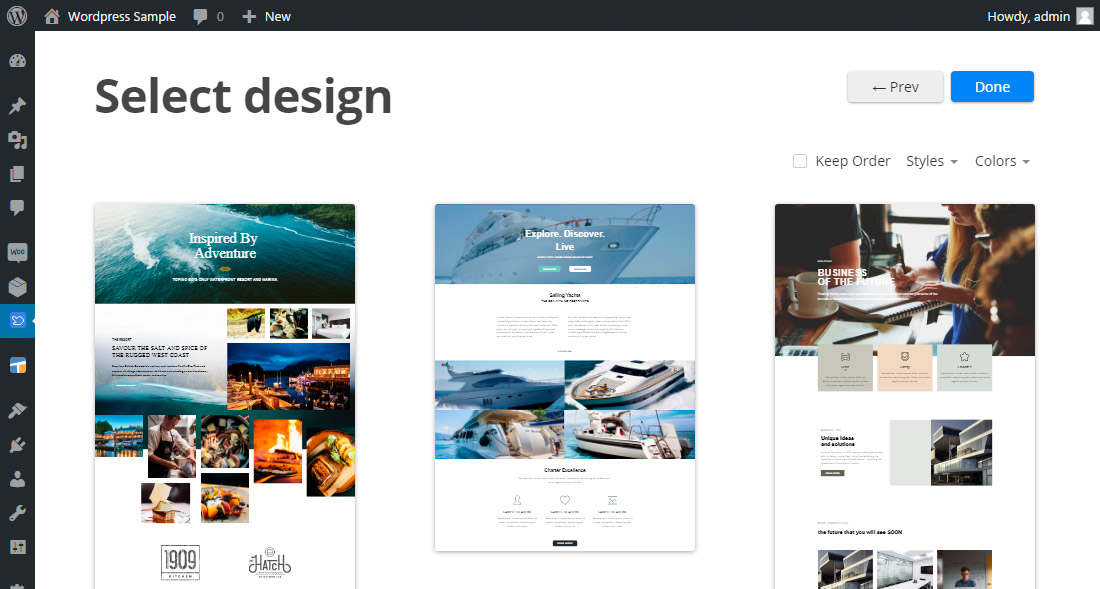
- Manage styles of each Section and click "Update" button to save the changes to the newly created WordPress Page.
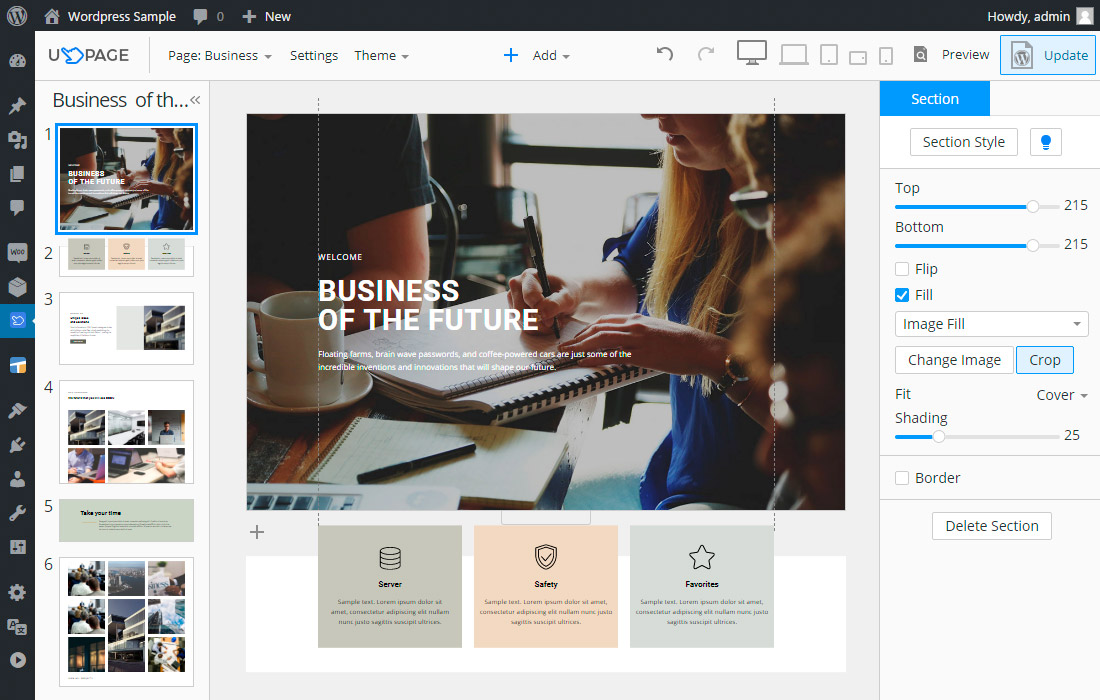
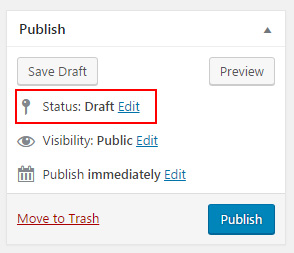
- Close the Nicepage Builder to go back to the WordPress admin panel. Edit page title and attributes and publish the page.
Now you have regular WordPress page with unique styles content which can be easily edited later.
Note: Nicepage Builder saves newly created pages as Drafts. To make the page public you should change its status: