Hogyan jeleníthető meg egy vagy két oldal szegélye egy webhelyelemnél

How To Add Custom Borders To Boxes And Other Web Elements
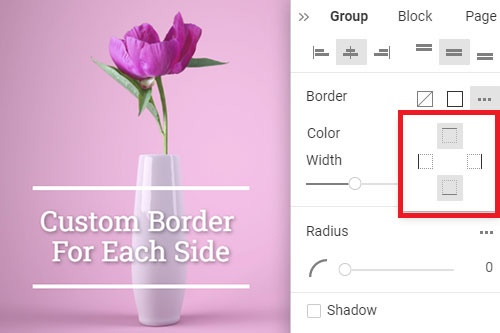
Getting started with this feature, you are enabled to set the border (width and height) for your web element. If you don't know how to add the border to the elements, don't worry. It is very simple. You must select the element (shape, box element, and so on), go to the property panel and click on the options of the icons. So, you can create wonderful elements for your website using this feature. By creating the borders for the items, you can create a new design style for your website. Besides, you can set the border width and change the radius for your web elements. With this feature, you will get a new website element with borders, and you can add the borders on the items in several clicks.
For some elements, borders are very important, as they give a nice look. Setting a border for the element pushes away the other sections on the page, whereas an edge behaves like a box shadow that encircles the element but does not push it away. You do not need to watch video tutorials or something like this, only read the terms of service, Privacy policy, and start creating wonderful elements with Nicepage. Like the WordPress page builder, you have different design options and page options to enhance the design of your layout. May your own website doesn't have a wonderful design, but even using custom borders, you can create a unique style (change color options, border sizes, etc.).
Like the page builder advanced custom fields plugins, you can add the shadow effect on your element. You can create new items from the usual elements using the menu options. Nicepage's advanced design possibilities are expanded further, allowing you more flexibility and control over your pages' Post Type layouts and giving you the freedom to create custom content for both you and your customers. Using the page builder, you can work with the Post Type elements, and you can make such with Nicepage and use site options to recreate your design. Adding new borders on the site will make your design more attractive to the users.