How to add the Mega Menu to a website


Switch Menu Layout
The Menu in Nicepage can be presented differently, like Single-Level Menu, Multi-Level Menu, and Mega Menu. You can switch between these layouts any time and choose the one that best fits your web design. Click on the Menu in the Header, then go to the Property Panel. Click on the Icons in the Layout property to switch the Menu look.
Mega Menu Columns
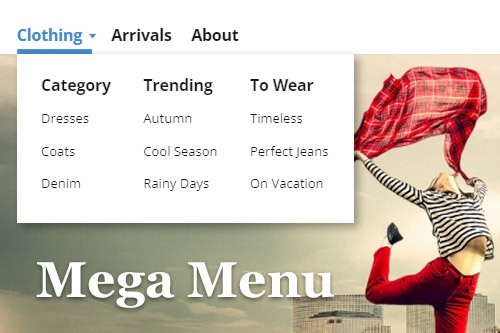
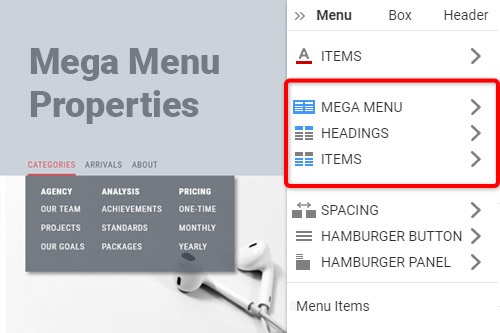
The Mega Menu contains Columns, and you can change their number. Select the Mega Menu, go to the Property Panel, and click on the Mega Menu link. On the Mega Menu Panel, click on the Columns drop-down list to select the number of Columns for the Mega Menu. By default, the number of Columns for the Mega Menu is auto, corresponding to the number of the second-level submenus.
Mega Menu Spacing
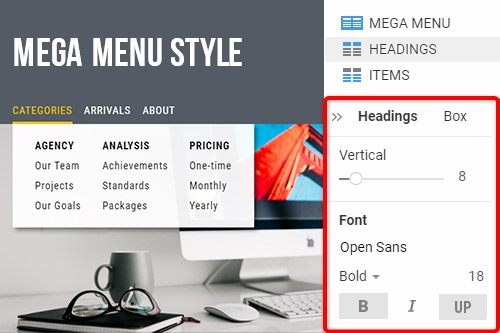
You can change the Spacing of the Mega Menu Items and Area. Select the Mega Menu and go to the Property Panel. Click on the Mega Menu link and then go down to the Spacing Sliders. Drag the Vertical and Horizontal Spacing sliders or enter the values to change the spacing. You can also modify the Padding of the Mega Menu area to transform the space for the Mega Menu items.
Add Elements To Mega Menu Popup
To add a Website Element to the Mega Menu, click the Menu Item with the Mega Menu, and resize the Mega Menu Popup. Click the blue plus on the Quick Access to open the Add Panel. Select an Element, for example, the Image or Icon, to add it to the Mega Menu. You can move added Elements freely, like the Mega Menu Items.
How To Use The Mega Menu To Improve Website Navigation
The mega menu is a very functional layout, as it allows to add to the menu different elements. Mega menus allow designers to show more than one level of information structure on the website. If you don't know how to create a max menu without mega menu plugins or without the WordPress menu builders, visit Nicepage. Like the new powerful drag and drop tool, you can edit menu items on the website. Like the free landing page builder, you can add the menu item, change the menu width, etc. So, get started with the menu. You do not need to use the visual page builder, only visit Nicepage and add wonderful menu items on the website. So, getting started with the Nicepage, you will have an opportunity easily change menu settings (no need for WordPress mega plugins).
Many people use WordPress custom mega menus with sticky menus. So, like this, Nicepage enables to add the single-level menu on the website. In some cases, users put contact form 7 on the tabbed mega menus. The mega menus are good for site navigation. Like the menu feature and max menu, with Nicepage, you can change the background color, image size, etc. Like the max mega menu pro and mega menu builder, you can easily shift max menu settings. Every menu option you can change from the property panel. In the WordPress mega menu plugin, it is available from the menu settings page. Getting started link on the menu item brings the user to its menu page and highlights options for the menu. Like the WordPress menu builder plugin, enable menu settings to modify the design. The feature max mega menu is very comfortable, as, from the mega menu option and max mega menu settings, we can change the look of our menu. As a rule, a max mega menu is displayed within a sidebar.
Set Up button on the menu. Very often, people elementary don't know how to set up the menu on the WordPress website without guide lessons. So, on Nicepage, everything is simple and understandable. As a max menu plugin is comfortable for social media websites, Nicepage is also very friendly. It is the FAQ on creating a parent menu item, which you can add to the main menu. If you can drag and drop menu items with the WP menu pro builder plugin, you can do this with Nicepage. The hover effect on the new menu item gives the menu a nice look (similar to the WordPress mega menu). If you don't know how to create the mega menu items without wp mega menu pro WordPress plugins, visit Nicepage. Similar to a max mega menu plugin, by getting started with Nicepage, you will find how you can easily work with mega menus.


