Jak korzystać z elementu Table podczas tworzenia strony internetowej


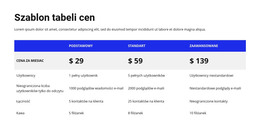
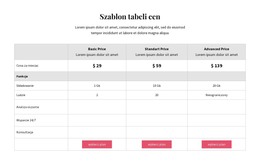
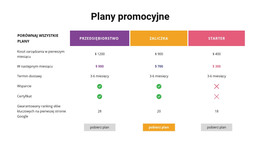
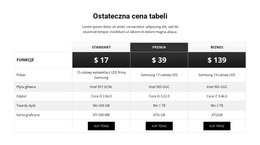
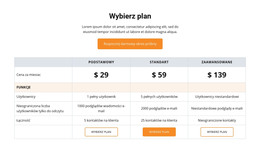
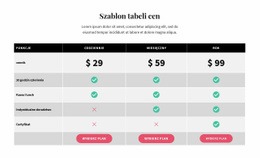
Wzory bloków stołowych
Możesz również łatwo zacząć od elementu Tabela. Możesz też użyć zaprojektowanych przez projektanta bloków zawierających element Table. Kliknij ikonę Dodaj na pasku szybkiego dostępu, przejdź do sekcji Tabela, wybierz tabelę i dowolny projekt tabeli w otwartym panelu.
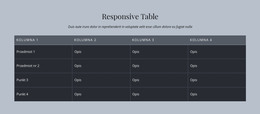
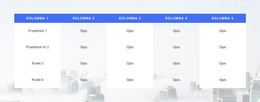
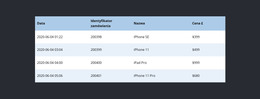
Kolumny i wiersze tabeli
Podobnie jak w przypadku każdego innego elementu posiadającego kolumny i wiersze, możesz zmienić liczbę kolumn i wierszy tabeli, przeciągając odpowiednie suwaki w panelu właściwości dla wybranego elementu tabeli.

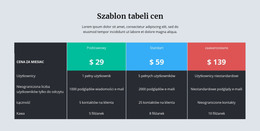
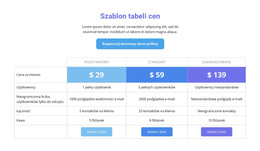
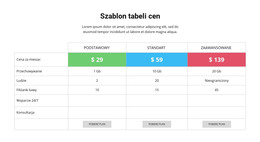
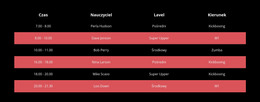
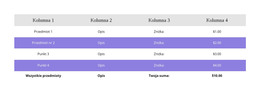
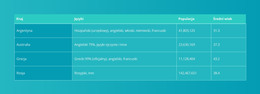
Stylizacja stołu
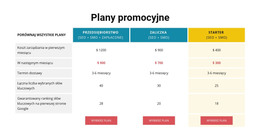
Podobnie jak wszystkie elementy złożone w Nicepage, popularne w projektowaniu stron internetowych, możesz stylizować tabelę zgodnie ze swoim układem. Kliknij element tabeli w bloku. Przejdź do panelu właściwości po prawej stronie i kliknij łącza sekcji, aby przejść do paneli i zmodyfikować odpowiednie właściwości tabeli.
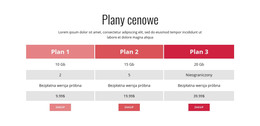
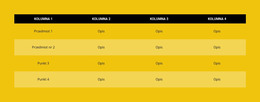
Przesuwanie kolumn i wierszy tabeli
Możesz zarządzać kolumnami i wierszami w wybranym elemencie tabeli. Następnie kliknij tabelę w swoim bloku, aby wybrać. Kliknij opcję Przenieś w menu prawym przyciskiem myszy lub ikonę Więcej opcji w Panelu kontekstowym, aby przenieść kolumny w lewo i prawo oraz wiersze na górę i dół.
Darmowe szablony z Element tabeli
Zacznij od naszych najlepszych szablonów, które są idealne dla każdej firmy. Twórz i dostosowuj je za pomocą naszego potężnego i bezpłatnego kreatora stron internetowych bez kodu. Wszystkie szablony są przyjazne dla urządzeń mobilnych i świetnie wyglądają na każdym urządzeniu.
-
-

-
-
-
-
-
-
-
-
-
-
-
-
-
-
-
-
-
-
-
Stwórz własną stronę internetowąŚciągnij
-
-
-
-
-
-
-
-
-
-
-
-
-
-
-


How To Create Tables For Your Nicepage Website?
During the building of your site, you may require to create tables for various purposes. If you want to create a new table similar to the HTML Table Element, you must first decide how many columns & rows you will be using and what information you will present in them. Create new tables with blog post hyperlinks, modify table rows and columns with social media tools, or integrate as many columns and rows as you need using our program. So how the columns and rows are arranged and the number of columns & rows changed using the simple toolkit of our program?
Log in to your account using your email address or accounts in google or Facebook. Open the Add Elements, and select on the Table Element. The new table will appear on your page layout, and on the right side of it, you will see the panel, where all customization of your current and future new tables will occur. At any moment, you can add the required number of columns and rows in the table by dragging the slider table element below the columns and rows back and forth or manually by clicking on the responsive tables themselves to add new cells. Pick the different background colors for rows and columns using simple background color shading or the complex one combined with two colors to stress certain table data.
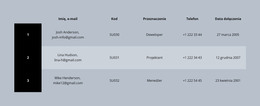
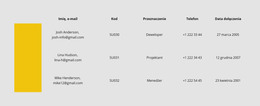
How to create a table with new drag and drop elements, and how do elements in your table element make it unique? Create responsive tables and quickly add the image element you want to the table header by clicking the star icon above the cell you want to customize. Like the HTML table and image elements, you can add a hyperlink to your blog post, email address, terms of service, or the contact form to the footer. If the table is too big, add the skip to content button to concentrate the visitor on the important content. Add a star rating element if you create new table data or modify an existing table for an online store or table data about various products or services quality with a blog post as proof. As an example of how you can create tables with a star rating, create a new table element, select a flashy background table header with the title name and decide how many stores or products you will review. Every store is placed on a separate table row, all information about the store, including a phone number, is provided in the first column, its blog post on a certain topic the second or third, and the rating is placed in the last column.