Cómo utilizar el elemento Tabla al crear una página web


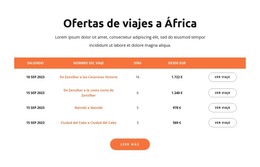
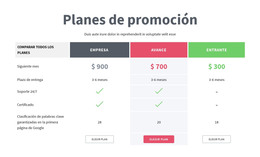
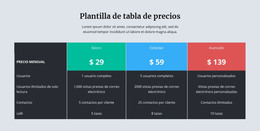
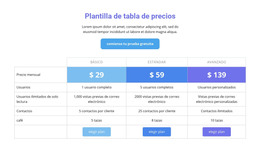
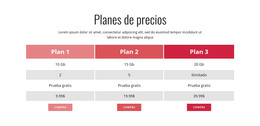
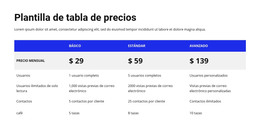
Diseños de bloques de mesa
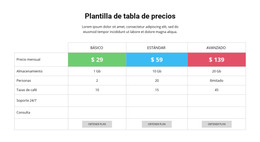
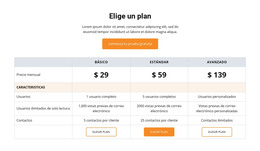
También puede comenzar fácilmente con el elemento Tabla. Y puede usar los bloques creados por el diseñador que contienen el elemento Tabla. Haga clic en el ícono Agregar en la barra de acceso rápido, baje a la sección Tabla, seleccione la Tabla y cualquier diseño de Tabla en el panel abierto.
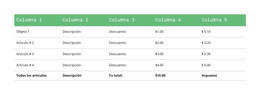
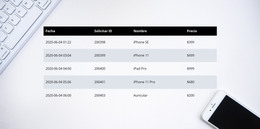
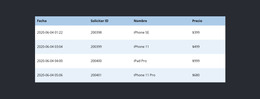
Columnas y filas de la tabla
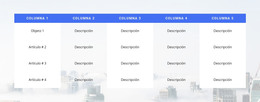
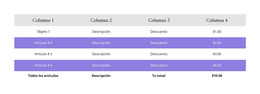
Al igual que cualquier otro elemento que tenga columnas y filas, puede cambiar el número de columnas y filas de la tabla arrastrando los controles deslizantes correspondientes en el Panel de propiedades para el elemento de la tabla seleccionado.

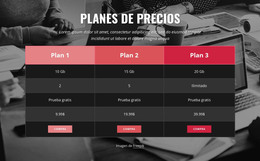
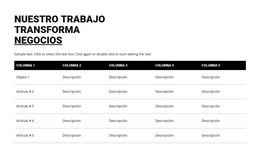
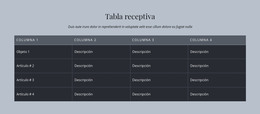
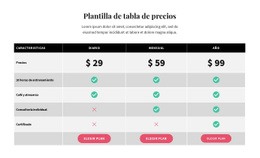
Estilo de mesa
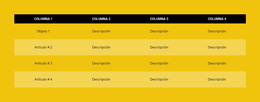
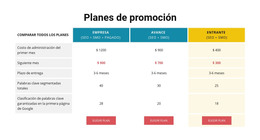
Como todos los elementos compuestos en Nicepage populares en el diseño web, puede estilizar la Tabla según su diseño. Haga clic en el elemento Tabla en un Bloque. Vaya al Panel de propiedades a la derecha y haga clic en los enlaces de la sección para ir a los paneles y modificar las propiedades de la tabla correspondiente.
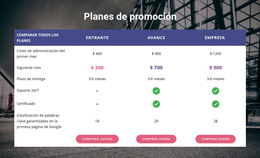
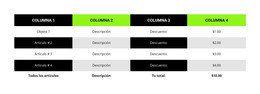
Tabla mover columnas y filas
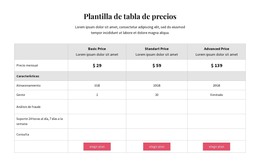
Puede administrar columnas y filas en el elemento de tabla seleccionado. Luego haga clic en la Tabla en su Bloque para seleccionar. Haga clic en la opción Mover en el menú contextual del mouse o en el icono de más opciones del Panel contextual para mover las columnas hacia la izquierda y hacia la derecha y las filas hacia arriba y hacia abajo.
Plantillas gratuitas con Elemento de tabla
Comience con nuestras mejores plantillas, ideales para cualquier negocio. Créelos y personalícelos con nuestro potente y gratuito creador de sitios web sin código. Todas las plantillas son compatibles con dispositivos móviles y se ven excelentes en cualquier dispositivo.


How To Create Tables For Your Nicepage Website?
During the building of your site, you may require to create tables for various purposes. If you want to create a new table similar to the HTML Table Element, you must first decide how many columns & rows you will be using and what information you will present in them. Create new tables with blog post hyperlinks, modify table rows and columns with social media tools, or integrate as many columns and rows as you need using our program. So how the columns and rows are arranged and the number of columns & rows changed using the simple toolkit of our program?
Log in to your account using your email address or accounts in google or Facebook. Open the Add Elements, and select on the Table Element. The new table will appear on your page layout, and on the right side of it, you will see the panel, where all customization of your current and future new tables will occur. At any moment, you can add the required number of columns and rows in the table by dragging the slider table element below the columns and rows back and forth or manually by clicking on the responsive tables themselves to add new cells. Pick the different background colors for rows and columns using simple background color shading or the complex one combined with two colors to stress certain table data.
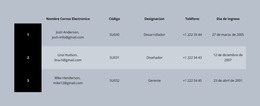
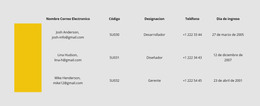
How to create a table with new drag and drop elements, and how do elements in your table element make it unique? Create responsive tables and quickly add the image element you want to the table header by clicking the star icon above the cell you want to customize. Like the HTML table and image elements, you can add a hyperlink to your blog post, email address, terms of service, or the contact form to the footer. If the table is too big, add the skip to content button to concentrate the visitor on the important content. Add a star rating element if you create new table data or modify an existing table for an online store or table data about various products or services quality with a blog post as proof. As an example of how you can create tables with a star rating, create a new table element, select a flashy background table header with the title name and decide how many stores or products you will review. Every store is placed on a separate table row, all information about the store, including a phone number, is provided in the first column, its blog post on a certain topic the second or third, and the rating is placed in the last column.